
Bespoke Heart
Sponsored by

RECOMMENDED AGE LEVEL
Recommended for ages 6 and up with adult supervision.
PROJECT DESCRIPTION
This deceptively simple box template will ensure your valentines are just as creative as you are! Use different papers, recycled materials, and more to tailor custom containers for all your special someones. Still need to do some Valentine’s Day shopping? Head over to the MCD Store to browse exclusive, limited-time selections.
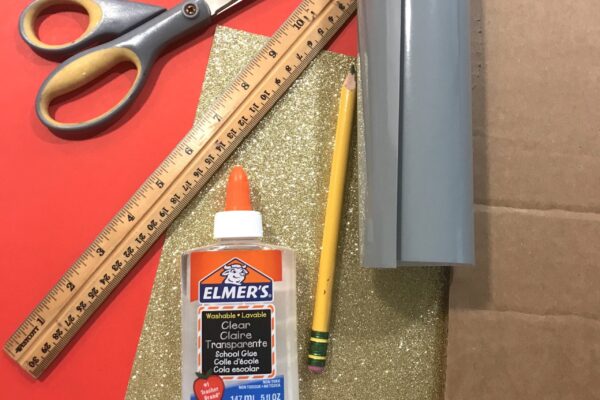
MATERIALS
Cardboard
Glue
Scissors
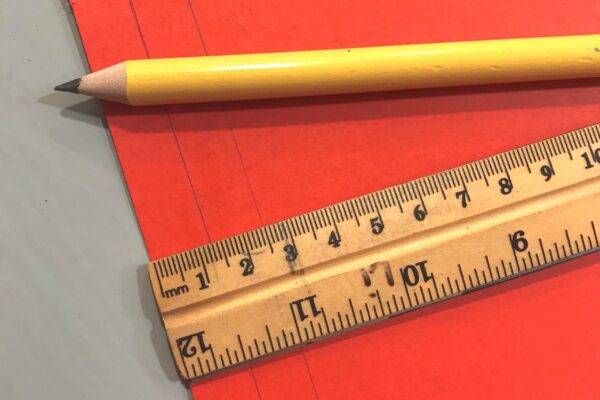
Pencil
Ruler
Paper
Optional Materials:
Other decorative elements (flowers, glitter, stickers, ribbon, shells, etc.)
Markers or paint


INSTRUCTIONS
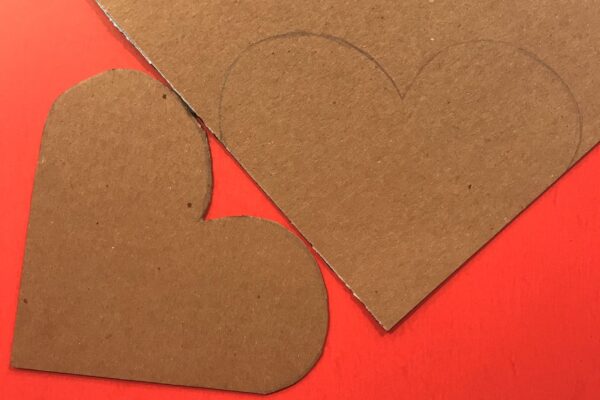
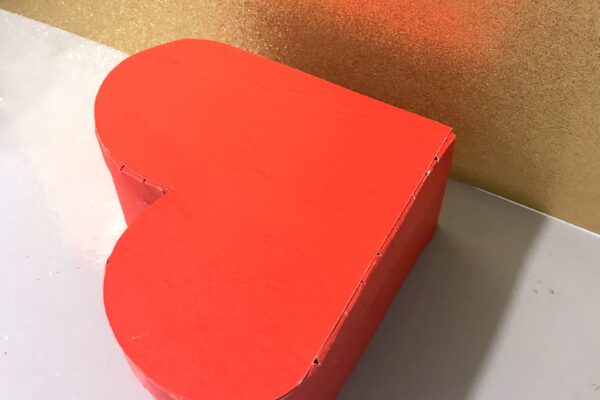
- Use a pencil to draw a heart on the cardboard.
TIP: Utilizing the corner of the cardboard can help provide a more consistent shape. - Use scissors to cut the heart shape out.
- Use the first cut-out as a stencil and trace the heart shape onto another piece of cardboard.
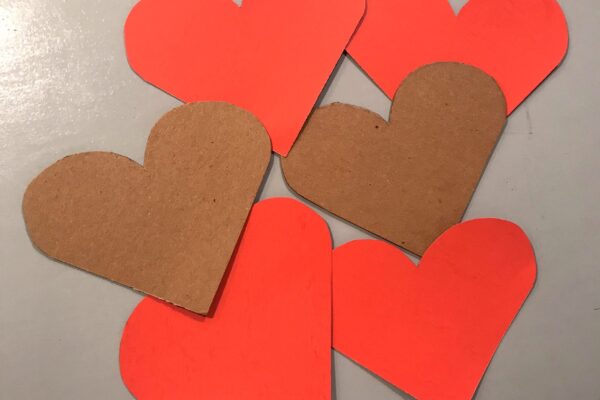
- Place one of the cardboard hearts in the corner of the paper and trace the outline with a pencil.
- Repeat the process so you end up with four paper hearts—two outside covers and two inside ones.
OPTIONAL: If you have festive paper and plain paper, consider using the plain paper on the inside and the festive paper on the outside.
- Repeat the process so you end up with four paper hearts—two outside covers and two inside ones.
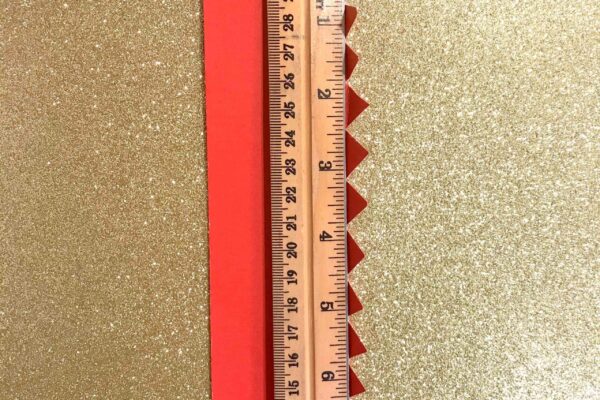
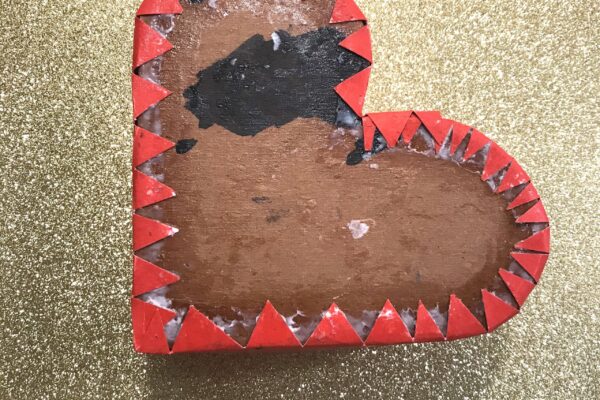
- Cut a strip of paper about 6 cm thick.
- The strip will need to be long enough to wrap around the edge of the cardboard heart. This will be the wall of the box.
- Use a pencil and ruler to mark 1 cm of width within the strip.
- Draw a line and fold the strip lengthwise along it.
- In this space, cut even, triangular tabs.
- Apply glue around the edge of one of the cardboard hearts.
NOTE: The side where you apply glue will be the bottom of the box. - Wrap the strip of paper around the heart, with the triangle tabs adhering to the glue.
- Glue one of the paper hearts to the bottom of the cardboard heart (covering the tabs).
- Glue another paper heart onto the cardboard that is now inside the box.
- Starting with the strip-cutting step, repeat the process for the box lid.
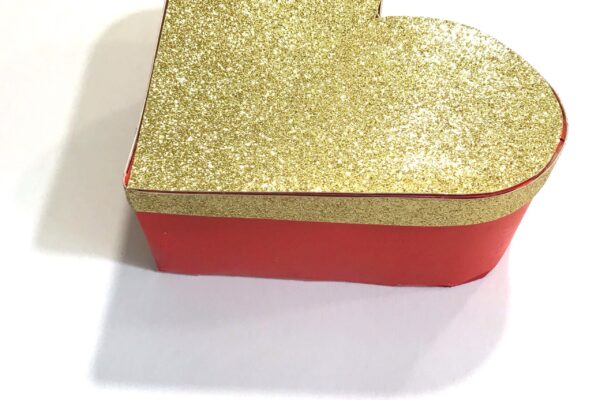
NOTE: This time, cut the strip about 2.5 cm wide (as opposed to 6 cm). - When you have completed both halves of the box, decorate as you please!
RELATED RESOURCES
- Have you left your heart in San Francisco? Claes Oldenburg and Coosje van Bruggen sure did when they installed Cupid’s Span on Embarcadero!
UPCOMING EVENTS

Free Summer Weekend!
July 25 - July 26
The Fabric of Celluloid: A Conversation with Dr. Alla Gadassik
August 1 @ 1:00 PM - 3:00 PM

Craft + Chat Workshop with Greg Climer
August 15 @ 1:00 PM - 3:00 PM