The Ancient Art of Cordage with Saorise Bryne


RECOMMENDED AGE LEVEL
Recommended for ages 7 and up with adult supervision.
PROJECT DESCRIPTION
MCD welcomes artist, designer, and craftsperson Saorise Byrne for a mindful and meditative introduction to the age-old art of cordage.
Humans have been making cordage for at least fifty thousand years. It is how we have shaped the world by using fibers to adapt and thrive. This MCD@Home invites you to explore the ancient process using meaningful fabrics and to let our minds wander as our hands find the rhythm of the making.
Cordage is accessible even to those who would not consider themselves artists or crafty. The process is simple and repetitive in a way that leaves room for conversation, laughter, and contemplation.
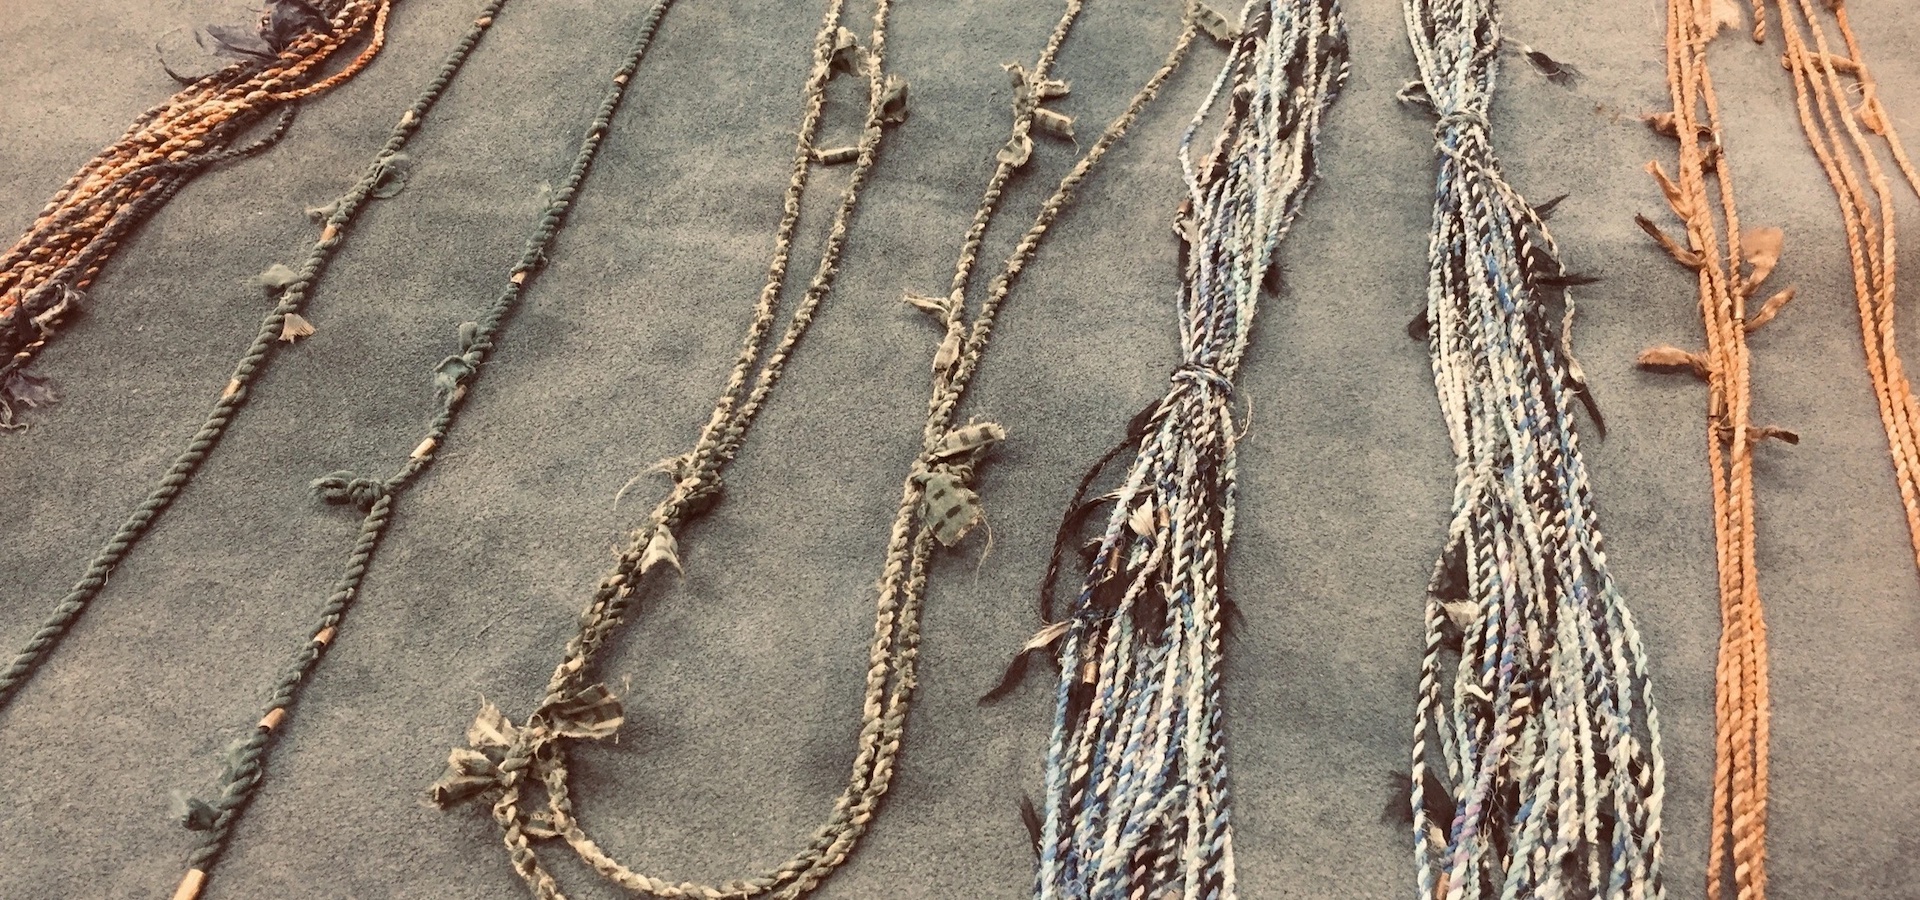
Learn how to turn the materials in your life into beautiful and useful lengths of cord, whether to wrap a gift, hang as a garland, or wear as a necklace.
MATERIALS
Fabric: We recommend woven fabrics such as those in button-up shirts, quilting cotton, or bedsheets.
Fabric scissors
Water
INSTRUCTIONAL VIDEOS
Create your own cordage by following along with the instructional videos above. The left video gives instructions to left-handed participants and the right video gives the same instructions for right-handed participants. Thank you for making art with us!
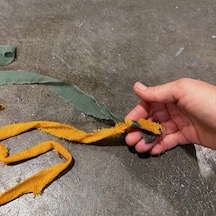
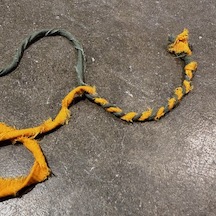
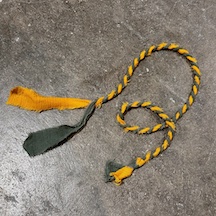
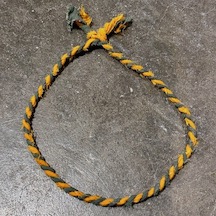
VISUAL STEP BY STEP
MATERIAL MINDFULNESS
Source fabric intentionally. Identify a piece of woven fabric that holds meaning to you but no longer serves in its current form.
INSTRUCTIONS
- Cut or rip fabric into uniform strips. Strips should be either 1 inch or ½ inch wide and at least 1.5 feet long.
Note: The wider the fabric strip, the thicker the cordage piece will be. - Dampen fabric strips with water.
- Fold your fabric strip in half lengthwise OR tie two pieces together to make a long fabric piece.
Note: Folded process is shown with right-hand dominant photos. Knot process is shown with left-hand dominant photos. - Hold fold/knot with dominant hand between thumb and forefinger.
- Using nondominant hand, twist one strip away from you.
- Bring twisted strip towards yourself to cross over the hanging strip.
NOTE: This may feel awkward at first but eventually your hands will find a motion that feels natural. Be sure to twist the strips individually in one direction and flip them together in the opposite direction. - Adjust your grip with your thumb and forefinger of your non-dominant hand to cover where the strips overlap.
- Take the strip that was not twisted in step 5 and use it to repeat steps 5 and 6
NOTE: Alternate between fabric strips each time you twist and flip them. - Repeat steps 5-8 continuously.
- Stop about 3 inches before the end of fabric strips.
- If happy with length, tie an overhand knot to secure cordage OR move on to the next section – splicing!
Splicing | Making Cordage Longer
- Choose another strip of fabric and dampen it.
- Fold the new fabric strip in half.
- Nestle midpoint of new fabric strip at the point where the previous cordage overlaps.
- Repeat steps 5-8, this time twisting together one new strip with each shorter, original strip.
- Repeat steps 10-13 indefinitely until happy with the result.
NOTE: Typically cordage won’t unravel. Feel free to take a break and pick up the process later. - Tie an overhand knot to end the cord. The knot can be stuck through the original fold in step 2 to make a loop.
RELATED RESOURCES
- Learn more about Saorise Bryne,her story, inspiration, and practice.
- Natural fiber cordage holds rich historical and cultural value for Indigenous communities. Check out NativeTech’s Native American Cordage to learn more!
CREATIVE PROMPTS FOR MORE
- Go on a cordage treasure hunt! See how many places you can find cordage during your day.
- Cordage is all around us. What will you use your cordage for?
- What was your mind doing as your hands were working?
- Expand your practice! What other materials could you cordage? Try the same technique using natural fibers, old newspapers, or plastic bags.


