Sensory Salt

Sponsored by

RECOMMENDED AGE LEVEL
Recommended for ages 4 and up with adult supervision
PROJECT DESCRIPTION
We see the effects of natural processes all around us– like plants sprouting up outside and sun rays bleaching surface areas. Design by Time leverages these forces, working with ‘Time as Creator’, to demonstrate how materials change over time when exposed to environmental conditions. Glithero harnessed the power of the sun and used the cyanotype process to create their Blueware Collection while William Lamson’s Invisible Universe incorporates salt crystallization. Drawing on the works of these designers, this multi-sensory project uses temperature changes to create colorful effects and all new materials.
MATERIALS
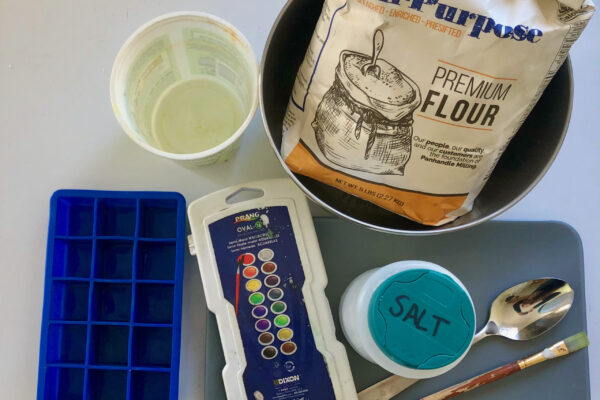
Watercolors or food coloring
Ice cube tray or recycled plastic food containers
Water
Salt (approx. 1 cup)
Paintbrush
Large plate
Freezer access
Optional materials:
Flour
Mixing bowl
Baking sheet
INSTRUCTIONS
- Pour water into ice tray.
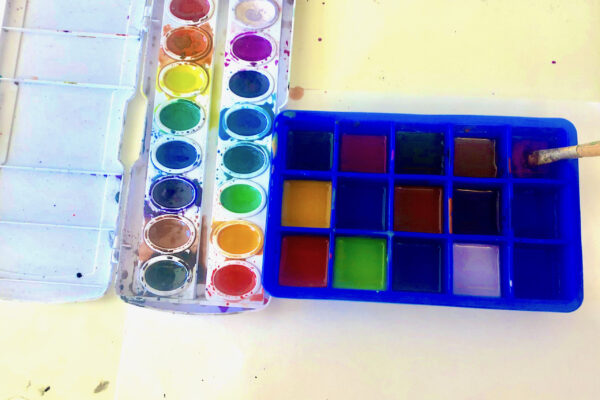
TIP: If you have a time crunch, just fill the compartments up halfway for quicker freezing. - Use a paintbrush or dropper to add watercolor or food coloring to the water compartments.
- Create intense colors by increasing the paint to water ratio.
- Place the ice tray in the freezer and wait until the water is frozen.
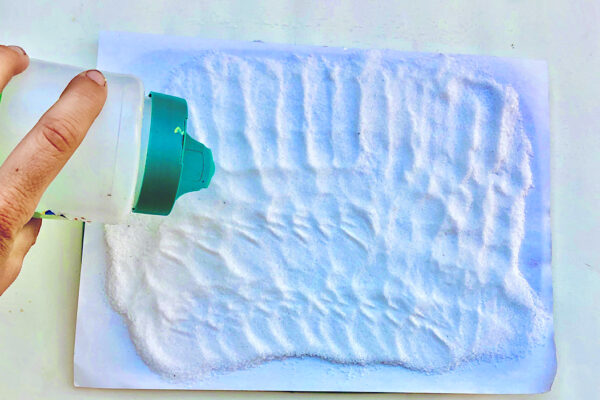
- Pour salt on a large plate and gently move the plate or use fingers to flatten out the salt, creating a semi-even working surface.
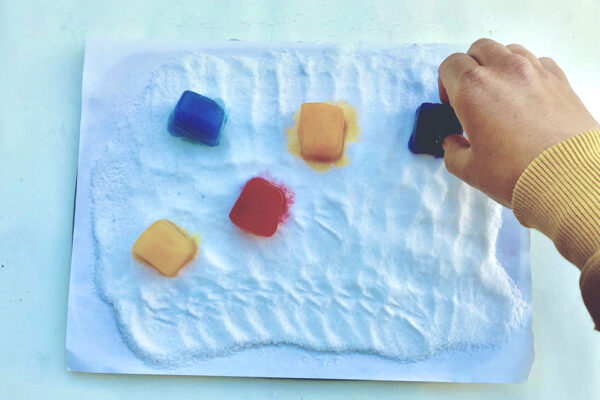
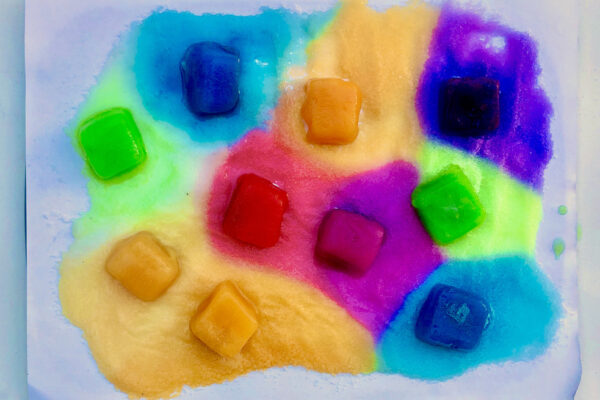
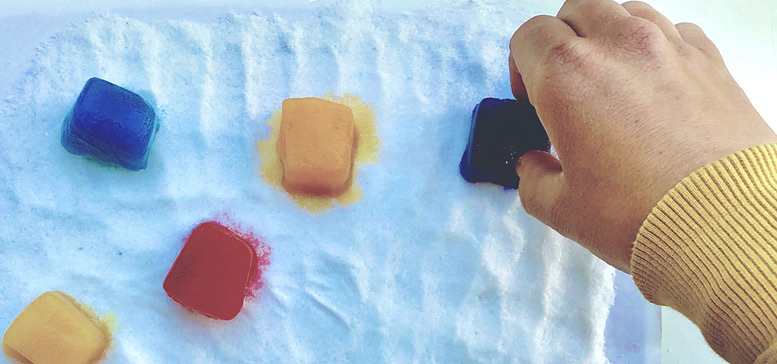
- Remove the frozen dye cubes from the tray and place them on the salt base. The ice will start to melt, dyeing the surrounding salt in the process.
- Experiment with:
- Color combinations
- Gradients
- Single hues
- Experiment with:
- Once all the ice is melted, consider different ways you can interact with the colorful results:
- Use your finger to trace lines and patterns through the different colors
- Photograph the final product
- Allow the dyed salt to completely dry, then use the colors to create “sand art” bottles
- Make colorful salt dough (see below)
Sensory Salt Dough:
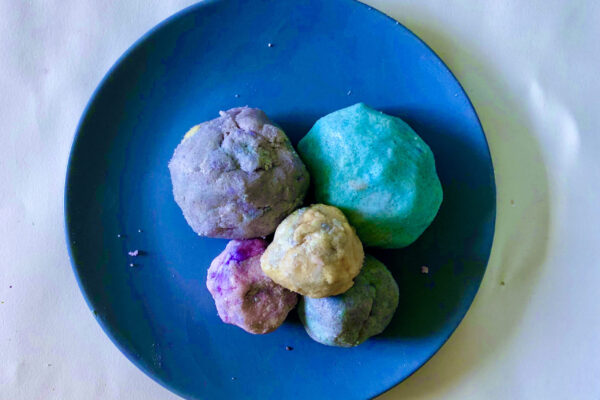
- Combine 1 part colored salt with 2 parts flour, knead the ingredients together, and roll the dough into balls.
- Multi-colored salt will result in brown salt balls.
- Isolate individual salt colors to create a single hue dough
Creative prompts for more…
Ice Sculptures:
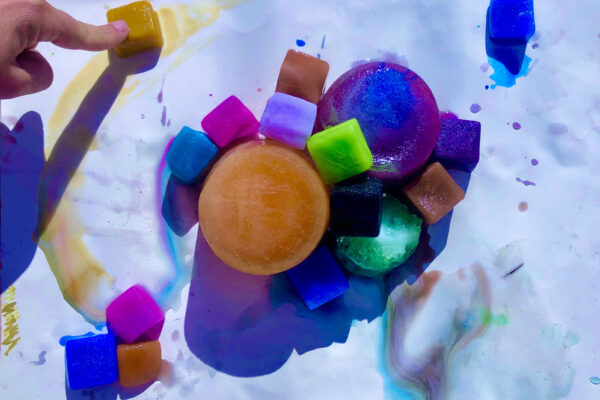
- What does the process of melting ice look like? Make a sculpture from dyed ice cubes, using a piece of paper on a baking sheet for the base.
TIP: Dip ice pieces in room temperature water and apply pressure between pieces to meld them. - How might the project results differ between placing the baking sheet out in the sun vs inside?
RELATED RESOURCES
Leverage the power of melting ice in your next tie-dye project! Check out the Online Fabric Store’s tutorial on using ice to dye fabric.


