Summer Wreath

Sponsored by


RECOMMENDED AGE LEVEL
Recommended for ages 8 and up with adult supervision.
PROJECT DESCRIPTION
Send a symbol of cheer and welcome from your front door! A summer wreath can be made from whichever colors evoke the season for you, but you should feel free to diverge from the traditional format: use artificial components, bring in abstract shapes, or embrace asymmetry. Give yourself a circular form, and work in many creative directions!
MATERIALS
Round base, such as a hat brim, colorful plate, wire hanger, discarded metal bangle, or wide lid
Artificial, dried, or tissue paper flowers, leaves, or abstract shapes to use as wreath focal points
String, embroidery floss, pipe cleaners, or similar
Embellishments such as pom poms, yarn, rhinestones, stickers, crystals, coins, sea shells, ribbon or raffia
Recycled materials that fit your theme
Decorative tape
Paint, paper, glue sticks, or hot glue if desired
INSTRUCTIONS
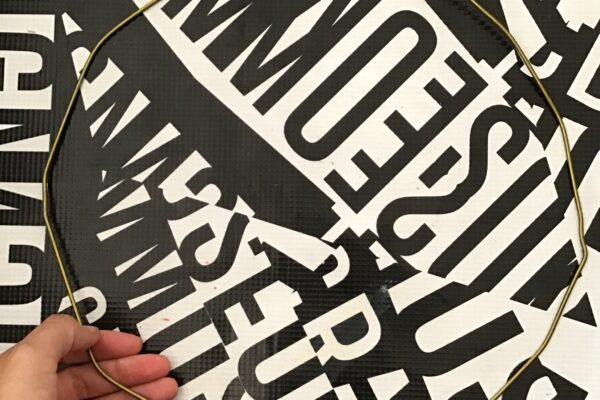
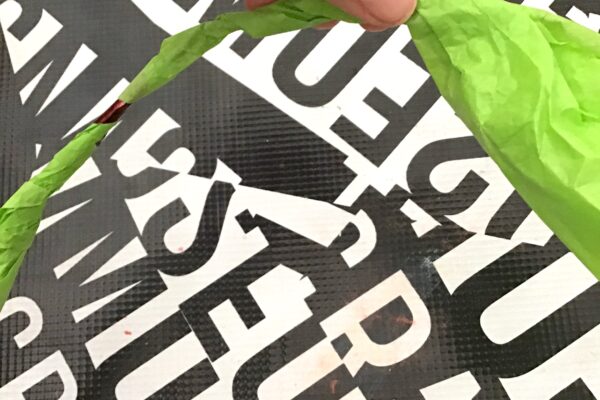
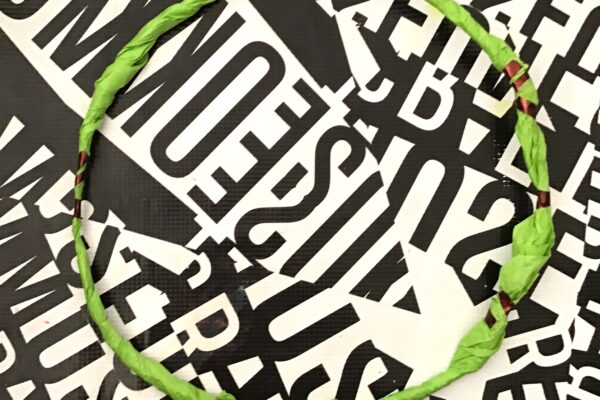
- Prepare your circular base. With a wire hanger, begin to bend into a circular shape by repeatedly pushing the flat sides outwards. For other bases, or once your base is the shape you want, you might paint it, wrap it with tape or paper, or cut out the interior. This will build up your wreath shape, and add some color or pattern to the form.
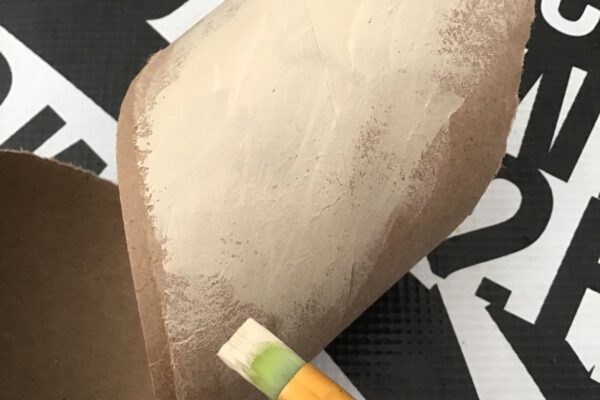
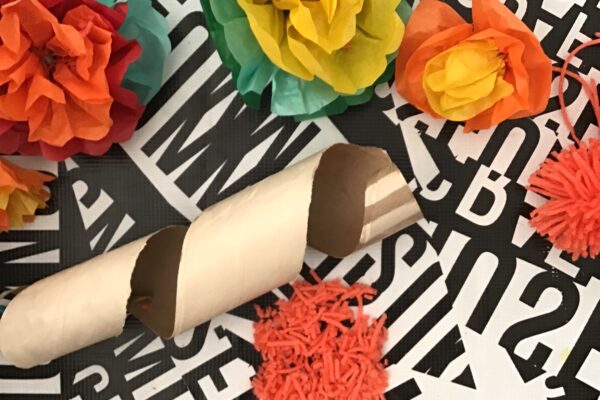
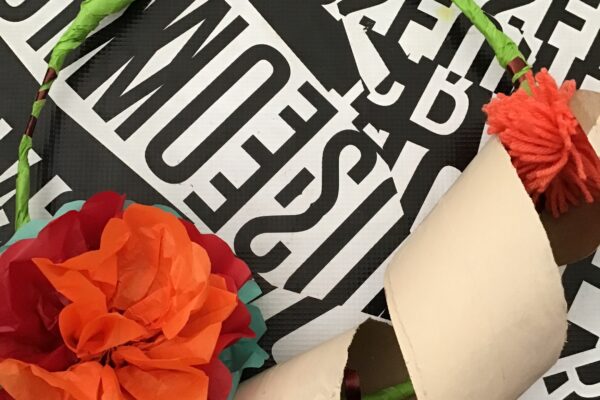
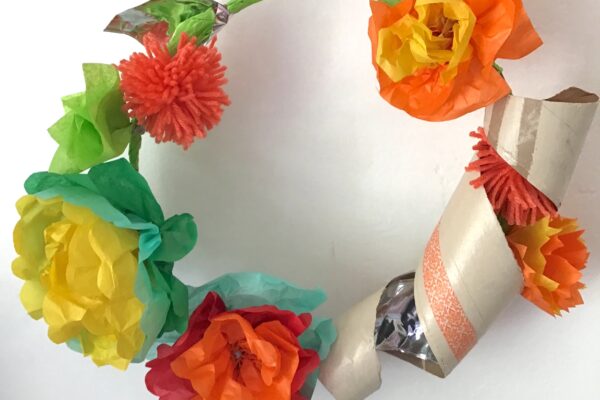
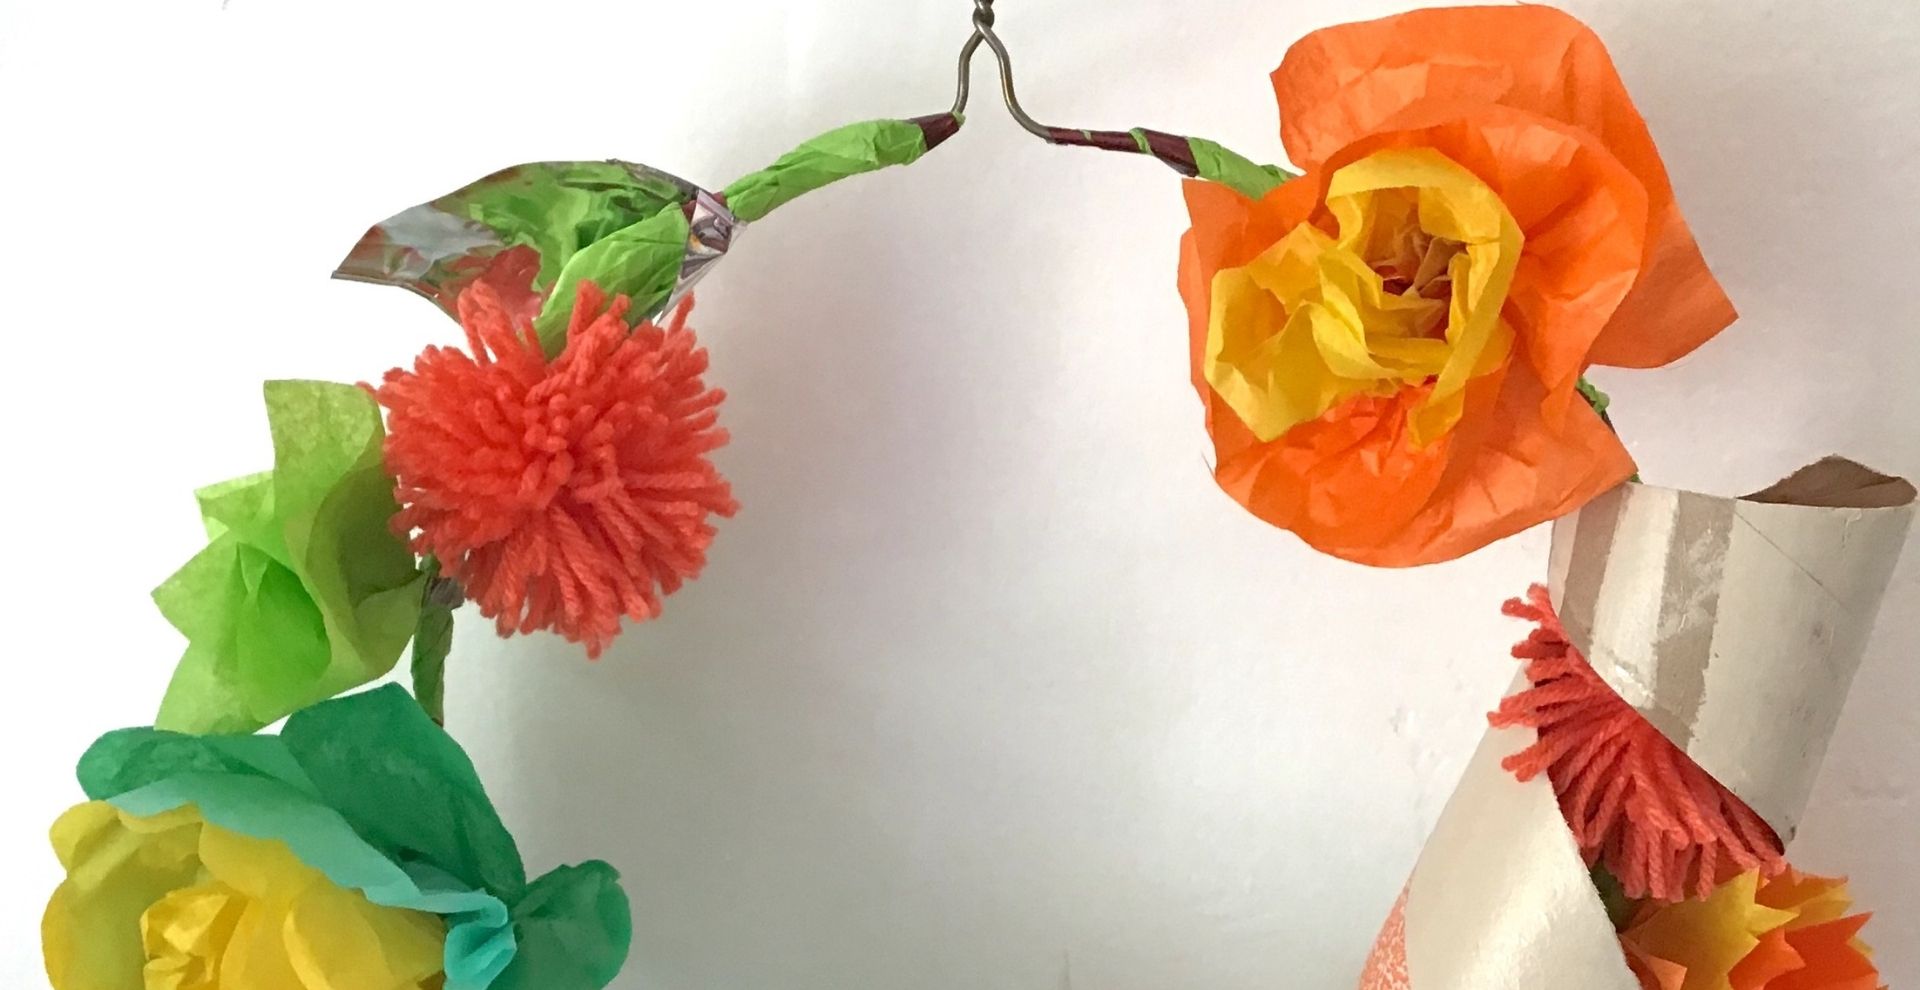
- Begin to prepare decorative materials. If using artificial flowers, arrange your flowers or largest elements together to try out different designs. In this sample, an unrolled paper towel tube is painted as a decorative element. Braid ribbons, raffia, or pipe cleaners to act as additional embellishments if desired.
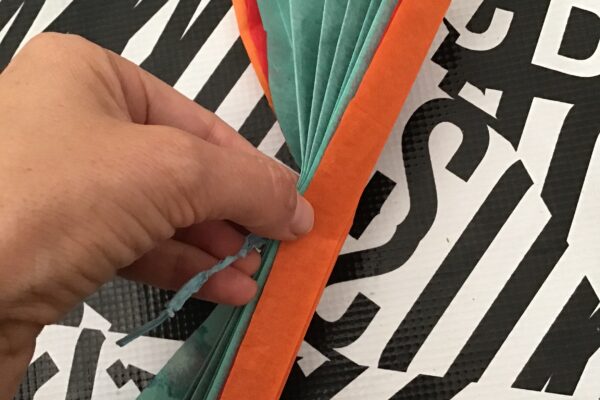
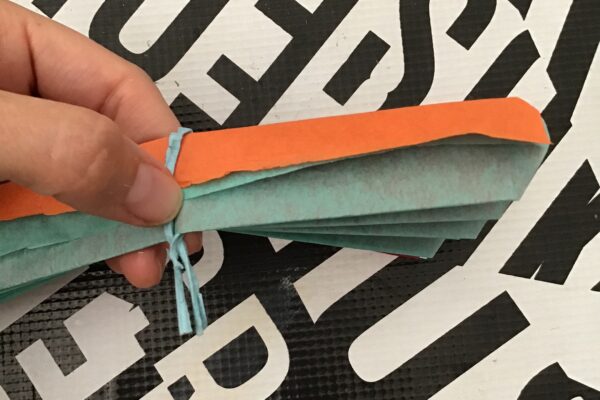
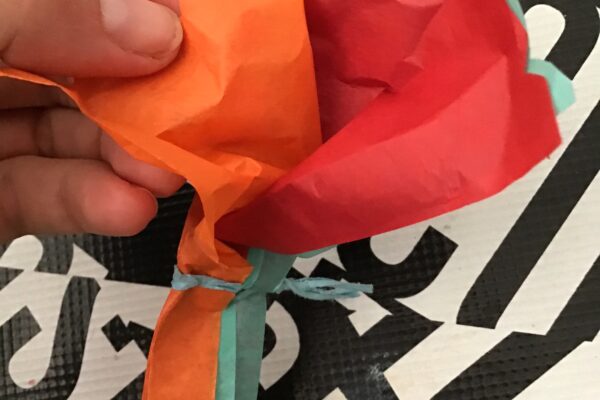
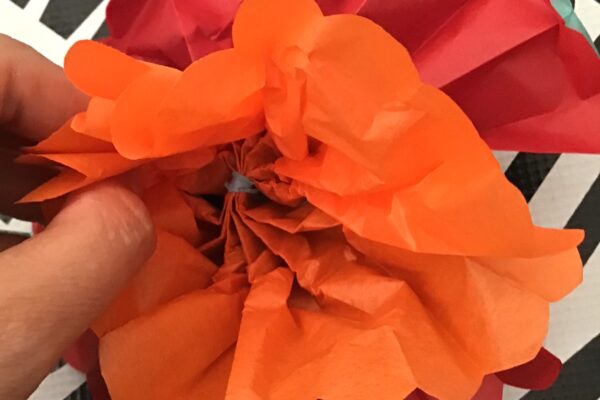
- If you are making flowers, consider folding several squares of tissue paper in an accordion fold, securing them in the middle with a tie or pipe cleaner, and gently pulling the tissues apart. In the accordion fold step, you can trim the edges to create a petal shape.
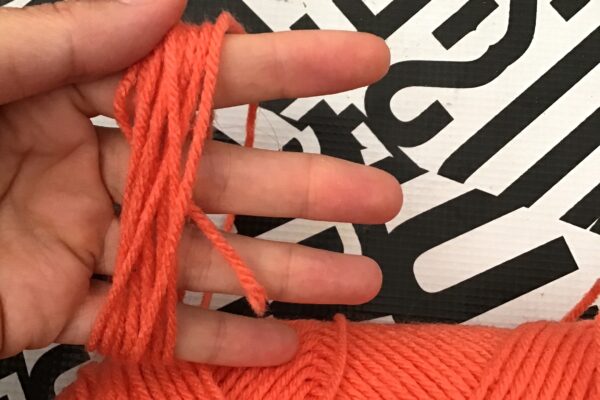
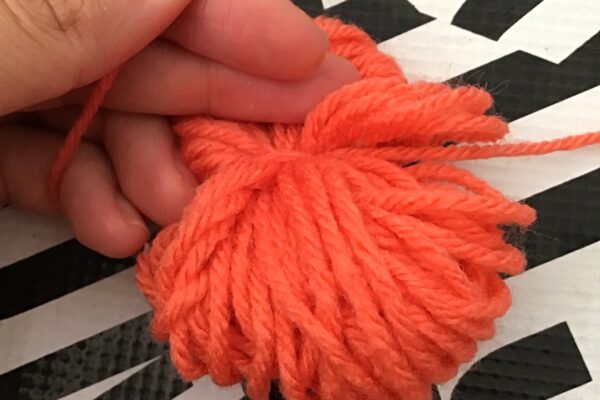
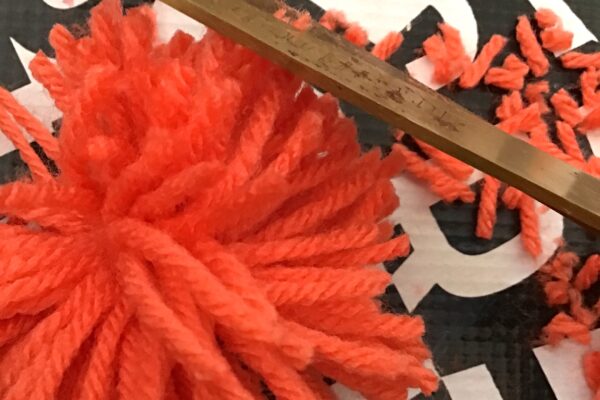
- If you want to make pom poms, wrap yarn around your four fingers, spreading the fingers apart. Wrap 50 times, then take the bundle off of your hand and tie tightly in the middle. Once the bundle is tied, cut through the loops on either side to free the pom pom. Trim into a circular shape or leave it wild.
- Gather your materials and practice arranging around your circular shape.
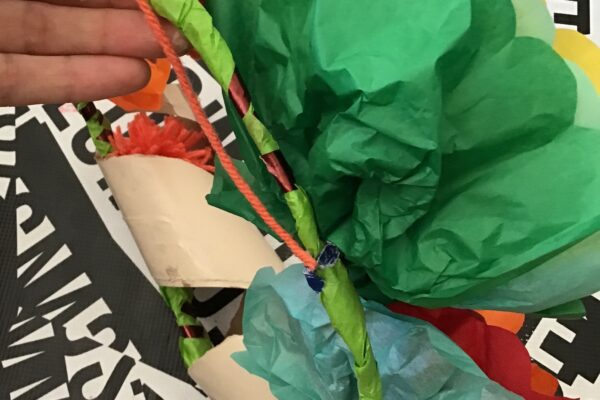
- Begin to adhere your wreath elements to the form. If you’ve used twisty ties or pipe cleaners to make flowers, you have built-in adhesive tools. Wire in stems of artificial flowers can also be used to adhere them. You may also choose to use hot glue or tape.
- Adjust the spacing and direction of your elements as needed. Test out your wreath on doors or walls.
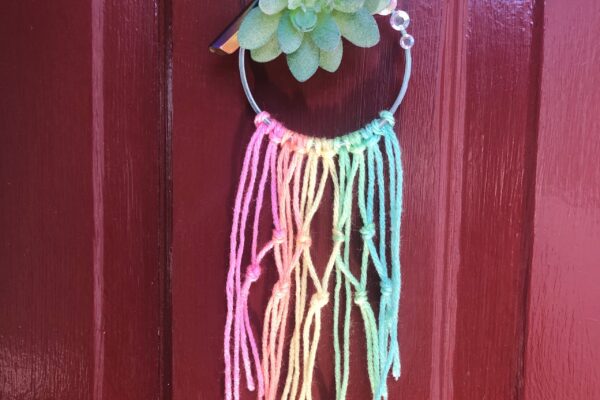
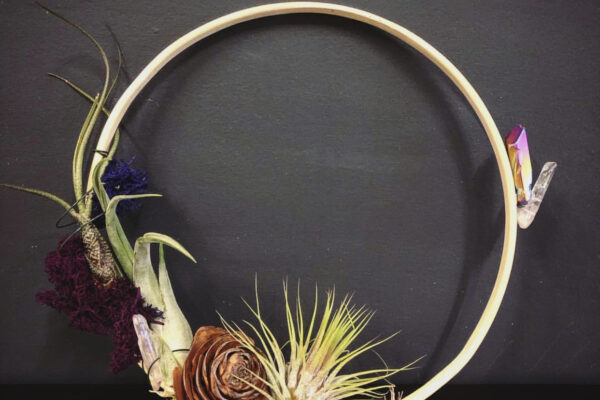
- You can use just about anything for a base! Here we see a wire coat hanger, a metal bangle, and an embroidery hoop.


