Rock Mandalas
Sponsored by
RECOMMENDED AGE LEVEL
Recommended for ages 10 and up with adult supervision.
PROJECT DESCRIPTION
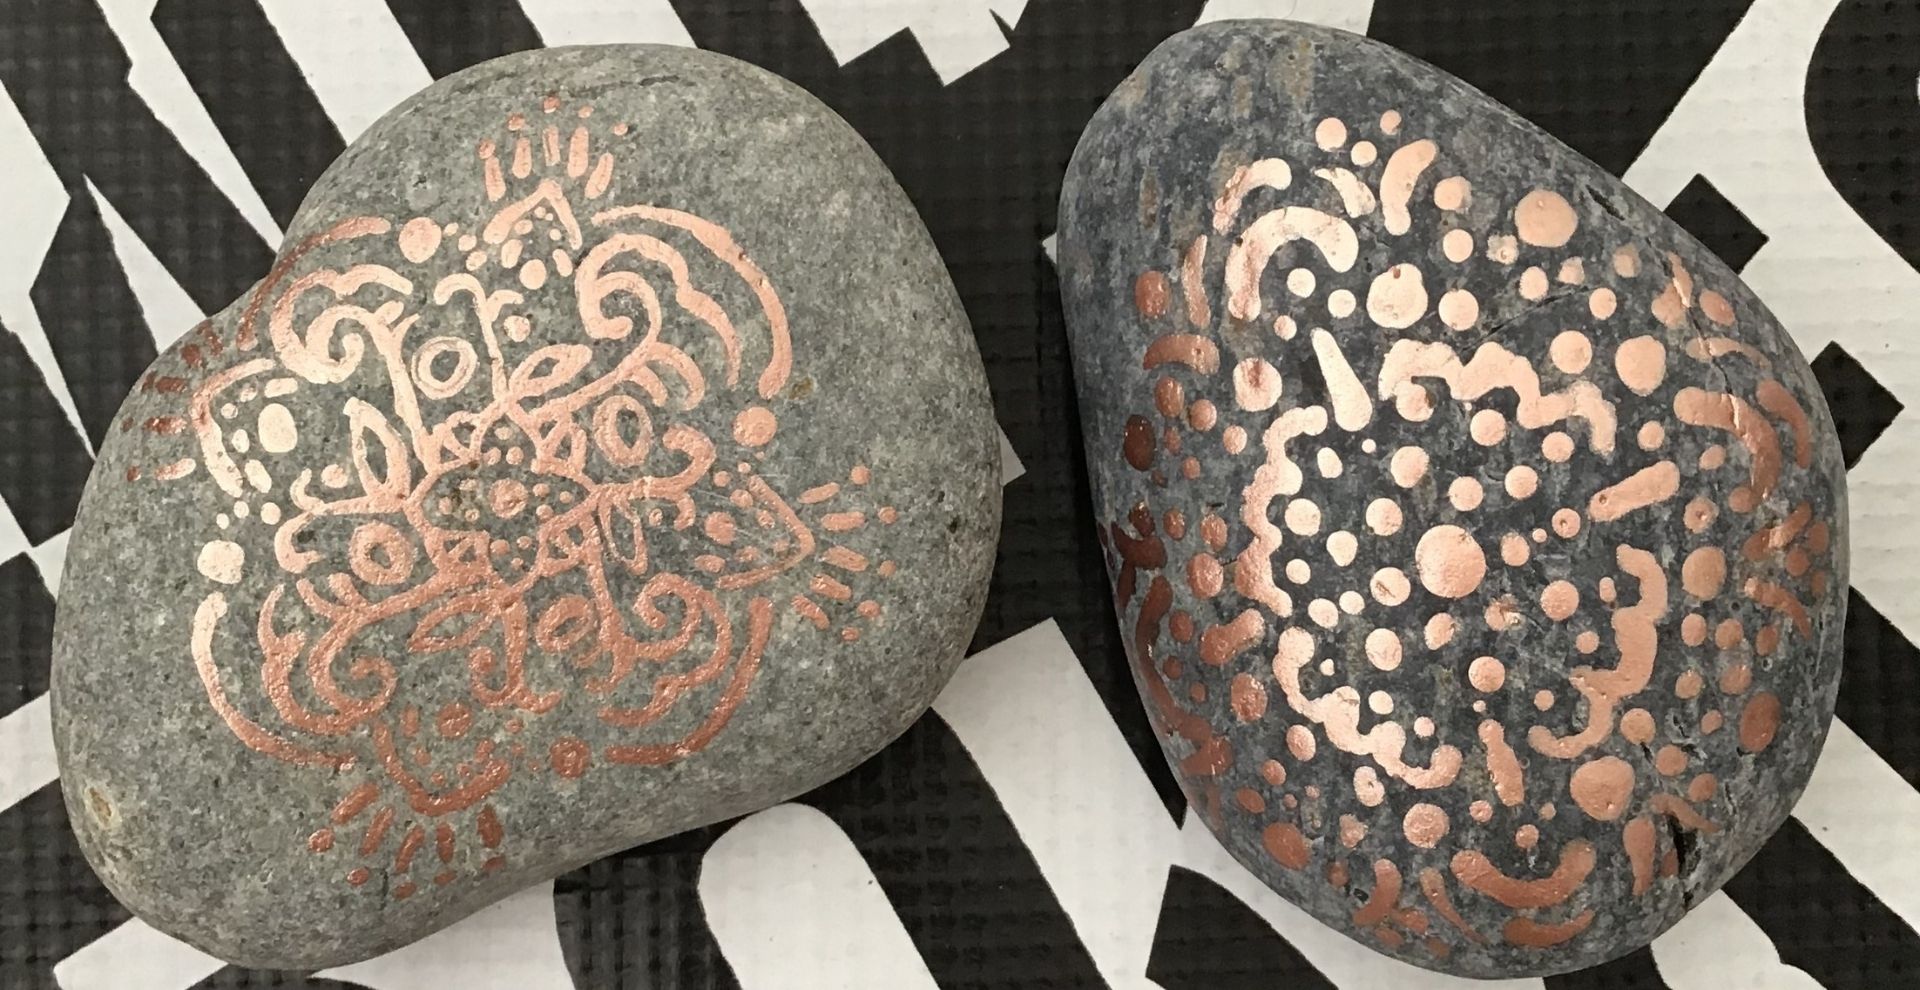
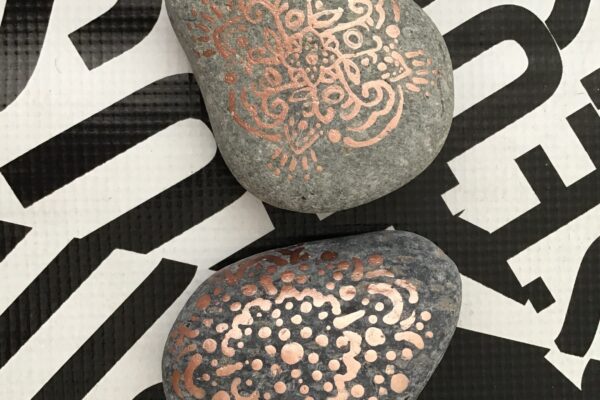
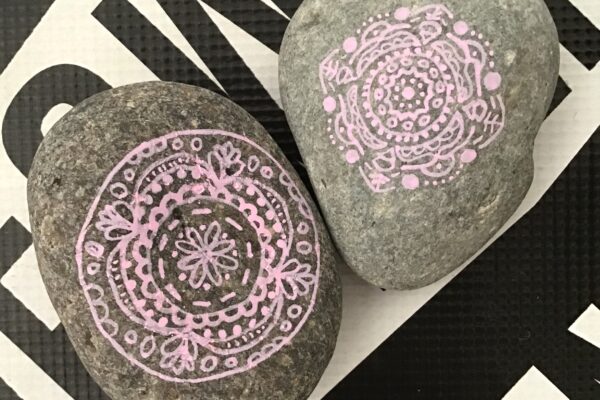
Combine natural materials with personalized, decorative design in this meditative mandala activity. The traditional, beautiful technique of creating circular patterns is uniquely soothing and challenging on a rock surface. Many rock mandalas use layers of color to build up dots, but this technique focuses on a single color for each monochrome mandala. Build up a collection using a group of rocks if you wish. Once finished, decorate your space or windowsill with your mandala, or leave mandala-adorned rocks in your neighborhood for others to happen upon.
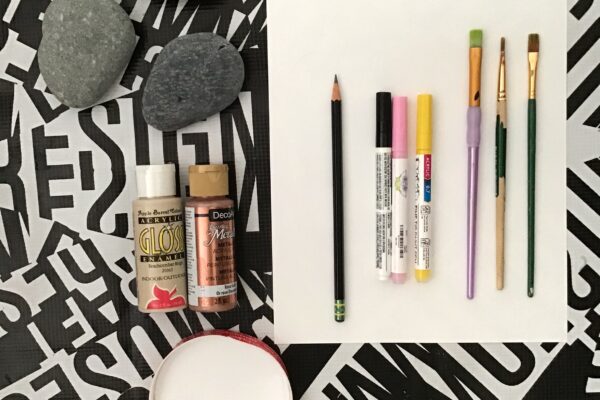
MATERIALS
Rocks–flat and rounded will be easiest to paint. Consider color as well.
Acrylic paint or paint markers
Small brush and flat surface for palette if using paint
Mandala template (optional)
Toothpick or skewer (optional)
Pencil and paper for sketching
INSTRUCTIONS
- Find appropriate rocks. Numerous craft and hardware/landscaping suppliers offer flat, circular rocks for sale. However, your mandala will be more personal if you’re able to find your own rocks close to where you live. Make sure that you’re not taking rocks from others. Mandalas will be easiest if practiced on rocks that have at least a 2” space for painting, but can be smaller, especially if using a small paint pen or toothpick as a tool.
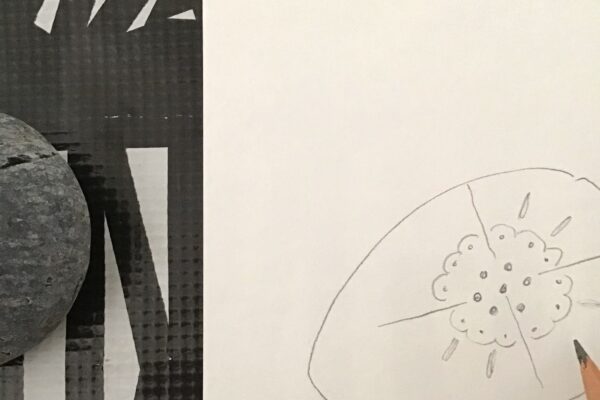
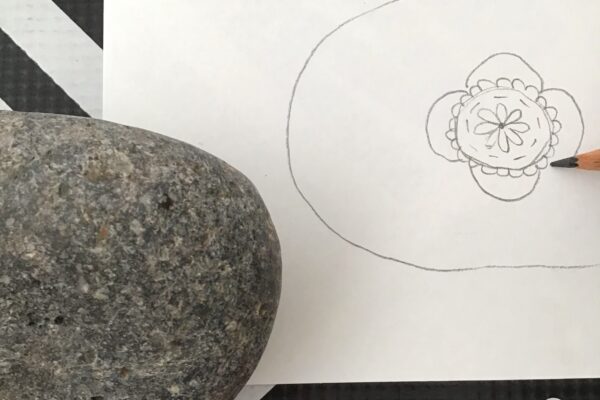
- Draw a rough outline based on the shape of your rock. As shown, the rocks may not be perfectly circular. Decide where you would like to center your design, and where you think the design will end. Mandalas, above all else, use a circular shape.
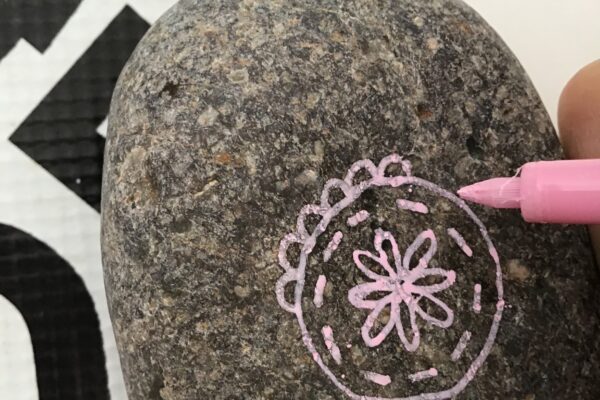
- Once you’ve found a center point, sketch in surrounding patterns. If you like, divide up your mandala from that center point into thirds, quarters, or fifths to guide your design. Common pattern motifs may be flower petals or leaf shapes, geometric shapes, dots, or lines. A mandala can be made by simply repeating a single shape, such as a petal, over and over.
- Draw a rough outline based on the shape of your rock. As shown, the rocks may not be perfectly circular. Decide where you would like to center your design, and where you think the design will end. Mandalas, above all else, use a circular shape.
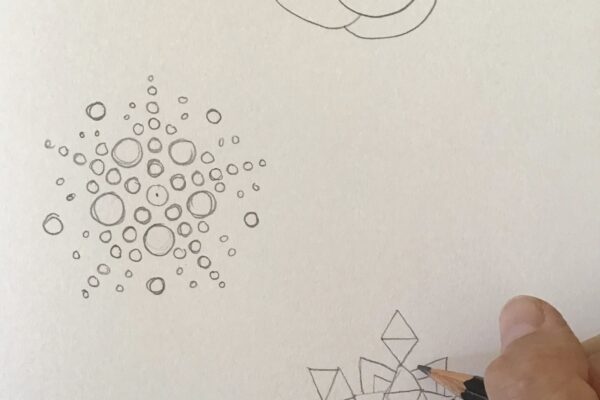
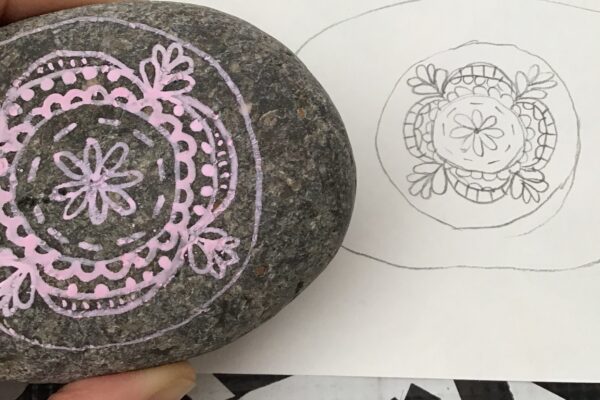
- Consider the tool you plan to use while you sketch. Paint pens, for example, can make a very fine line, while some brushes or brush ends may make a larger dot. Continue your sketch as far out as you wish, but be aware that you might lose some detail or space as you translate it to the rock. You can also design only the center of your design and add on more as you go.
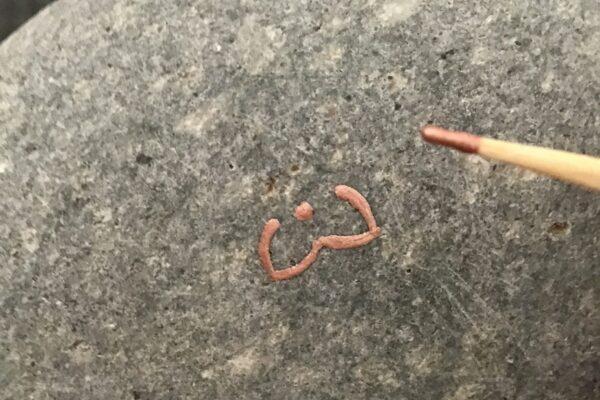
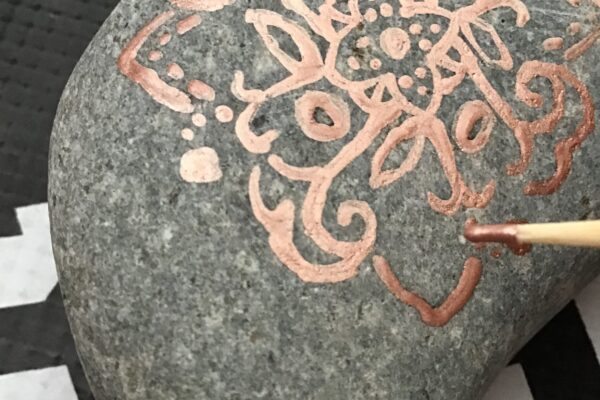
- Once you’re ready, finalize your tool for painting. You may have a small, round brush that will work for your design, or try using the back-end of the brush. For intricate dots, a toothpick will work well. Acrylic pens or markers also make precise marks. Make sure to shake acrylic markers before using and press their tip down on paper. Test any tool on paper first.
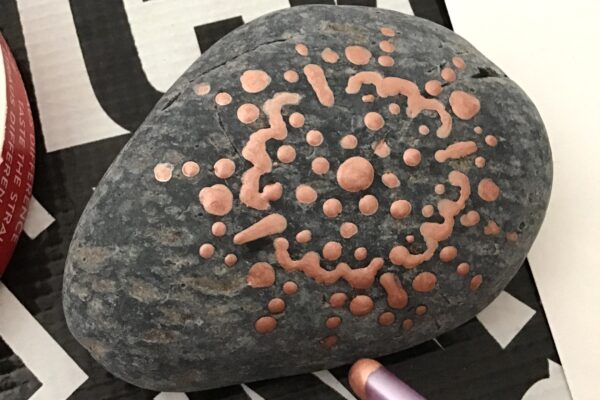
- In these mandalas, each rock will be monochrome, so the focus will be on the design itself. Choose a paint color that will work best for your rock. Squeeze out a bit of paint on a palette surface if you’re using liquid acrylics – you’ll likely use less than you think!
- Keep a wet paper towel nearby to wipe major mistakes if needed – small mistakes can be part of the design.
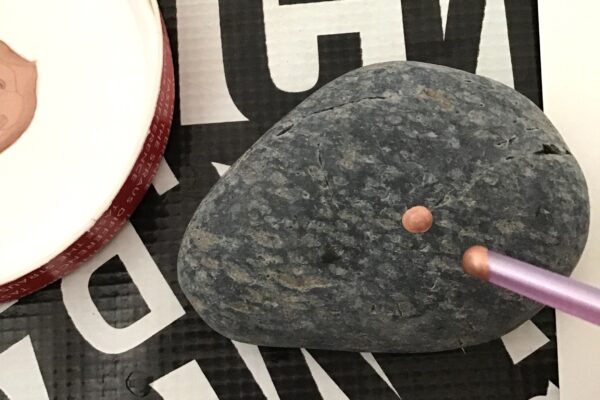
- Start your painting in the center, as in your sketch. Play music or meditative words as you go, and make sure to pause and breathe.
- Once your center is created, refer to your drawing and create the next line of the mandala, or slowly freehand your work if you choose. Mandalas will usually be symmetrical, but do not need to be perfect. If the scale of different parts of your design differs, simply continue the pattern, and the design will still be perceived as a whole.
- If possible, turn your rock as you add detail, both to view it from different perspectives and to avoid smearing any of the paint as you work. It will also be easier to work on surfaces that are closer to you.
- Be forgiving of your lines and dots. Your rock may not be perfectly smooth.
- Consider each row of your design before you add another. Does this still work within the context of the whole rock? Do you want your design to stretch to follow the size of the rock, or remain more exactly circular (as shown)? Don’t be afraid to change your design if needed to adapt to the rock surface.
- Let your painted rock dry for at least 20 minutes after it’s finished, especially if paint is thick.
RELATED RESOURCES
- While working, boost your creative flow state with binaural beats and iso tones, or choose from this huge list of podcasts featuring art, design and creativity!
CONNECT SOCIALLY AND LEARN MORE
![]()
![]()

Share your project! Post and tag #MCDatHome
UPCOMING EVENTS

Free Summer Weekend!
The Fabric of Celluloid: A Conversation with Dr. Alla Gadassik