Welcome to Weaving


RECOMMENDED AGE LEVEL
5+ with adult supervision
PROJECT DESCRIPTION
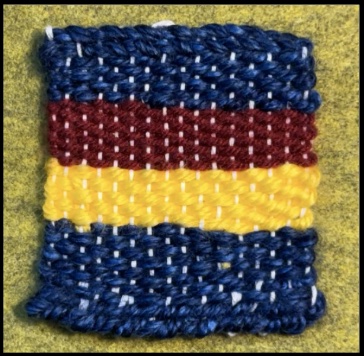
Weaving is a craft that involves interlacing two sets of threads to form fabrics, tapestries, rugs, and more. There is much archaeological evidence to suggest that weaving was universally known to all major human civilizations, through the materials and techniques varied across time periods, cultures, and geographic areas. Despite these differences, the fundamental process of weaving has continued to be a crucial method for textile production, and is practiced today as both an art form and commercial industry.
Many of the artworks featured in Ruglife are handwoven, featuring richly dyed natural fibers and complex designs. Inspired by featured works such as Oksana Levchenya, Pac-Man and Cossacks, 2022 and Noelle Mason, Ground Control (Mexicali/Calexico), 2020. MCD invites participants to learn about the traditional, time-honored techniques necessary for creating their own woven piece of art!
MATERIALS
- Loom | Wooden frame loom or DIY cardboard loom
- Scissors
- Tape
- Warp thread | Tightly spun, non-stretch material that can maintain tension when stretched across the loom pegs.
- Weft materials | Yarn, roving, long strips of non stretch fabric, tulle, etc.
- Weaving comb | Alternatives: Fingers, fork, or wide tooth hair
- Yarn, weaving, or tapestry needle
- Warp card | Slim cardstock rectangle, roughly same width as loom
PROJECT PERSONALIZATION
Skill development takes time! Weaving has a worthwhile learning curve. Intentionally select tools and materials to meet your needs and match the time you have today:
Lower Time Commitment | Small loom, bulky weft materials
Longer Time Commitment | Large loom, fine weft materials
Accessible Adaptation | Low warp count, high contrast between weft and warp color and texture.
INSTRUCTIONAL VIDEOS
Follow along as MCD narrates their creative approaches!
VISUAL STEP BY STEP
INSTRUCTIONS
Part 1 | Prepare the Loom
Warp Loom
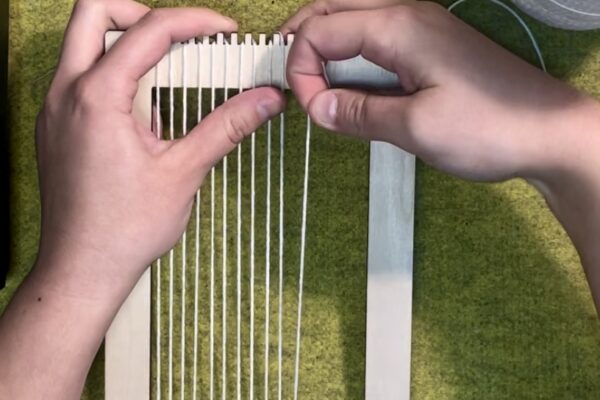
- Tie warp thread to first top peg.
- Pull down and loop around corresponding peg.
OPTIONAL: Increase space between warp threads by looping across multiple pegs at once - Continue up and down and left to right until at end of loom.
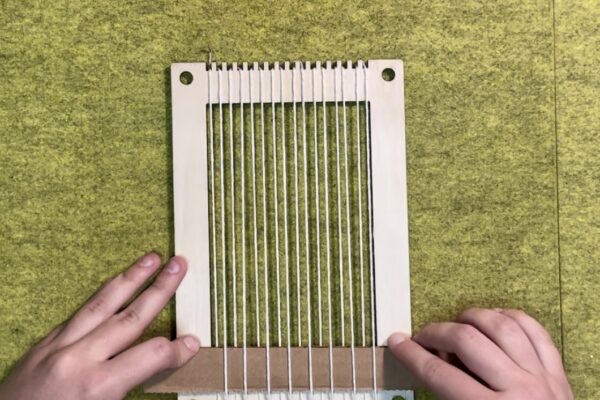
- Check tension and alignment. Warp threads should be taut and straight.
- Tape end of warp thread to side of loom. Cut leaving 3” tail.
- Weave in warp card, alternating between going over and under warp thread.
- Push warp card to bottom of loom.
Part 2 | Weaving
Step 1: Choose and Prepare Weft Material
- Choose weft material. We recommend starting with yarn.
- Measure and cut starting weft material. Pull across the width of loom 5-10 times
- Thread weaving needle with starting weft.
Step 2: Weave | Scroll down to Part 3 for plain weave and twining weave instructions.
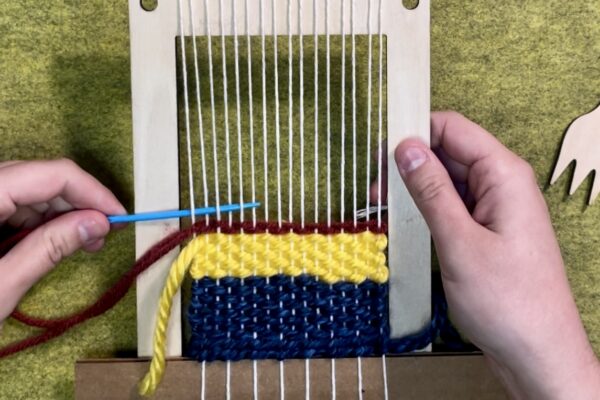
- 1st Row: Plain weave.
- 2nd Row: Twining Stitch
- 3rd row – second to last Row: Plain Weave
- Final Row: Twining Stitch
Step 3: Weave in Weft Ends
- Use needle to weave in any loose ends. Trim ends with scissors.
TIP: If weft is too short, insert needle into weave before threading.
Step 4: Remove Weaving from Loom
- Remove warp card.
- Untape warp end.
- Carefully slide upper warp threads from pegs.
- Slip loom off of bottom warp pegs.
Step 5: Finishing the Weaving
- Anchor top of weaving under heavy object to hold in place.
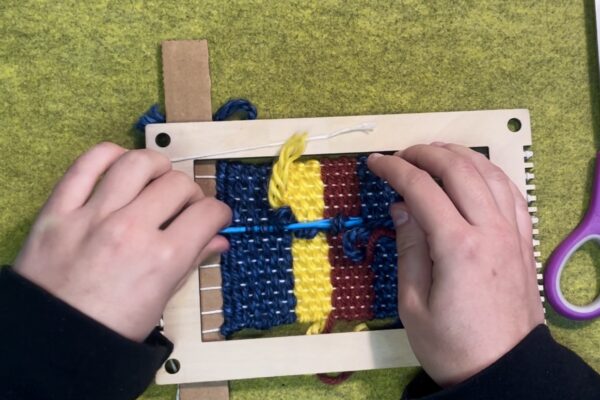
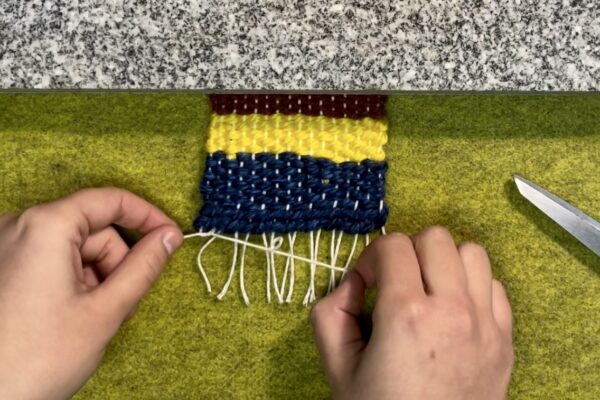
- Cut through warp thread loops at midpoint. Double knot ends together in pairs.
- Use needle to weave warp threads up into weaving. Trim the ends to conceal.
- Repeat steps on the other end of weaving.
Part 3 | Weaving in Focus: Plain Weave | Tabby Stitch
Plain weave
Plain weave is the most common of the three basic textile weaves. It is simple to learn and results in structured and strong fabrics.
- Thread weft through weaving needle.
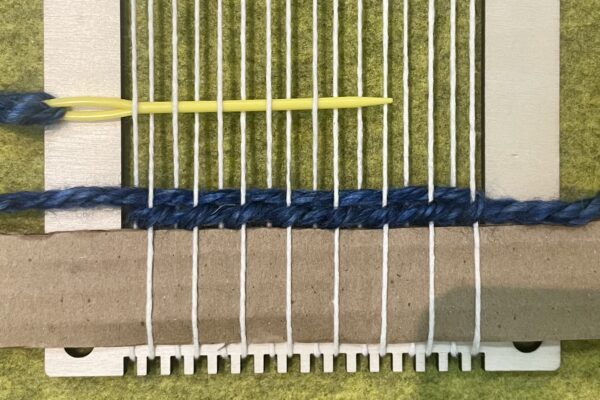
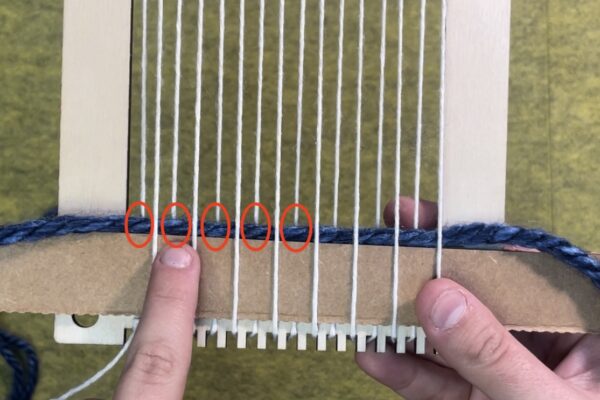
- Weave needle through warp threads. Alternate between crossing over and under warp threads until you reach the end of the loom.
- Pinch weft against first warp thread as you pull weft through to avoid straining outer warp thread.
- Pull weft through until ~4 inches remain. Let this tail dangle.
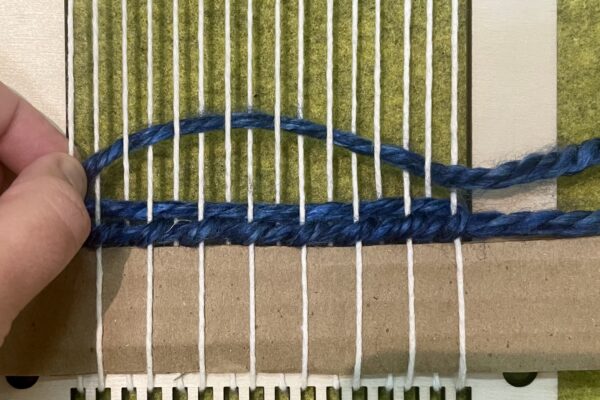
- Create a downward arc with weft thread to ensure enough slack.
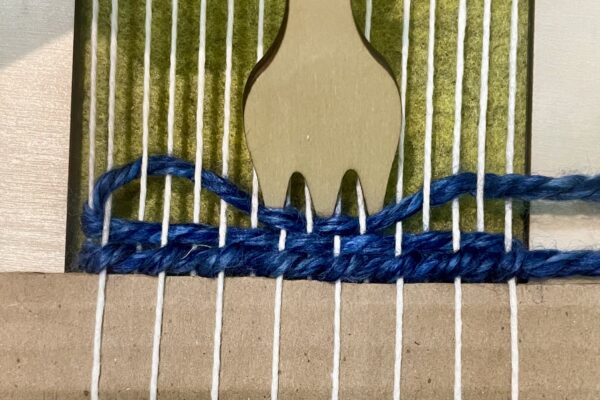
- Push down weft thread with comb to straighten stitches.
Note: Step 3-5 are crucial to preventing concave edges on your weaving. - Reverse weaving directions and repeat steps 2-5.
Always work in the opposite direction as the previous row, crossing over and under the opposite warp threads as in the row before.
Twining Stitch
Twining stitch is a helpful way of securing the first and last few rows of a weaving. Use instructions and diagram to learn the stitch!
NOTE: Work only on weft thread that crosses over warp thread. This means you will add the twining stitch on every other warp thread.
- Start with a row of plain weave
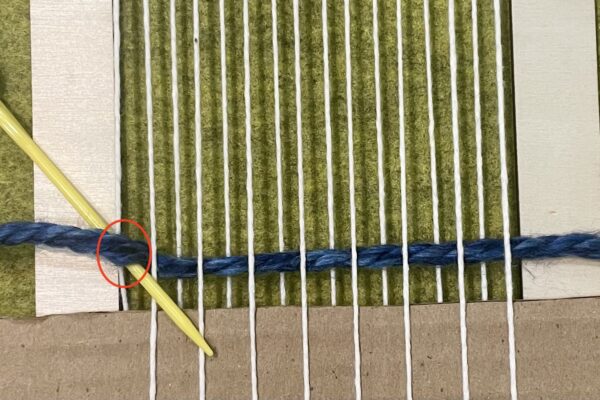
- Looking at most recent row, find the first warp thread in which weft crosses over warp thread.
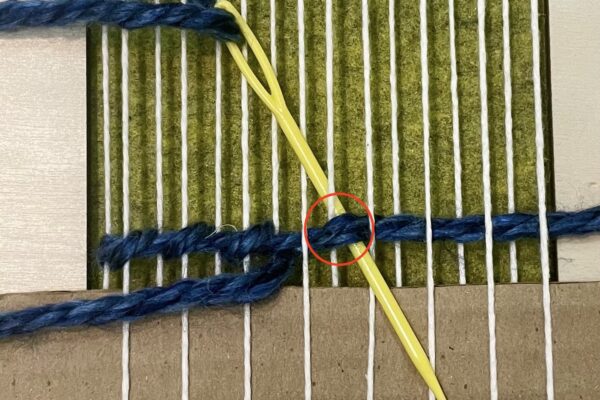
- Slide needle under both warp and weft thread at a 45° angle and pull through, bringing yarn down towards the base of loom.
- Repeat at next thread where weft crosses over warp, and continue until row is complete.
CREATIVE PROMPTS FOR MORE
Project Ideas
- Make a small square weaving and use as a mug rug/coaster
- Attach your weaving to a dowel and display as a wall hanging
- Stitch together multiple small weavings to create a garland, scarf, or other accessory
RELATED RESOURCES
The internet is rich with artist tutorials demonstrating a vast variety of weaving techniques. Check out these tutorials to expand your practice:
- Rya knots
– How to add FRINGE to weaving
– Weaving Techniques | Rya Knots - Sumak stitch
– How to Weave Soumak Stitch (frame loom weaving)
– Weaving Techniques | Soumak Stitch - Overshot Weaving
– Overshot Weaving Tutorial + PDF Pattern
– Overshot Weaving | History and Tips
Oakland-based interdisciplinary artist Kelli Black collaborated with MCD to create Unweave to Reweave, a MakeArt Lab activity for visitors of the museum. Check out their work!


