Crafty School Supplies
Sponsored by

RECOMMENDED AGE LEVEL
Recommended for ages 4 and up with adult supervision.
PROJECT DESCRIPTION
Upgrade your back-to-school basics with these exciting, tactile additions!
MATERIALS
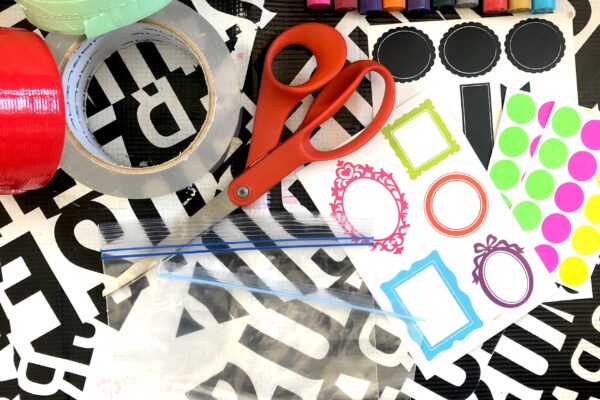
Do-Dad Bags
Clear plastic sandwich or snack bag
Glitter glue (DIY recipe here)
Clear packing tape •
Scissors
Stickers
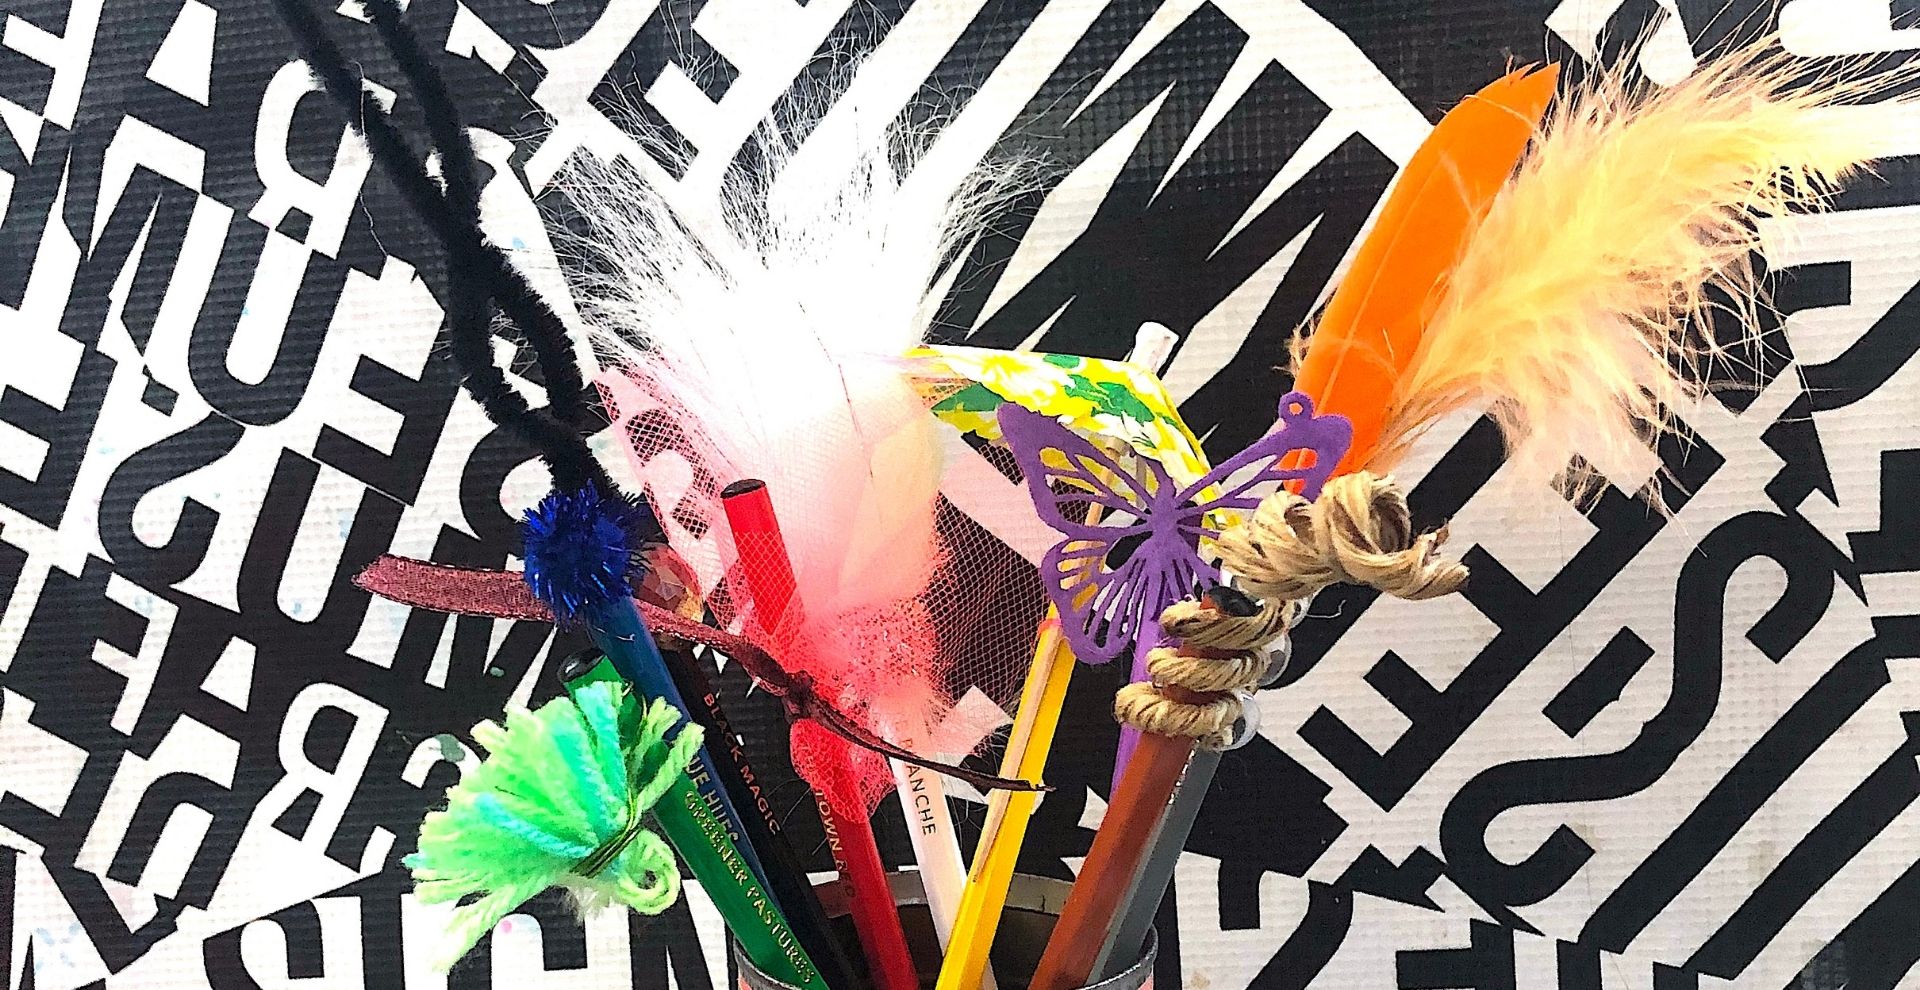
Monochrome Matches
5+ colored pencils
Colorful embellishments (ie: feathers, stickers, pipe cleaners, yarn, pom poms, cocktail umbrellas, tulle, googly eyes)
Hot or tacky glue
Pencil Personalities
Yarn
Scissors
Hot glue
Marker
Pom poms or googly eyes
Fabric paint
Slime Notebook
Notebook with cardboard cover
Elmer’s glue
Contact lens solution or saline solution
Food coloring or liquid watercolors
Baking soda
At least one mixing bowl
Mixing tool
Ziplock bag or clear plastic pouch
Scissors or X-acto
Duct or other strong tape
OPTIONAL: glitter


INSTRUCTIONS
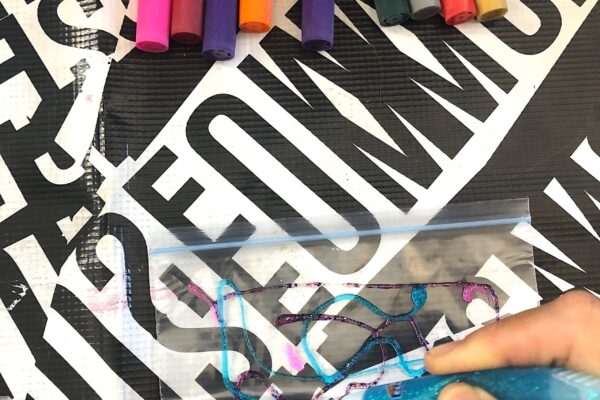
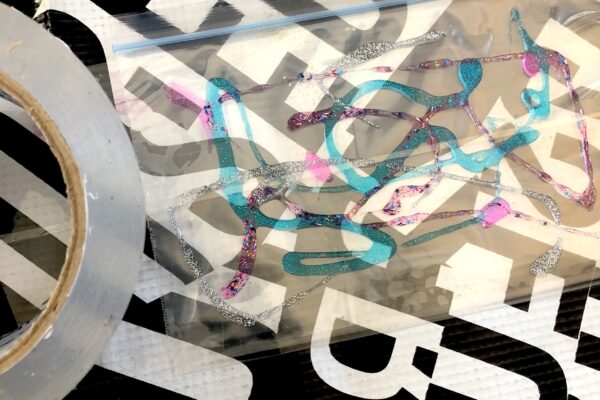
Do-Dad Bags
- Use glitter glue to make abstract designs on your bag. Be sure to leave about an inch around every edge, so that the tape has somewhere to adhere.
- Cut a piece of clear packing tape that is about 2 inches longer than the length of the bag.
- Lightly lay the tape lengthwise over the top of the bag, just below the “zipper.”
- Press the tape down along the top, where there is no glue. Do the same on the sides and fold the excess over the edge.
- Cut a second piece of tape and adhere below the first piece, making sure to overlap the top edge of the second piece about ¼ inch over the bottom edge of the first piece. Press down side edges and fold excess. Repeat until bag is covered.
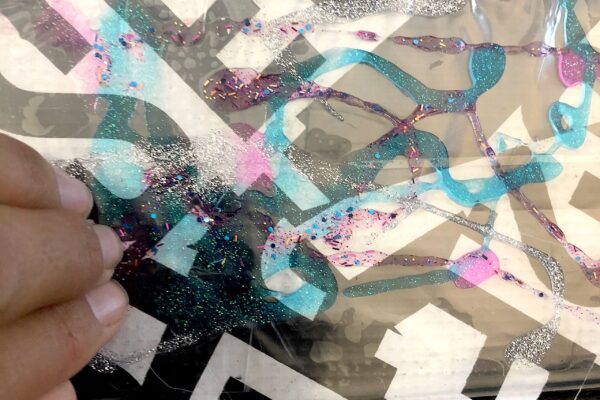
- Make sure the overlap seams are well adhered, then use your fingers to smush the glue around under the tape.
- Embellish your bag with stickers (we placed ours on the inside-back of the bag), and carry your supplies with some extra flair!
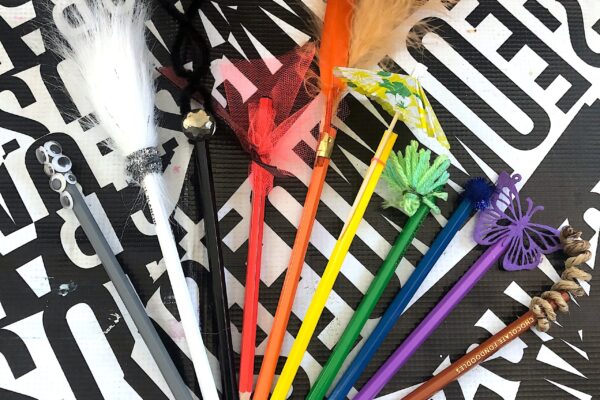
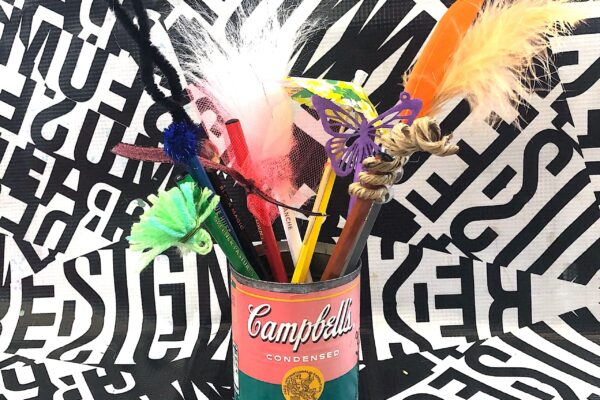
Monochrome Matches
- Search for a rainbow of small objects, craft supplies, and fabrics.
- Match each of your colored pencils with one of the objects.
- Use hot glue, tacky glue, or wire to adhere the object to the end of the pencil.
Pencil Personalities
- Choose one or more pencils you want to embellish.
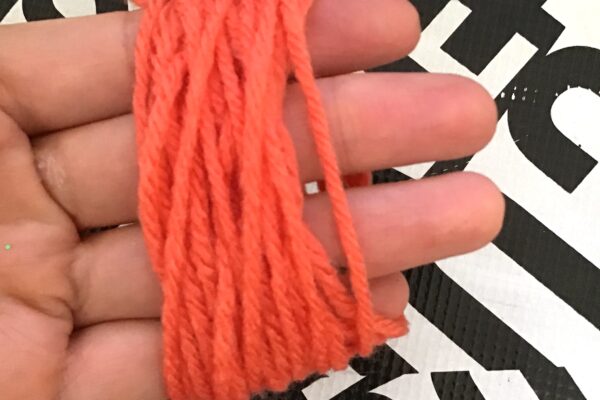
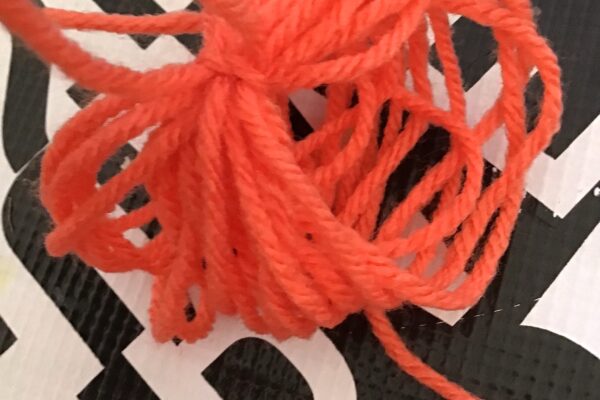
- Wrap yarn around your fingers about 20-30 times, not too tight. Tie one side of the loop with another piece of yarn.
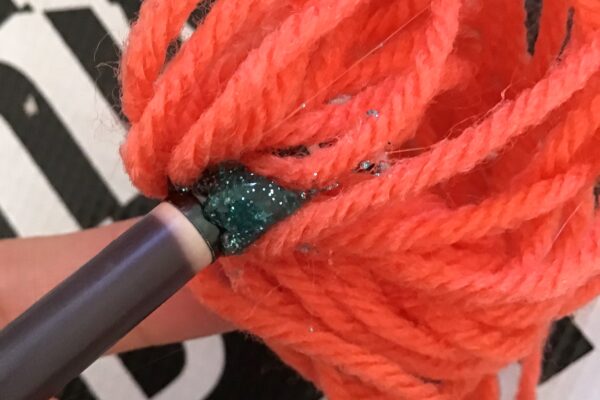
- At the tie point, hot glue the puff to your pencil.
- Style the “hair” – trim it, cut the other side of the puff, put a rubber band around it, or more!
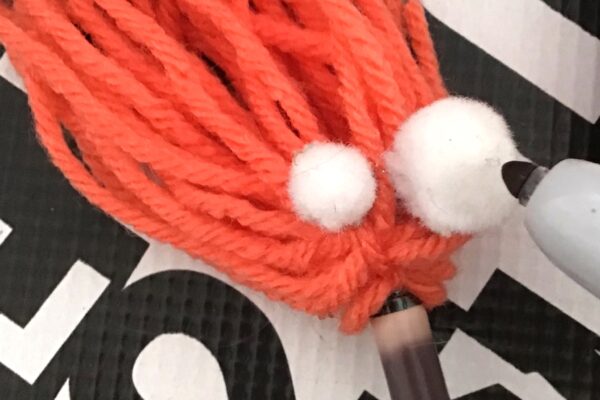
- Glue on eyes for extra personality.
TIP: You can make googly eyes out of small white pom poms, or draw and cut some out of paper. Have fun with different sizes and colors!
OPTIONAL: Pour out a small amount of fabric or acrylic paint and dip the “hair” in the paint. Add glitter to the wet paint and allow to dry.
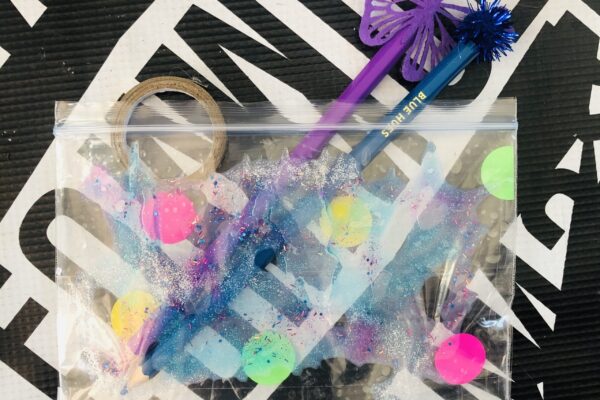
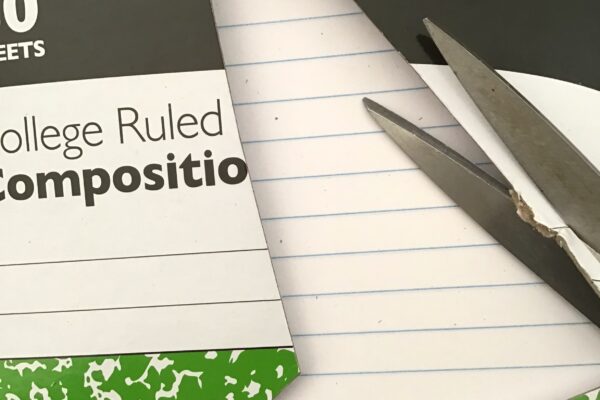
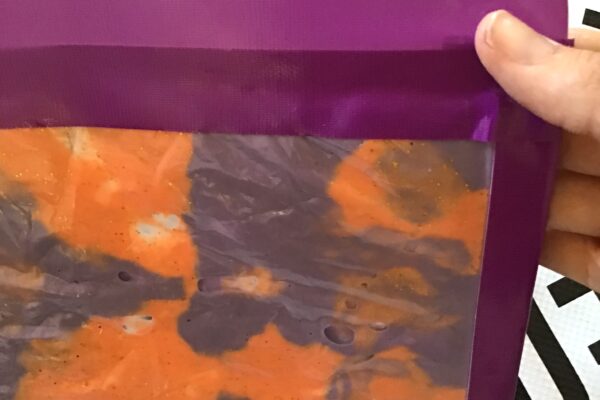
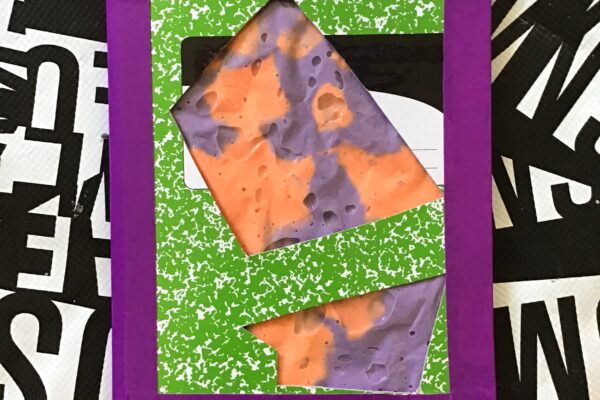
Slime Notebook
- Cut a window into the front of your notebook. Slime will show and be pushed through the window you cut, so make sure your cut window is not longer than your bag.
- Line up your plastic bag with the notebook to make sure their sizes fit together. If it is too large, you’ll plan to fold the edge around the side of the notebook.
- Many different fillers can be used for the inside, including baby oil and clear glue mixtures. This sample mixture makes a springy slime.
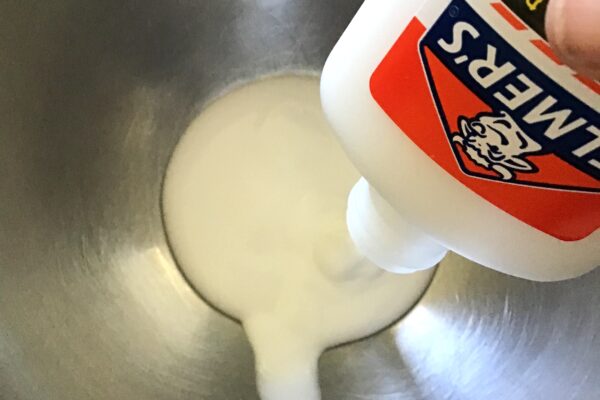
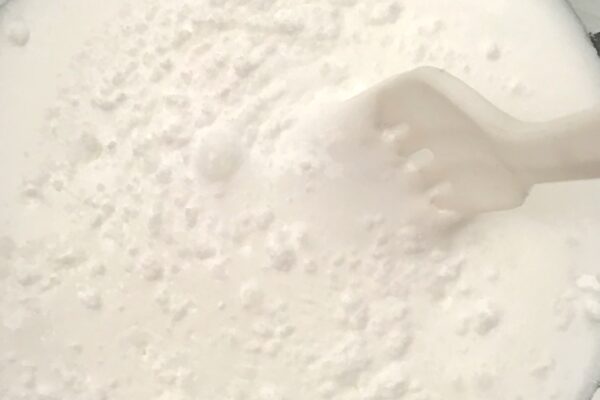
- Combine 4 fl oz of Elmer’s White glue with ½ Tablespoon of baking soda. Mix well. That’s a whole standard size glue bottle, so if you have a very small notebook and don’t want extra slime, halve the recipe.
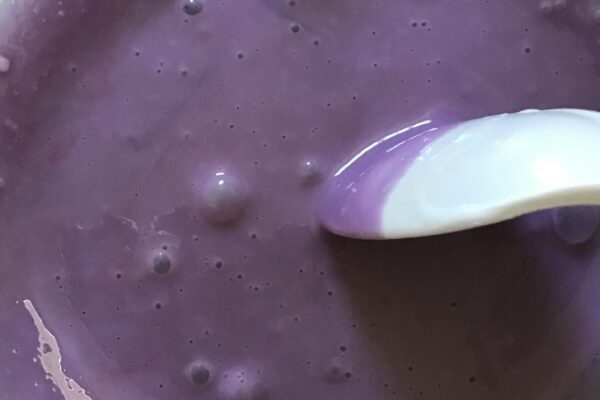
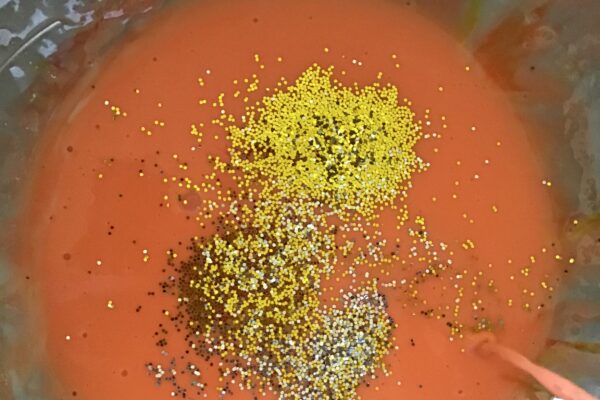
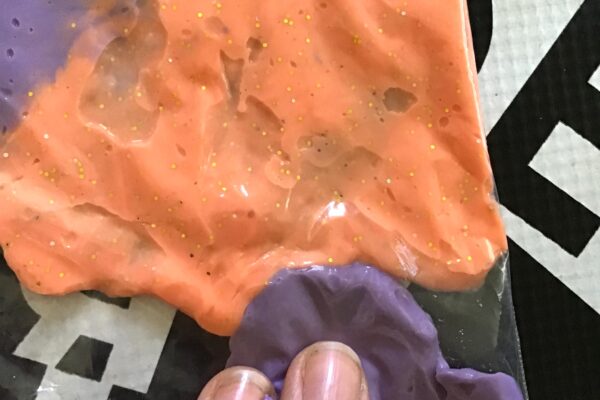
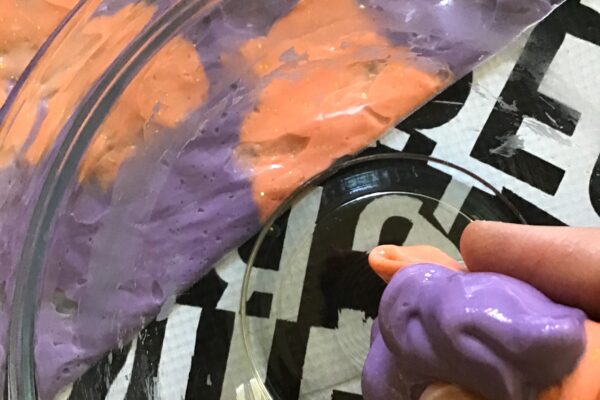
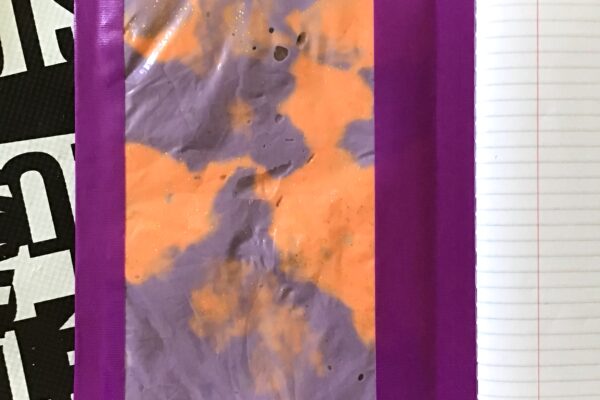
- Once mixed, add your coloring and glitter. You could also split your initial mixture evenly into two bowls if you’d like to make different batches of color (as seen here).
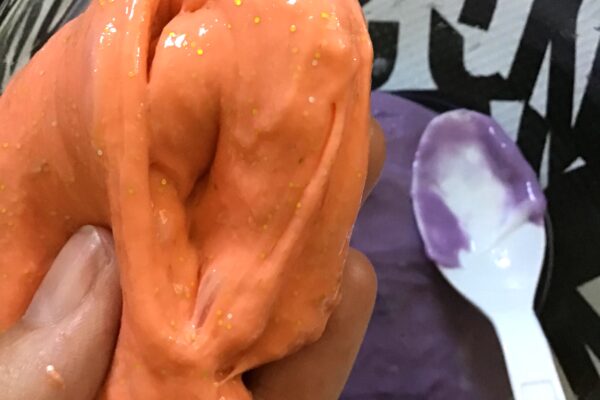
- Once color is well mixed, add 1 Tablespoon of contact lens or saline solution and mix well again. You’ll notice the slime bunching together right away. Keep stirring as the slime firms up until it pulls easily from the sides of the bowl.
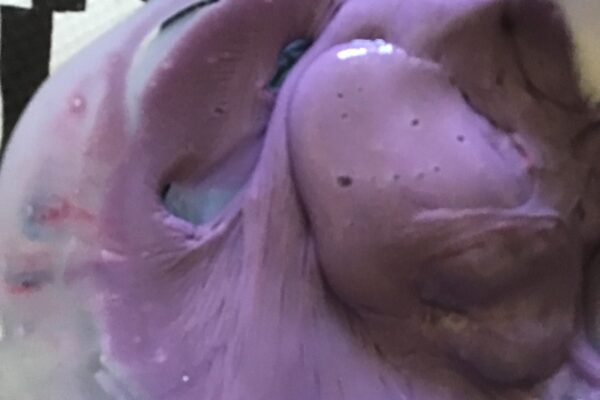
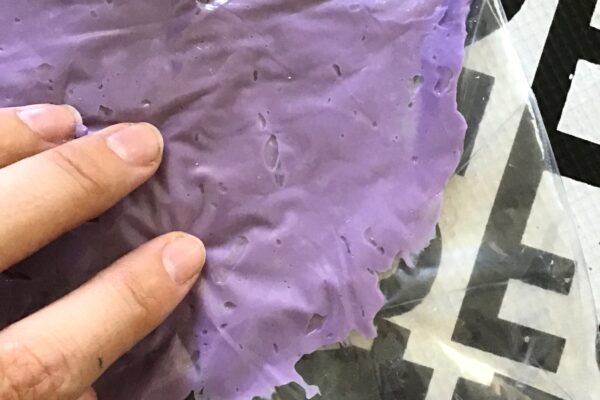
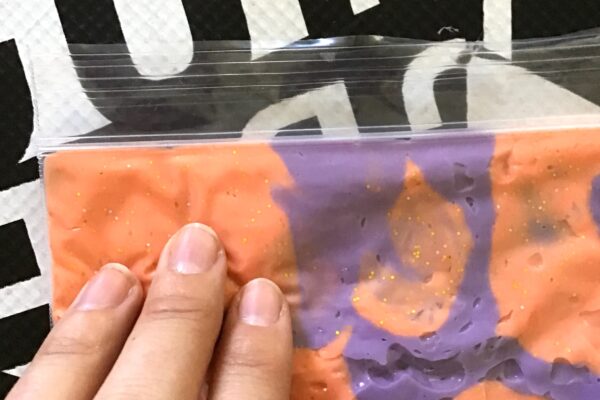
NOTE: If you’ve split the slime, use ½ Tablespoon of solution for each. - Next, grab a small handful of slime and put it in your bag. Spread it evenly starting with the corners farthest from the bag’s opening. If you have multiple colors, alternate as you go.
- Keep adding slime until you have almost reached the opening. Zip or press the opening closed, and even out any remaining bumps.
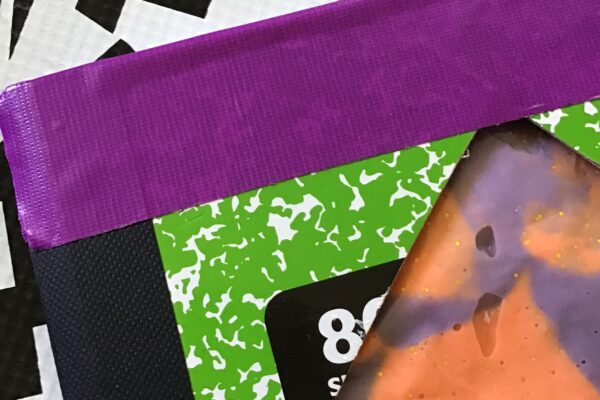
NOTE: You only need enough slime to just cover the inside surface of the bag, and you will likely have leftover slime. - Check that your colors show through your notebook cover’s holes. Tape down all of the edges of your bag firmly to the interior of the notebook cover. Cover up any logos for an extra graphic design.
- Enjoy your new tactile notebook!
NOTE: Be careful not to puncture the cover with a sharp pencil or tool.
RELATED RESOURCES
CONNECT SOCIALLY AND LEARN MORE
![]()
![]()

Share your project! Post and tag #MCDatHome
UPCOMING EVENTS

Free Summer Weekend!
The Fabric of Celluloid: A Conversation with Dr. Alla Gadassik