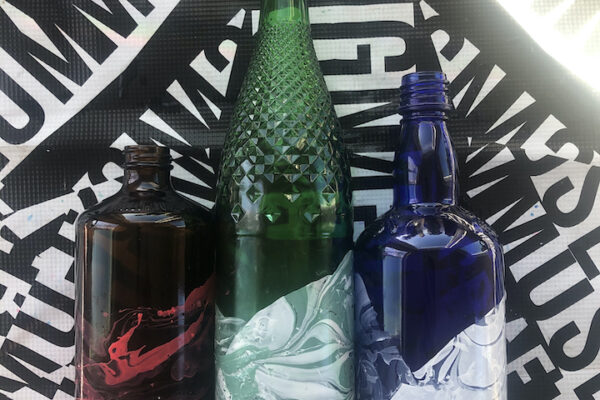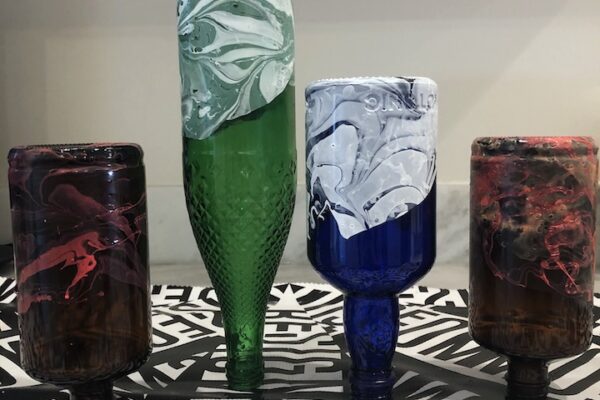
Marbled Bottles
Sponsored by

RECOMMENDED AGE LEVEL
Recommended for ages 12 and up.
PROJECT DESCRIPTION
Bring beautiful new life to old recycled bottles. Plus, thin out your nail polish supply as a part of the quarantine clutter purge!
MATERIALS
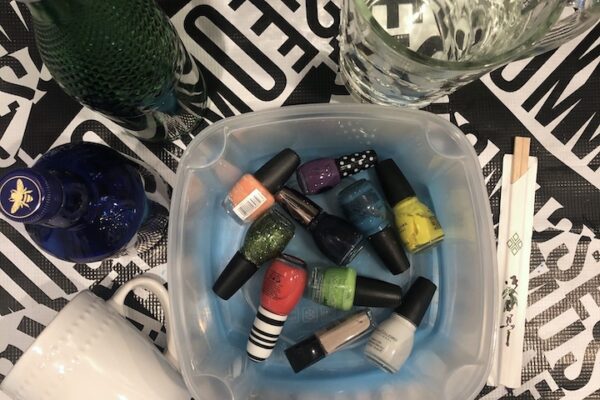
Recycled bottles
Nail polish (avoid glitter polish)
Warm water
Disposable chopsticks (or similar)
Disposable (or art project designated) medium/large container for water.
Surface protector
Well ventilated work area
Paper towels
Optional:
Acetone + cotton swabs
INSTRUCTIONS
- Place the surface protector in a well-ventilated area. Place the container on it.
- Fill container ¾ of the way full of pretty warm water (but not hot).
- Shake nail polish and remove the lid/brush. Set lid aside and keep polish bottles beside the container.
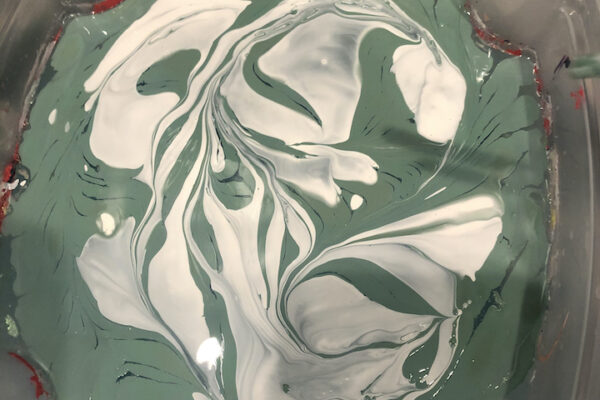
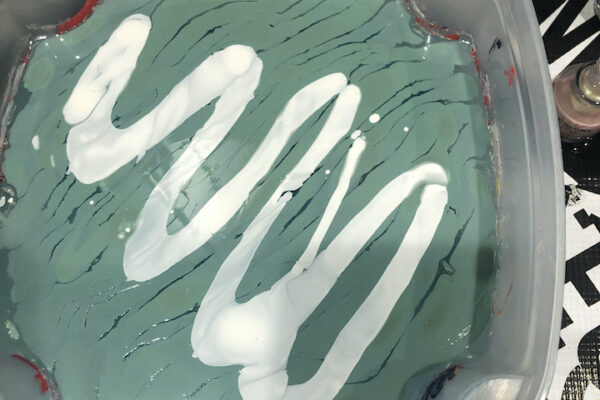
- When ready, drizzle 1-3 colors of polish onto the surface of the water. You will want to move quickly so the paint does not set.
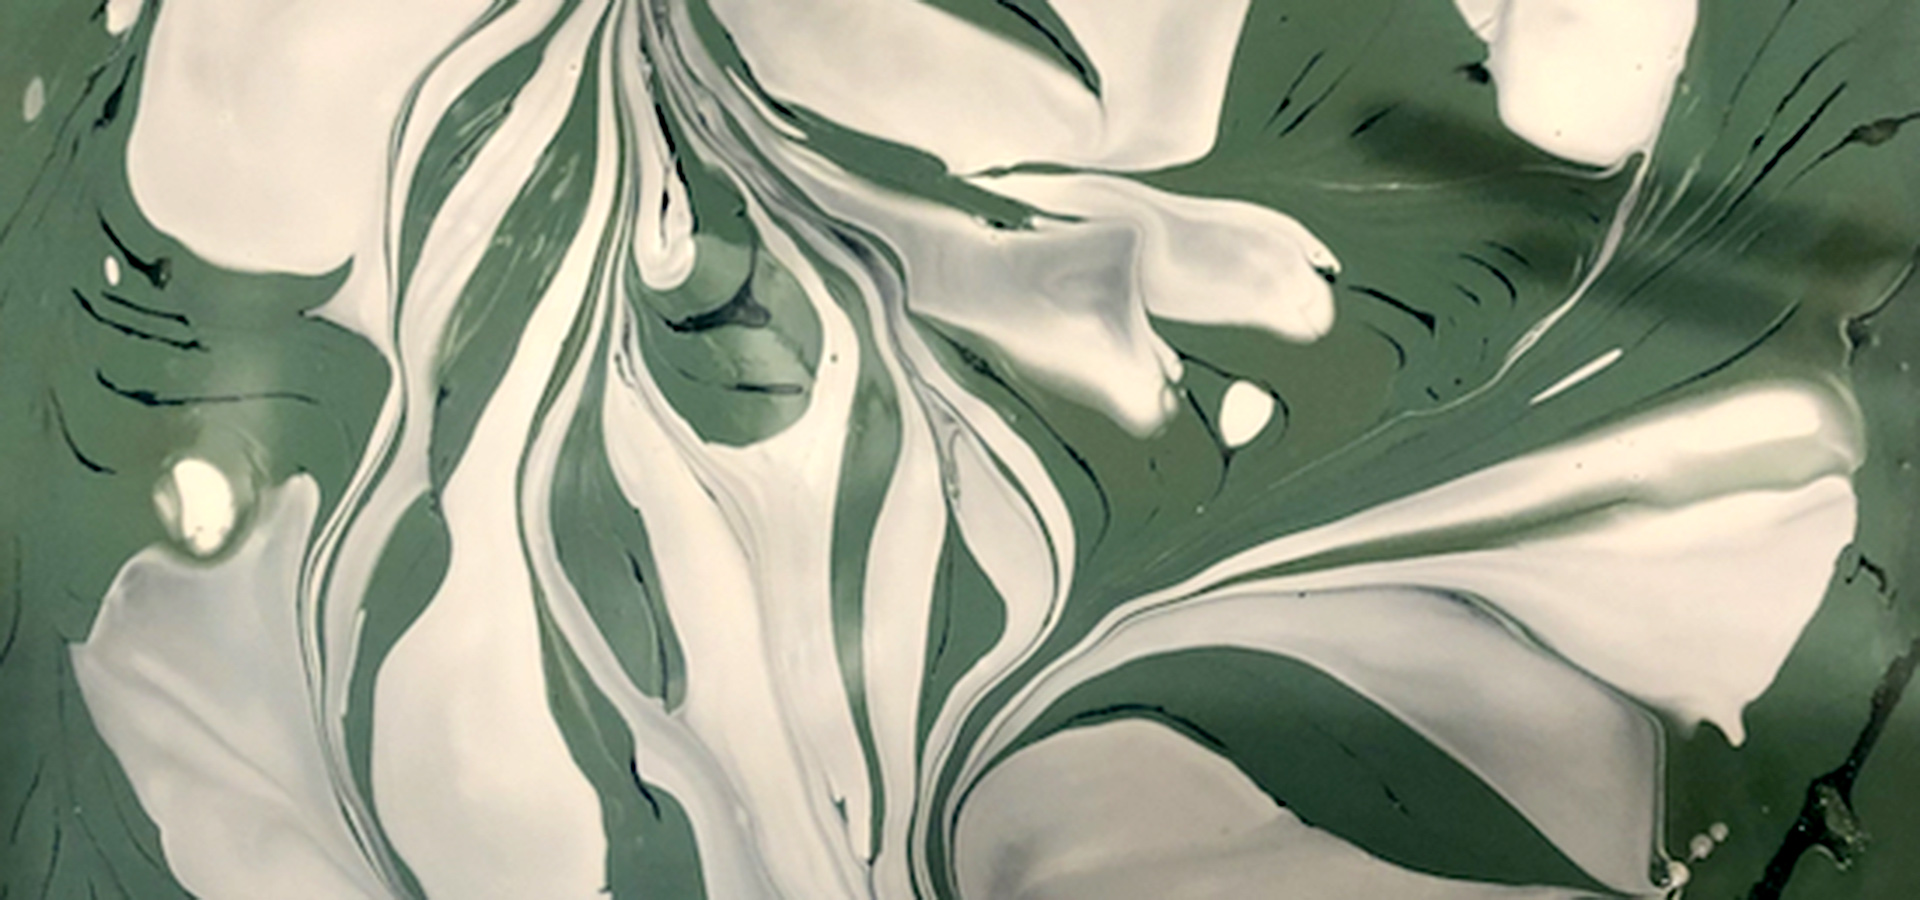
NOTE: Adding black or white to your palette gives a satisfying contrast. - Lightly swirl the colors together with a chopstick, or similar.
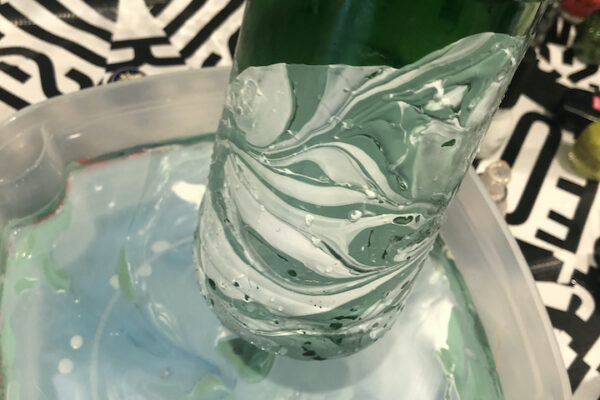
- Holding it by the neck, dip the bottle at an angle into one side of the paint swirl, and turn the bottle through the swirl, toward the other side of the container. Try not to let the bottle touch the bottom or sides of the container.
- Lift the bottle and re-dip into the remaining swirl.
NOTE: By this point, your swirl will have pretty much set– if you have any blank spots in your bottle design, you can place the blank area directly onto the swirl in order to pick it up. - Set the bottle upside down on a flat, sturdy surface to dry.
To dip another bottle, use a disposable utensil to clear out any leftover paint swirl. It should lift right out of the water. Any paint on the bottom of the container can remain there. - Add extra warm water as needed, and repeat!
- OPTIONAL:
- Try layering in single colors, allowing each layer to dry in between colors.
- Set your design with a lacquer
- Play with dipping other materials
CONNECT SOCIALLY AND LEARN MORE
UPCOMING EVENTS
MakeArt Course: Decorative Ceramic Trays with Jeremiah Barber
June 14 @ 11:00 AM - 2:00 PM
Mobile MakeArt: Beau McCall Identity Buttons at NightLife PRIDE
June 26 @ 6:00 PM - 10:00 PM
Mobile MakeArt – Stern Grove Music Festival
June 29 @ 12:00 PM - 4:00 PM
Mobile MakeArt: Creative Youth Celebration
July 19 @ 12:00 PM - 3:00 PM


