
Natural Dye T-Shirt Yarn
Sponsored by

RECOMMENDED AGE LEVEL
Recommended for ages 5 and up with adult supervision.
PROJECT DESCRIPTION
With summer weather comes more opportunity to be outside and to get a little messy. Tie dye is a traditional summer activity, and this variation uses natural, safe, familiar materials that you may not have considered before. Deconstruct a regular t-shirt to make usable yarn, dye it, and then use it as raw material to braid, finger-weave, or crochet a necklace or bracelet.
MATERIALS
Old t-shirt (white or light-colored)
Scissors
Stove
2 Med/large pots (quart+ size)
Large bowl or wide mouth jar
Wooden spoon and/or tongs
Strainer
Measuring cups
White vinegar
Rubber bands or twine
Turmeric (shown in example – with more to try).
Optional: Gloves


INSTRUCTIONS
NOTE: If dyeing, you may want to start the process of preparing the dye before you cut your shirt into yarn. See dyeing instructions below.
Fabric yarn:
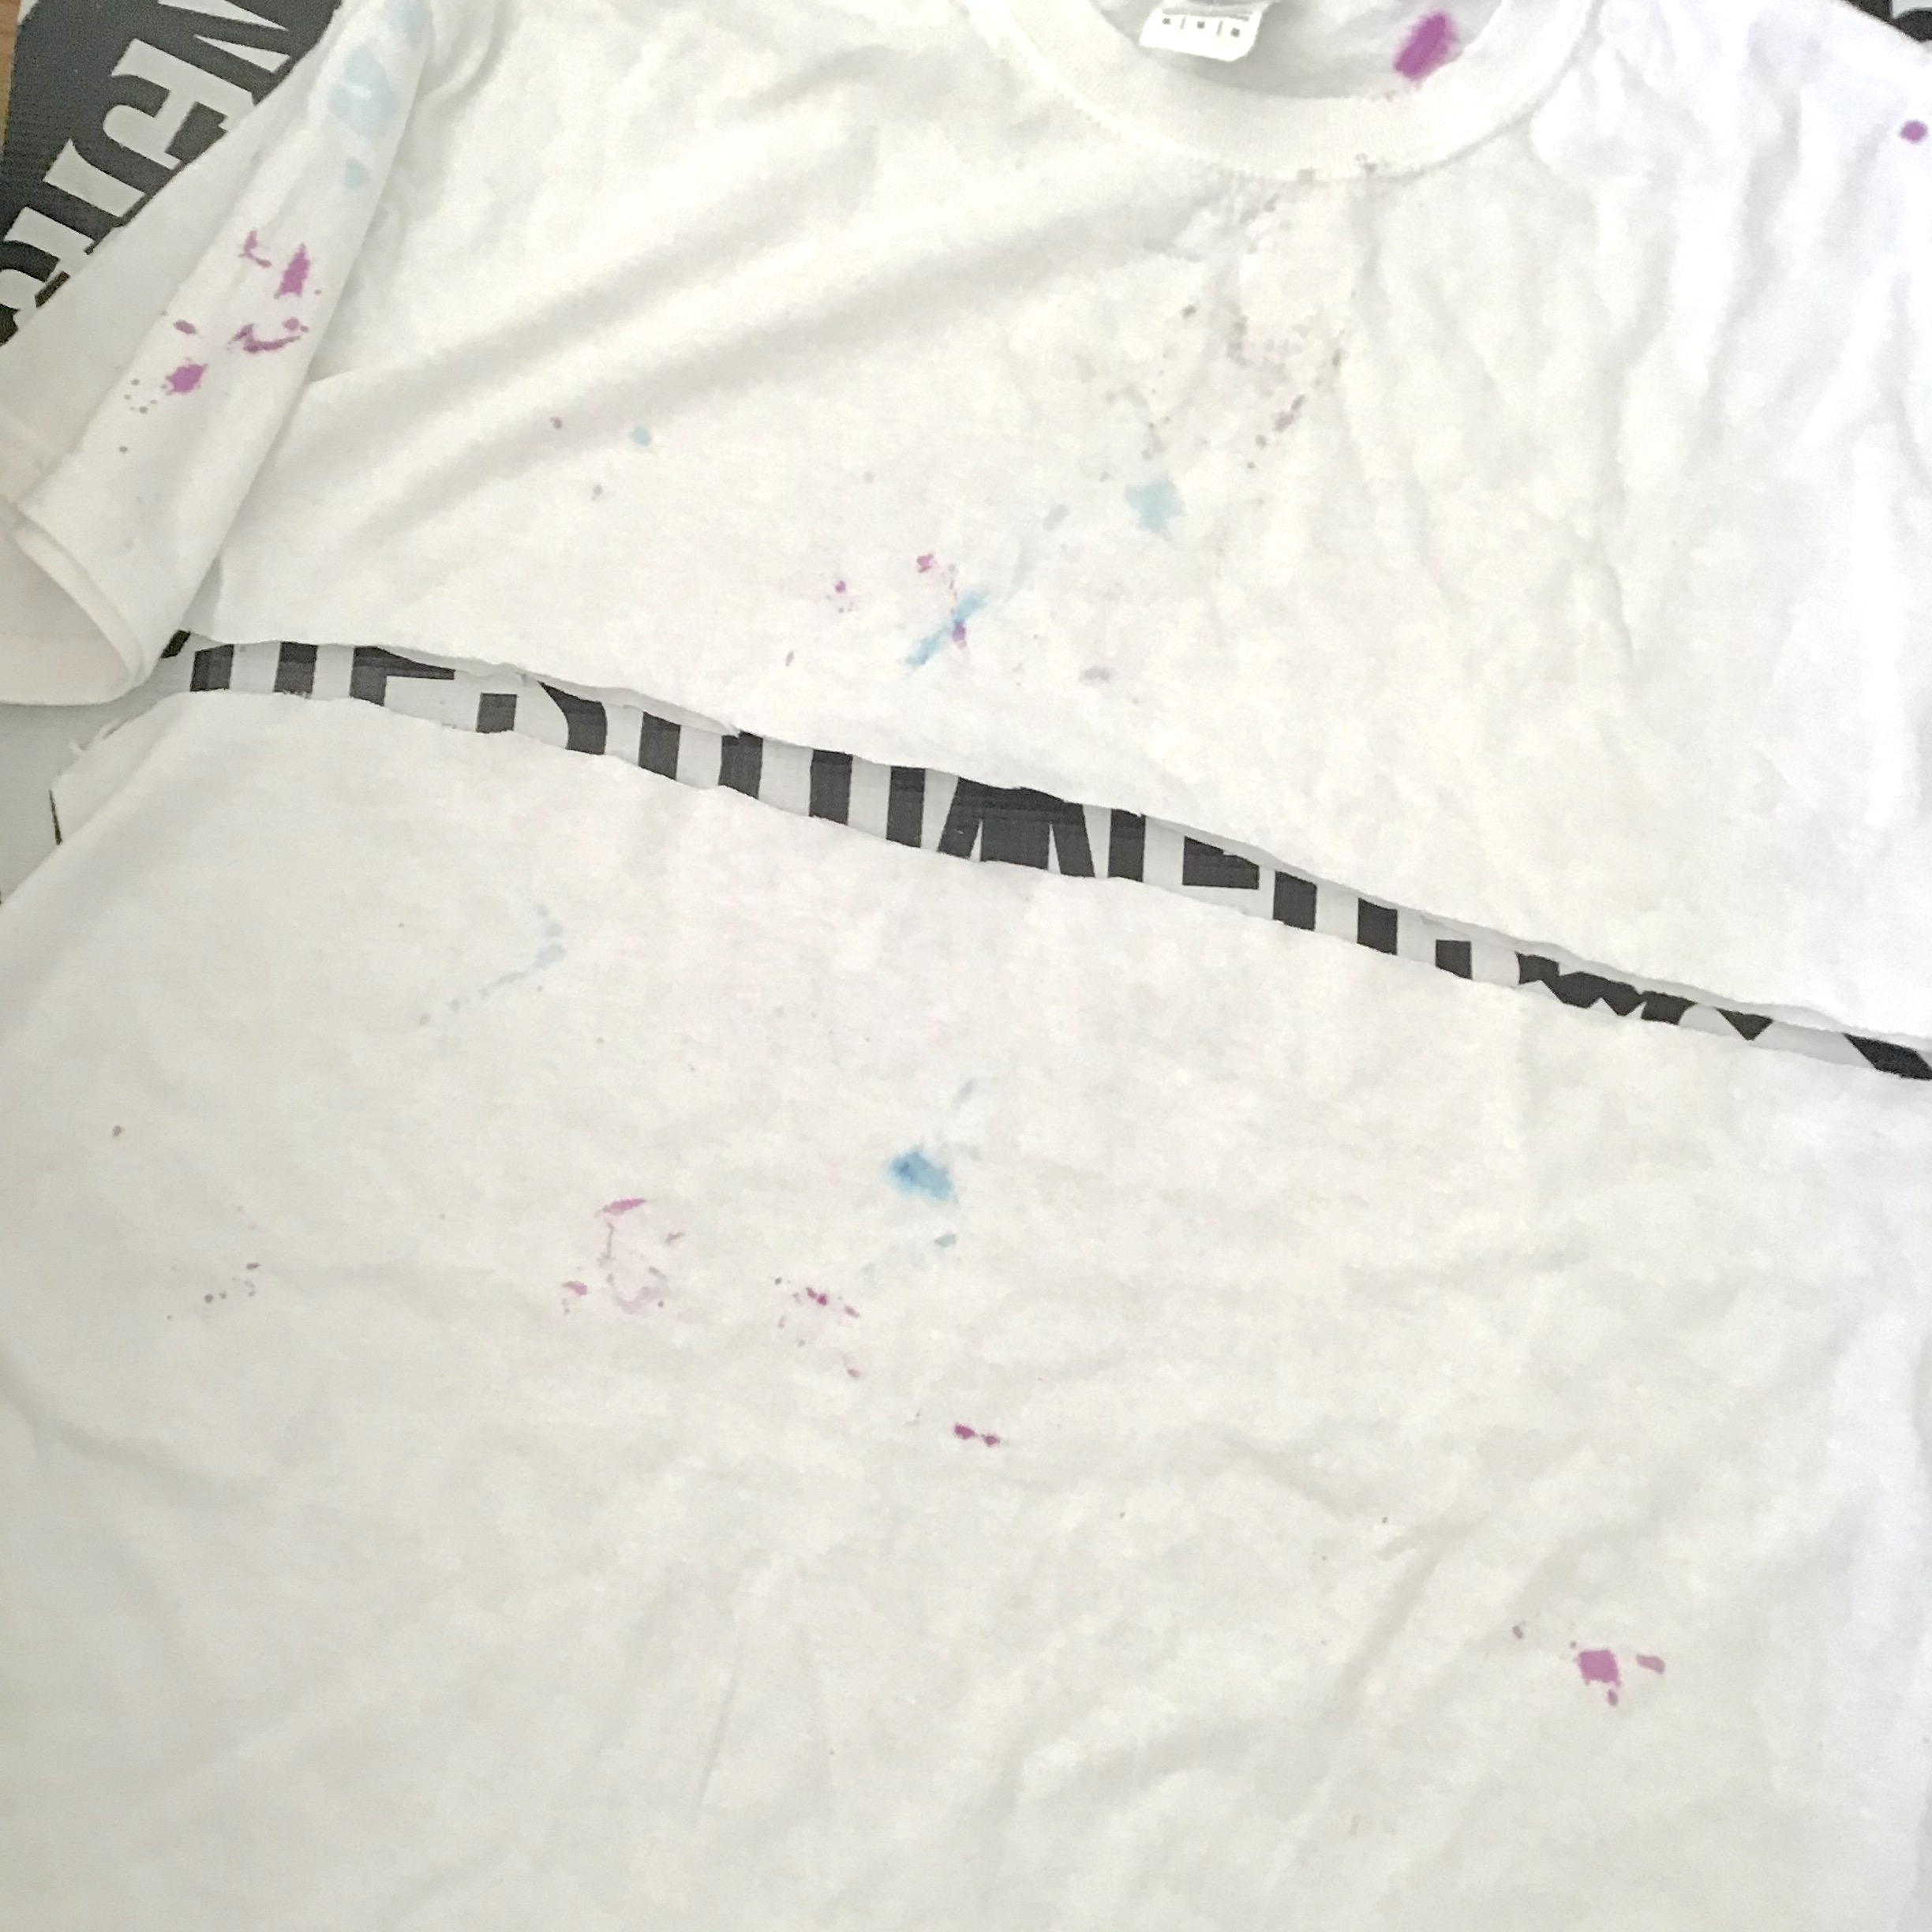
- Lay out a clean t-shirt of any color; white t-shirt if tie-dyeing. (This sample shirt was splattered during a past project.)
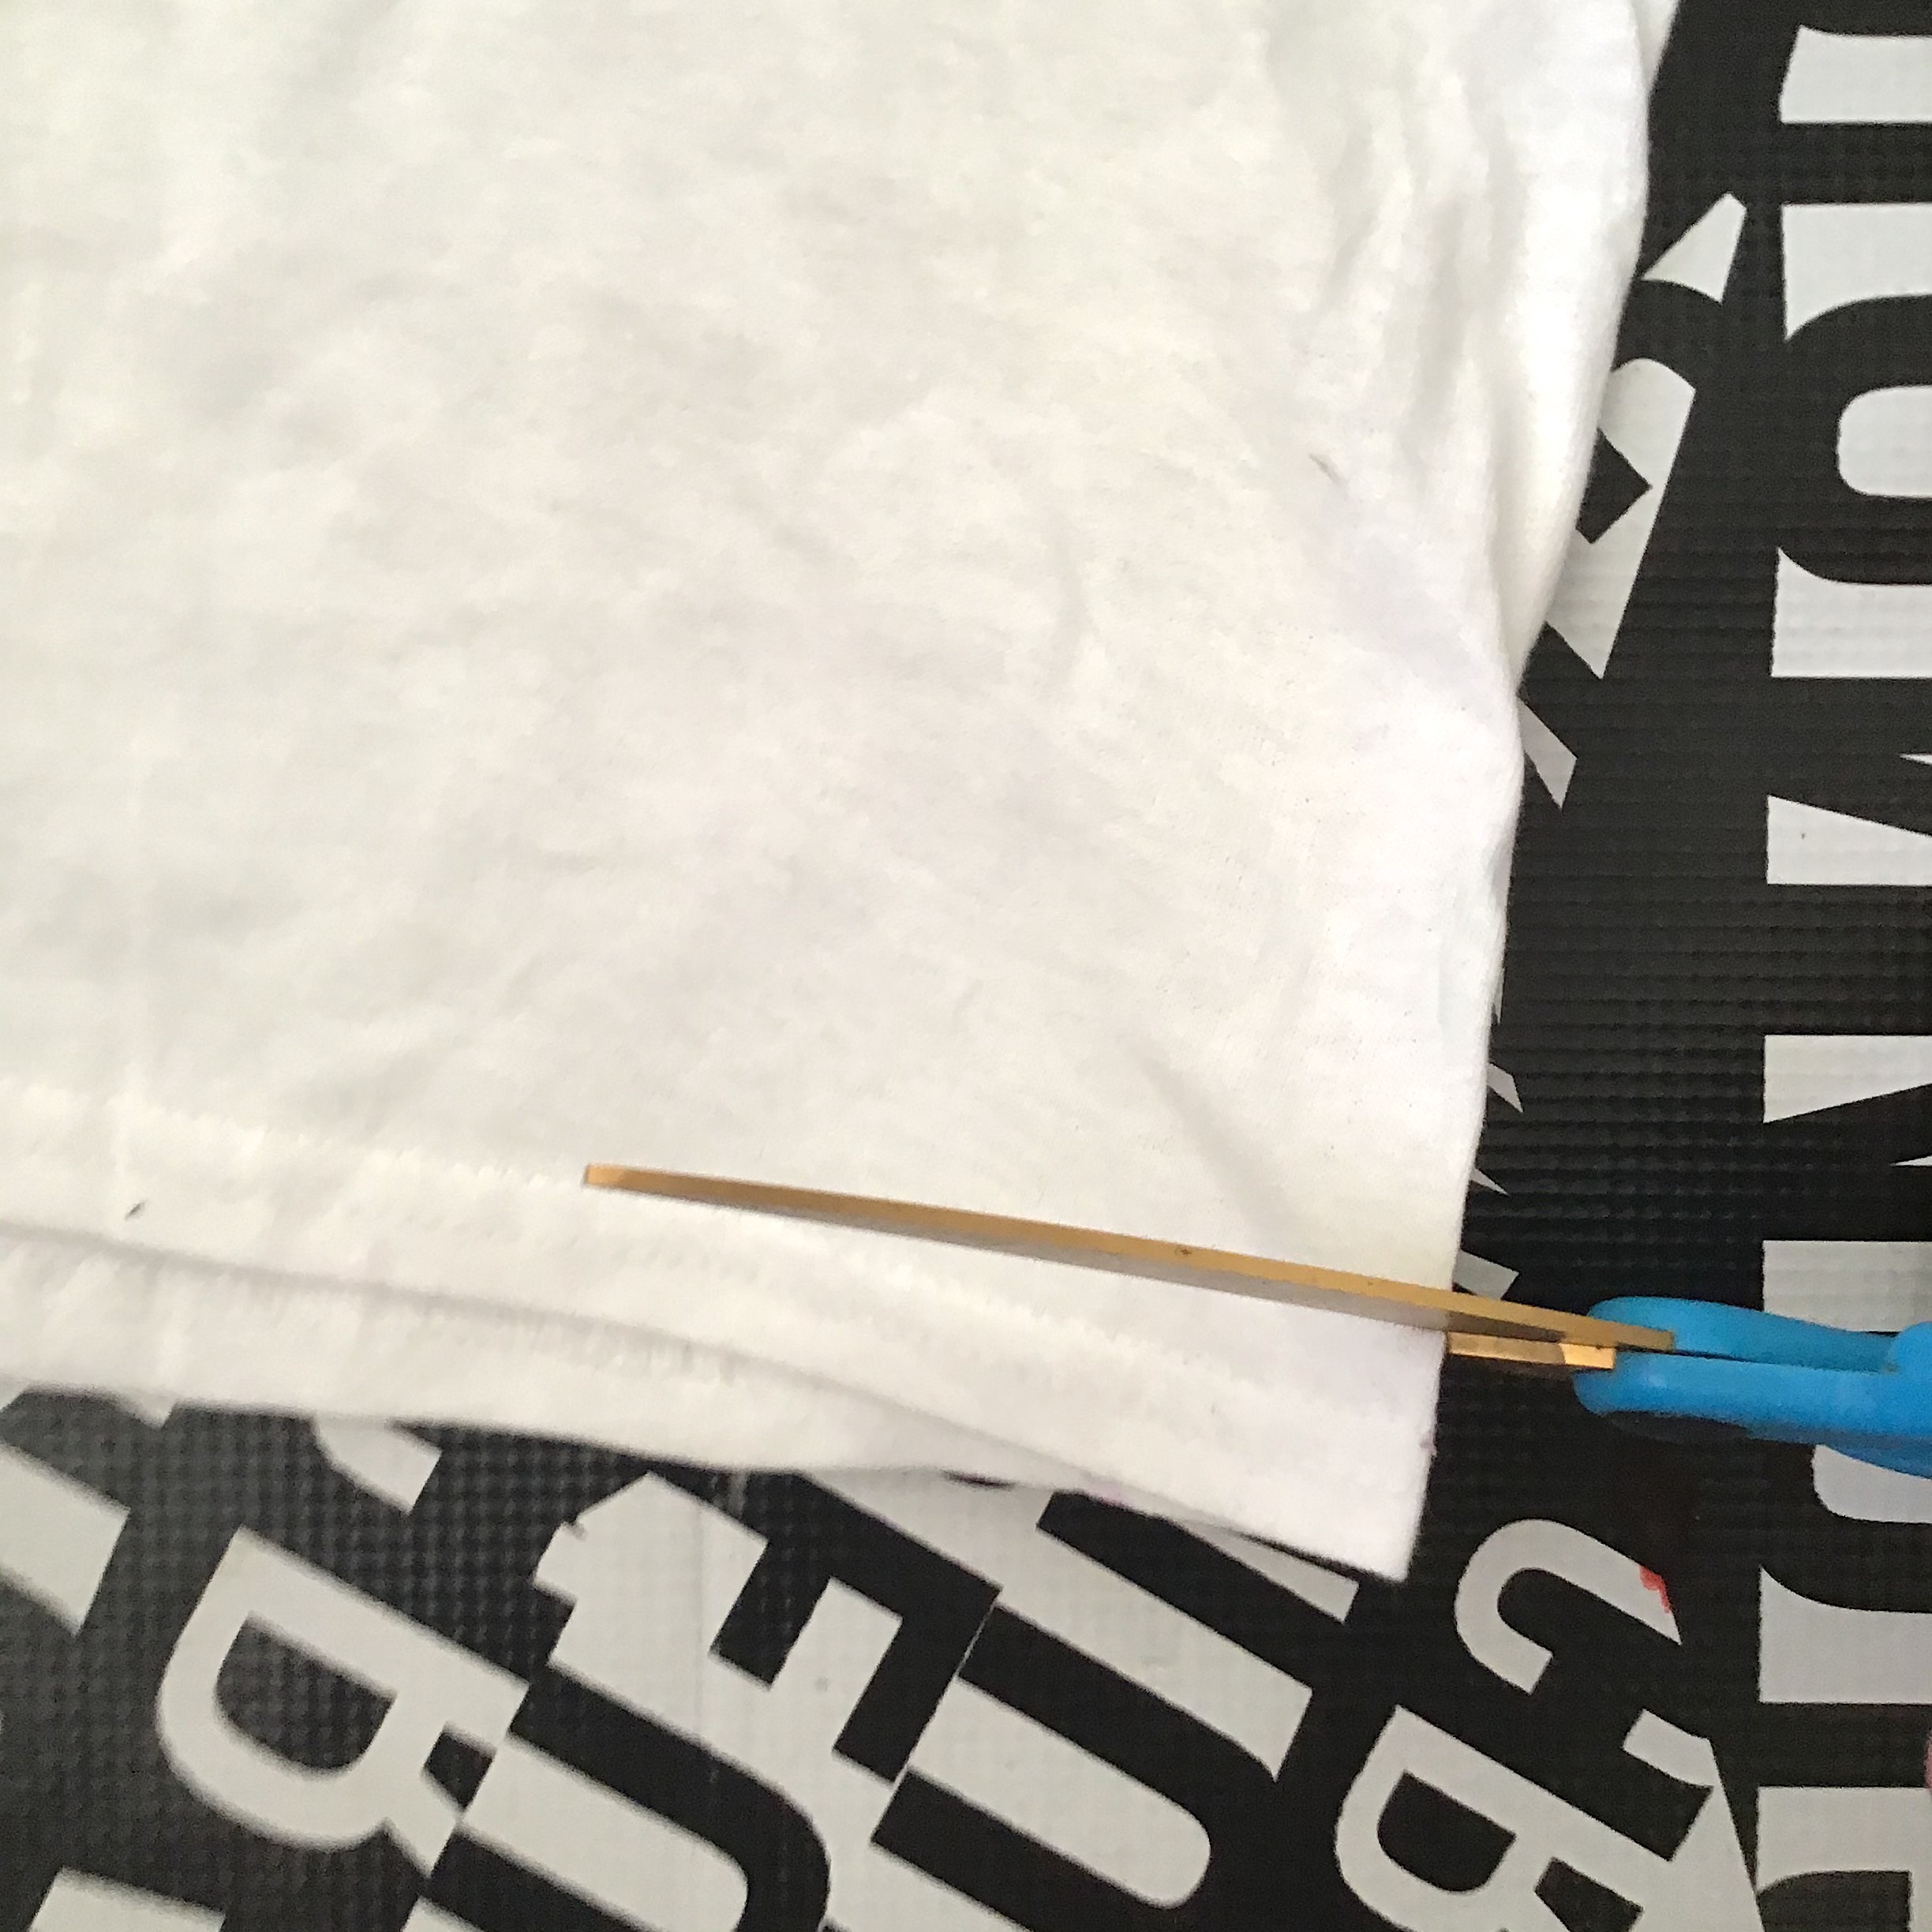
- Cut the bottom seam off the shirt, straight across.
- Cut straight across just below the sleeve at the armpit.
- You will have a rectangle-shaped tube of fabric. Lay this flat, with one of the side seams at the top.
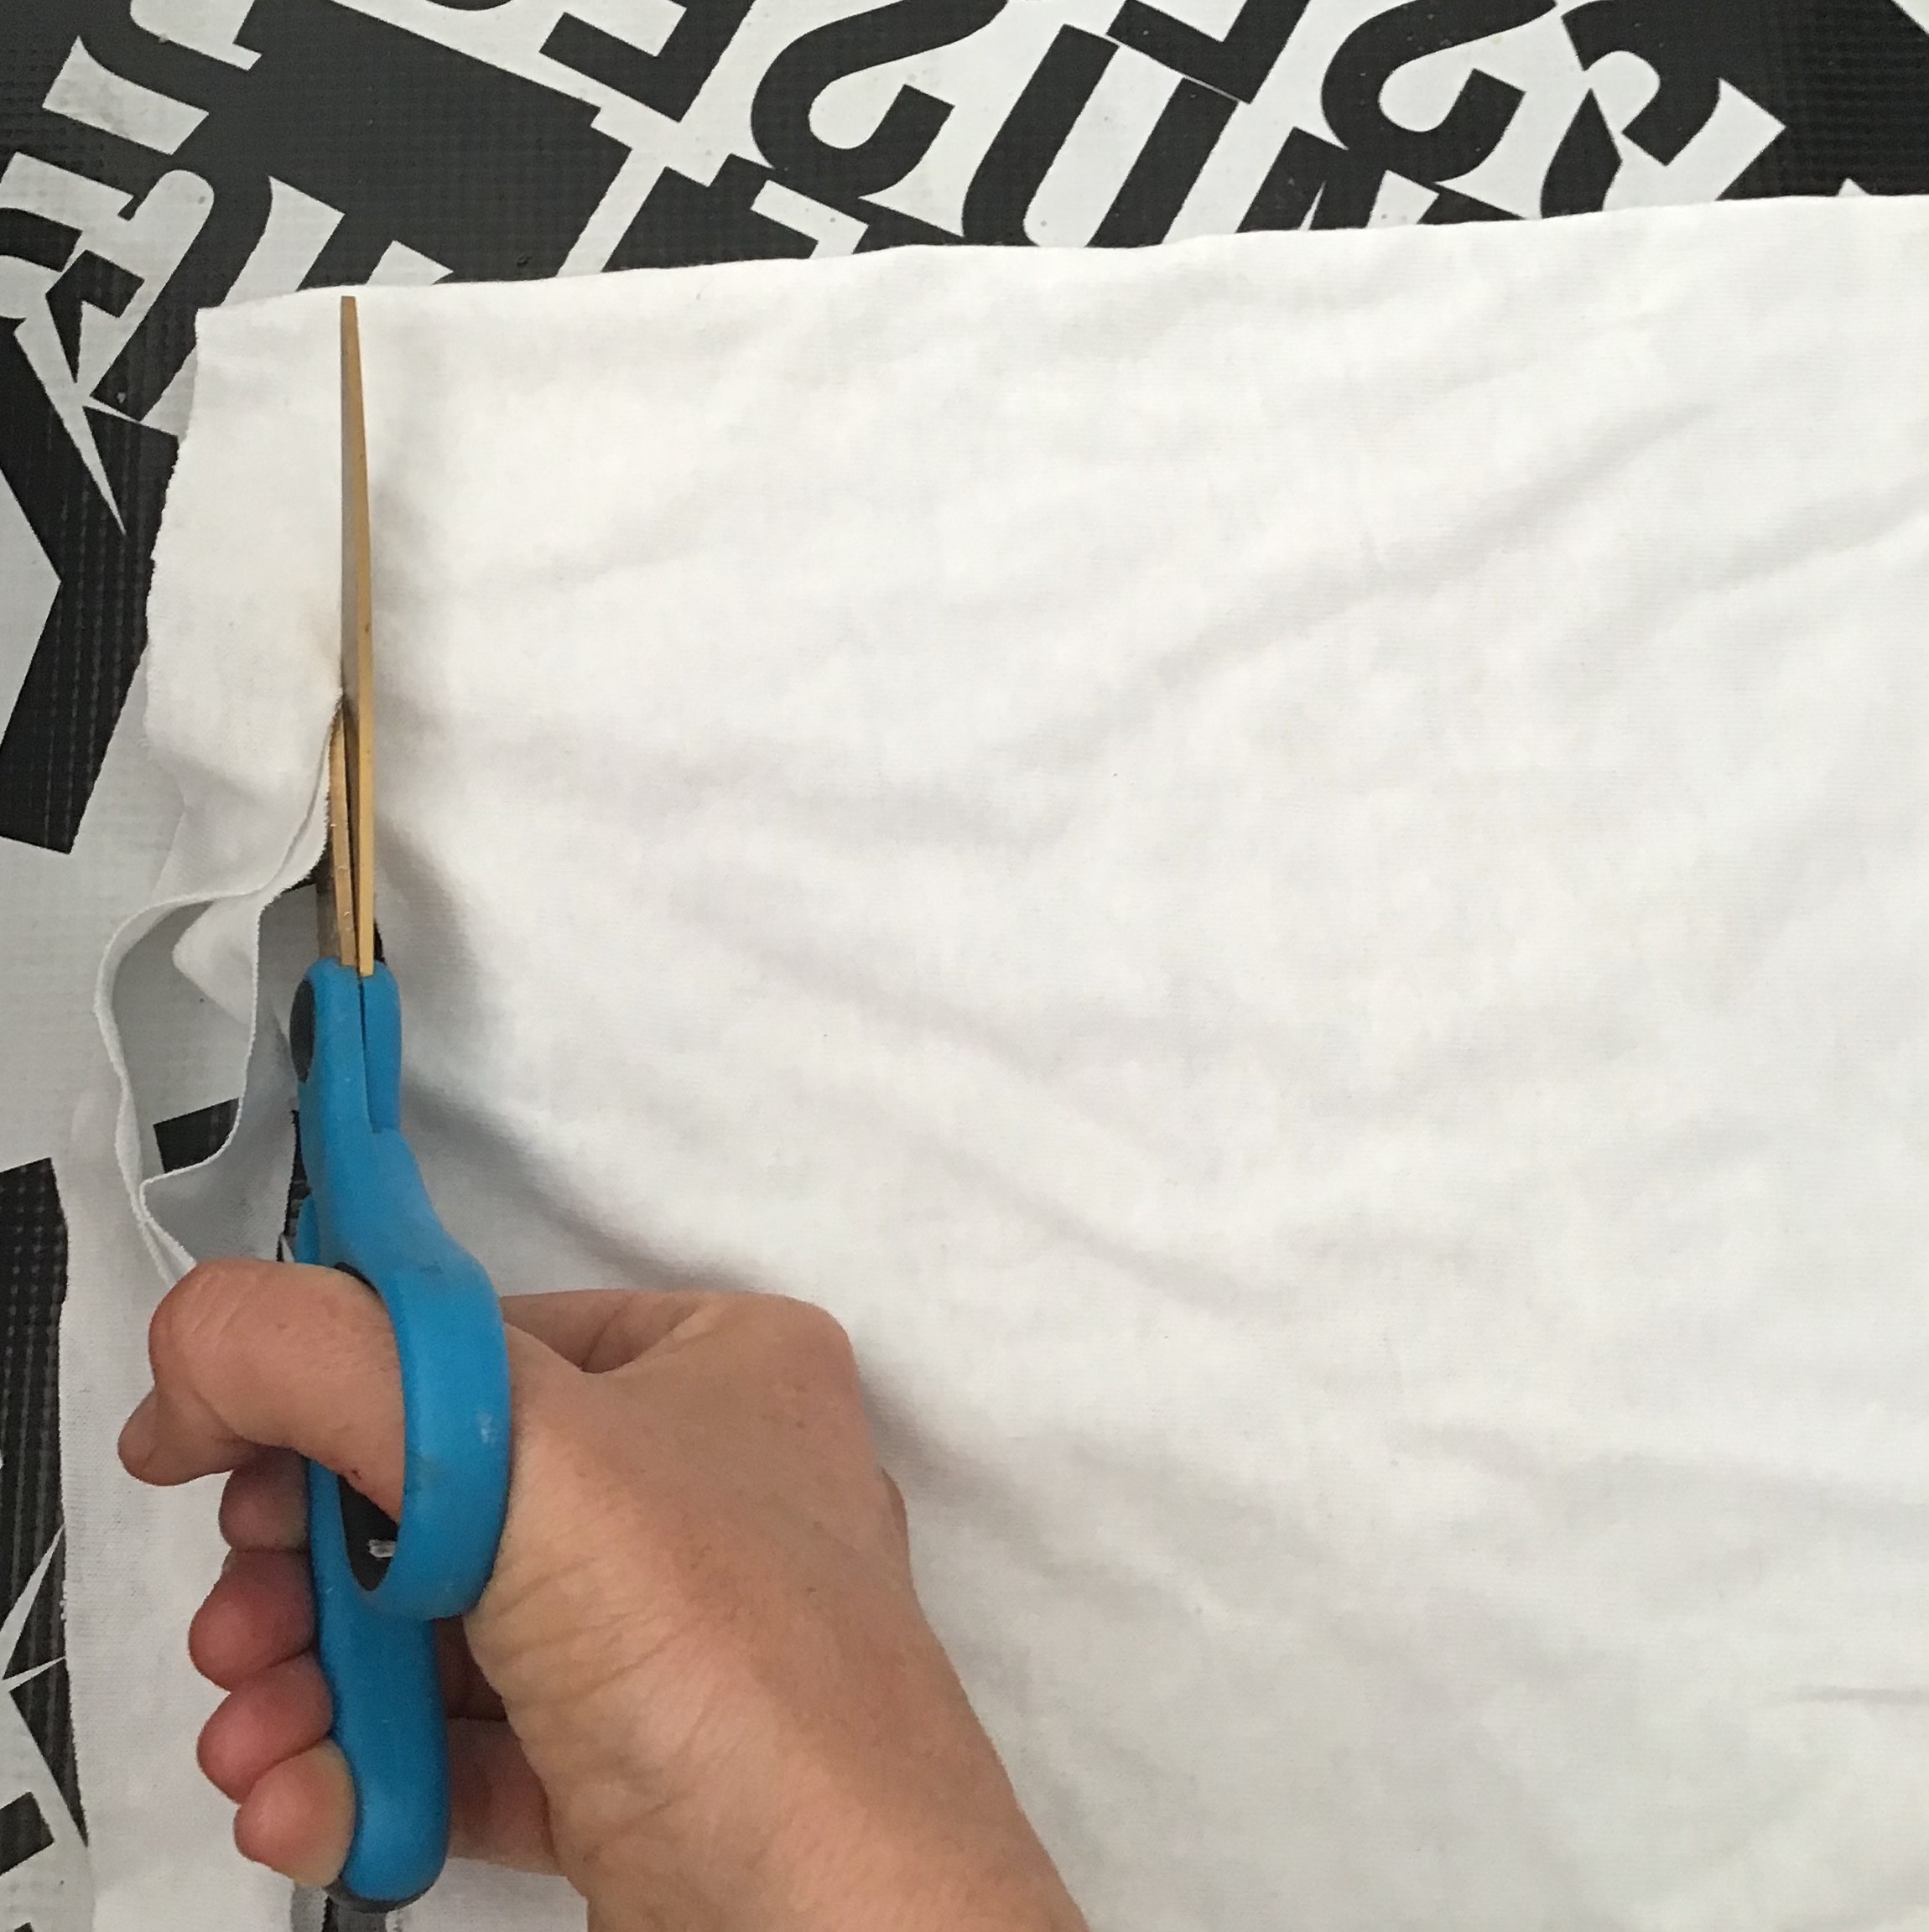
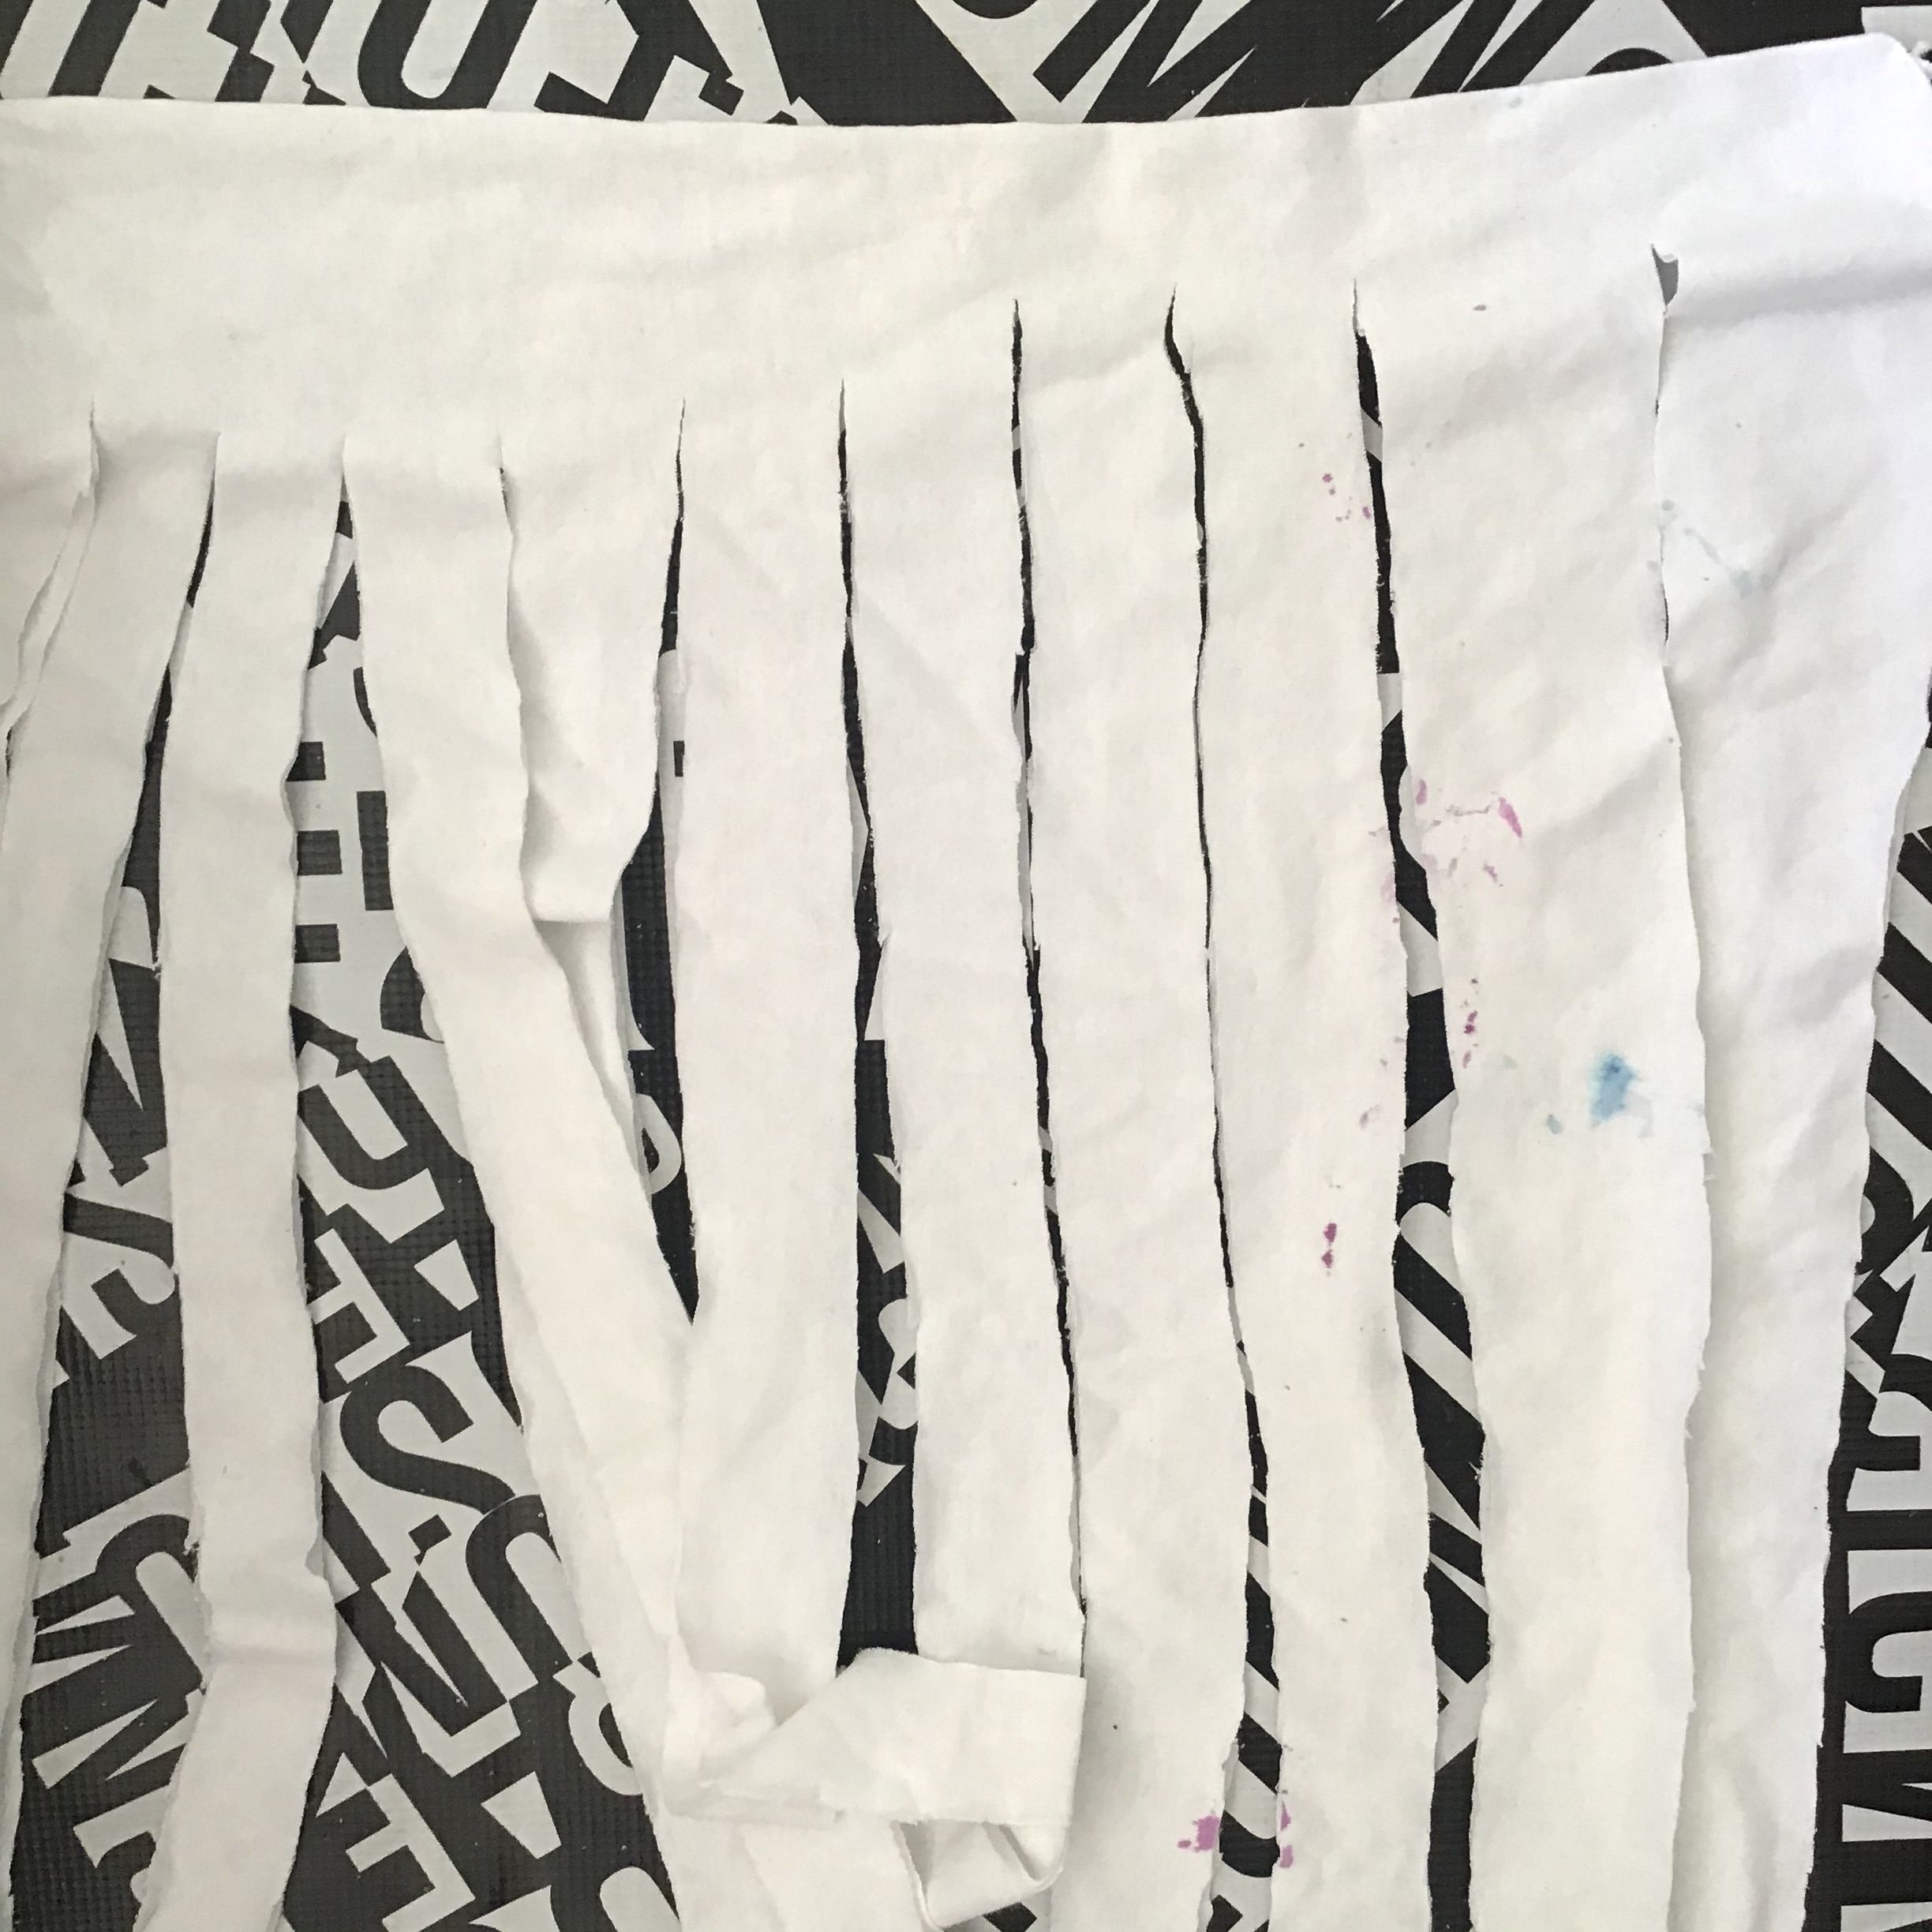
- Cut upwards toward the top, making a strip about 1-2 inches wide, and stopping an inch or two from the seam. Make sure not to cut all the way to the top edge!
- Keep making even cuts all the way across. They don’t have to be exact; this fabric will be very forgiving.
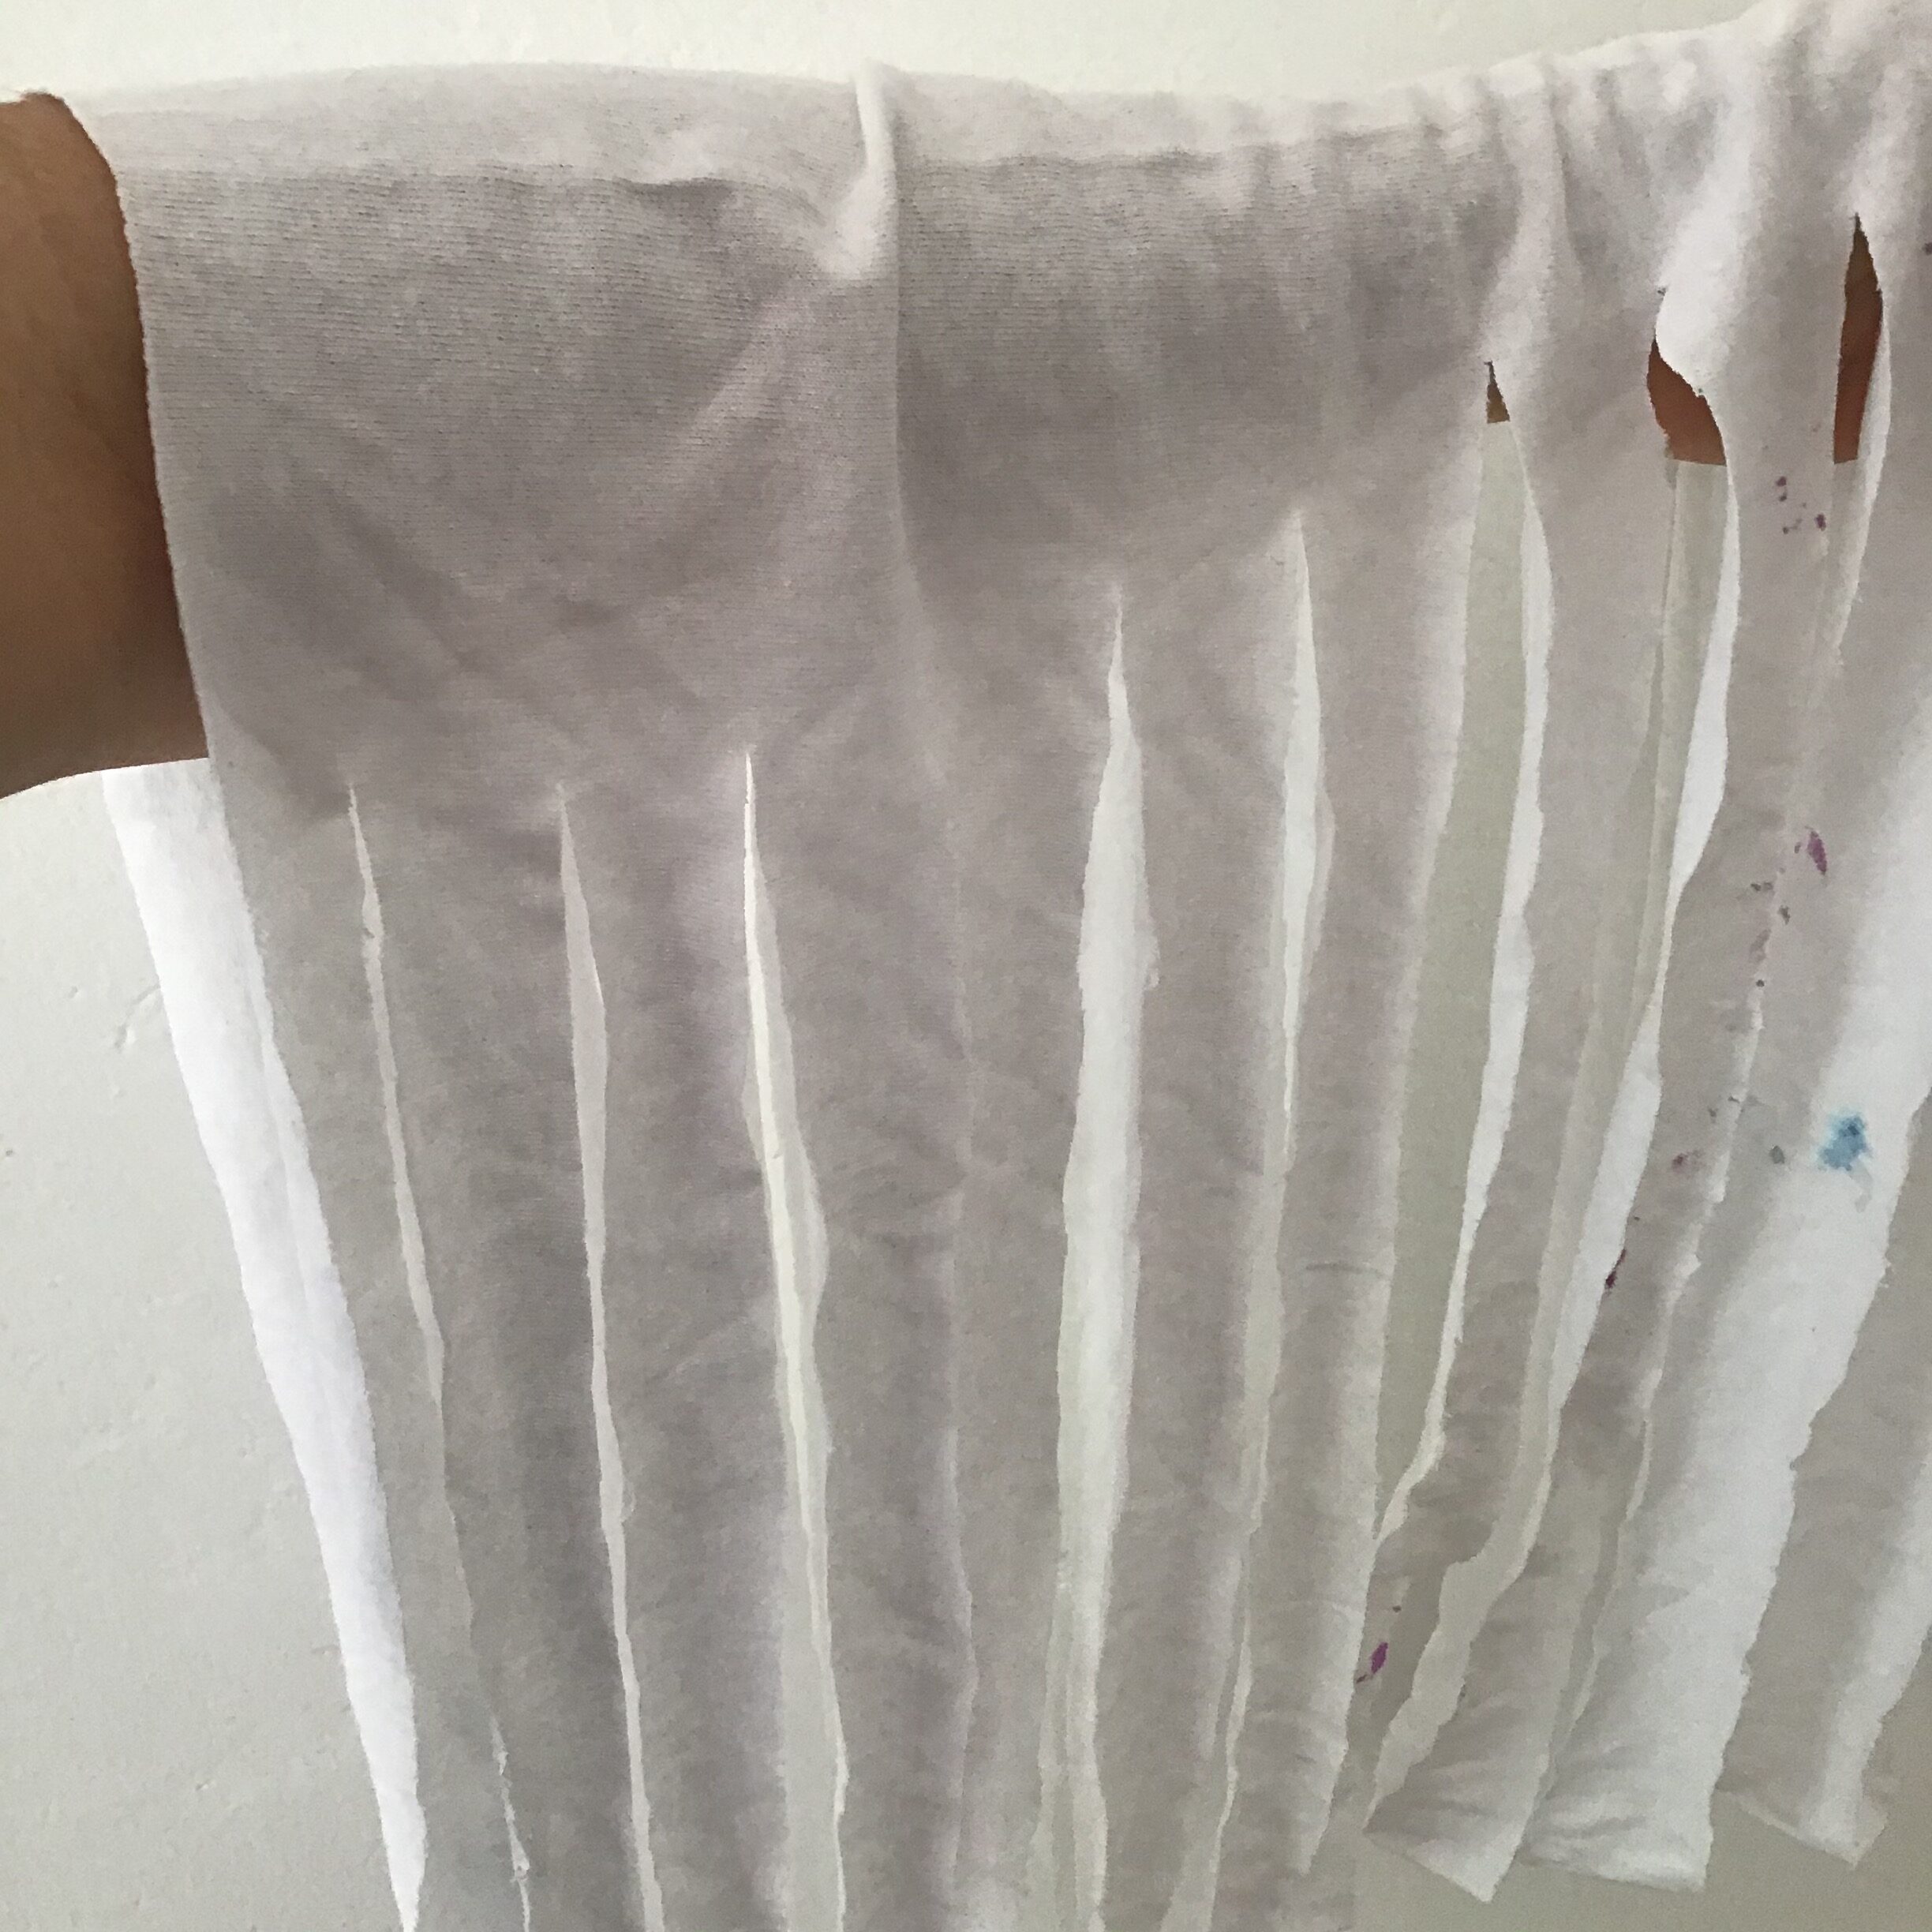
- Once your cuts are finished, thread your arm through the “tube” so that the intact seam is at the top.
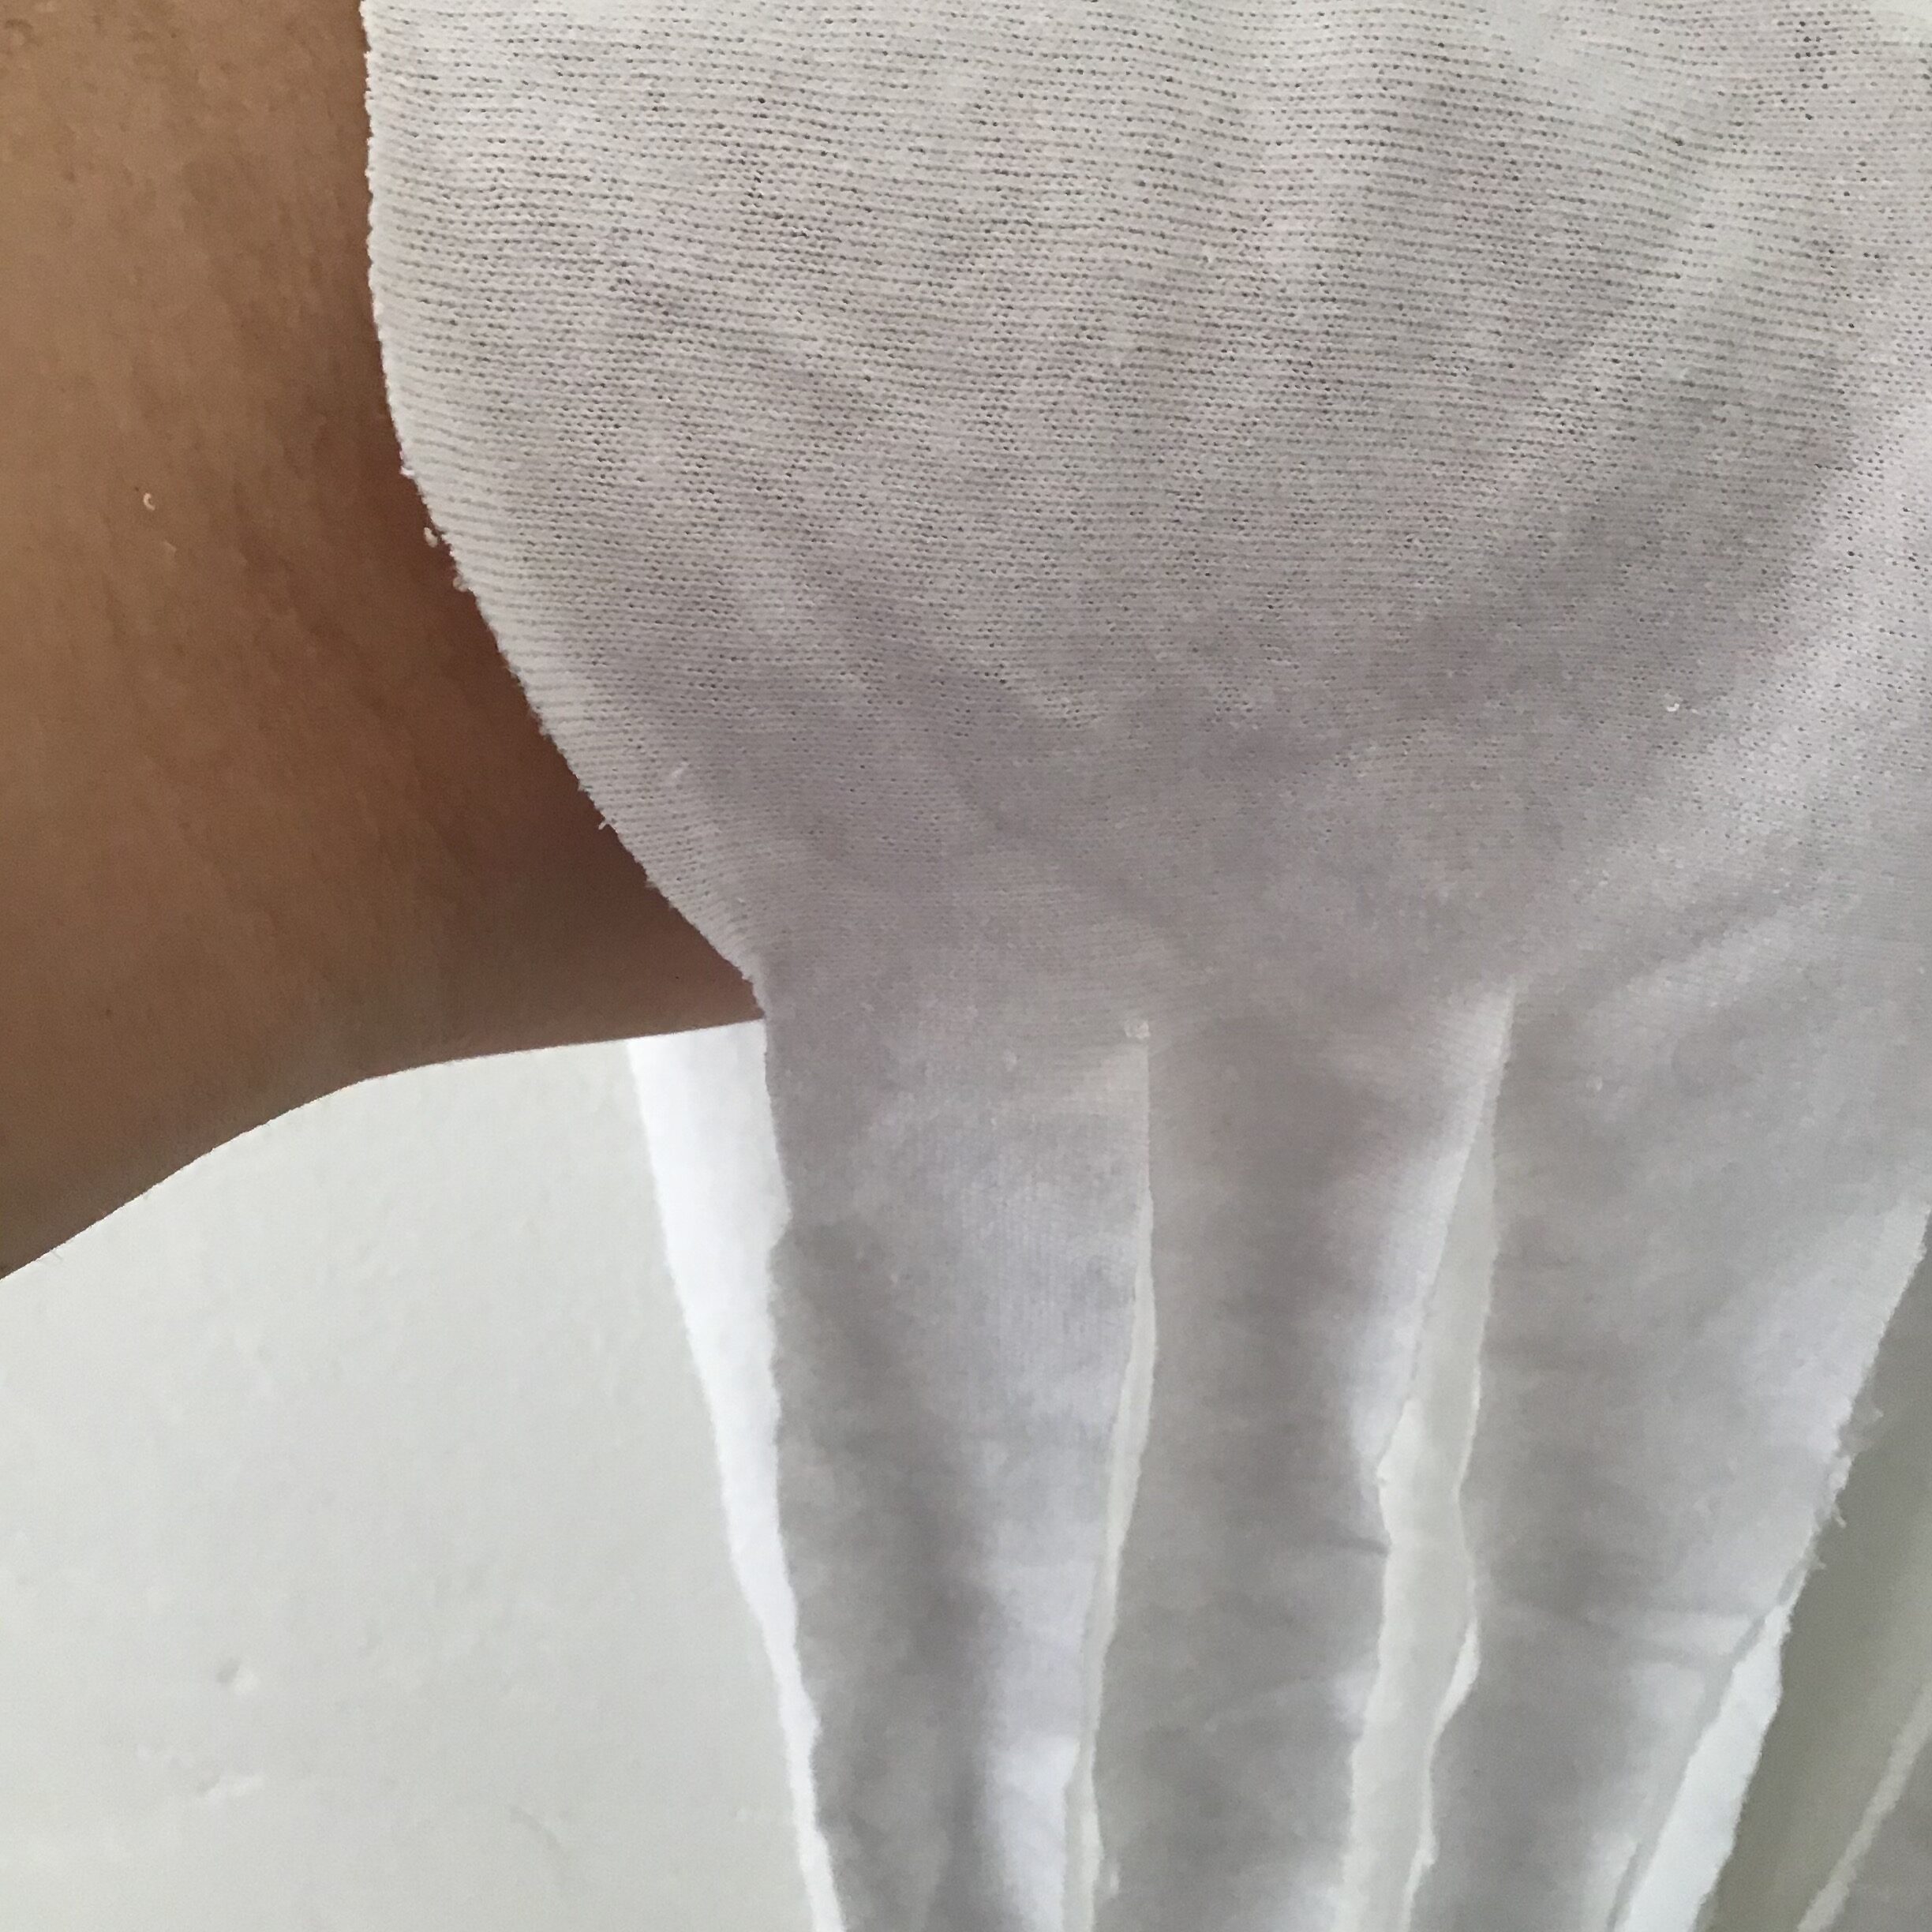
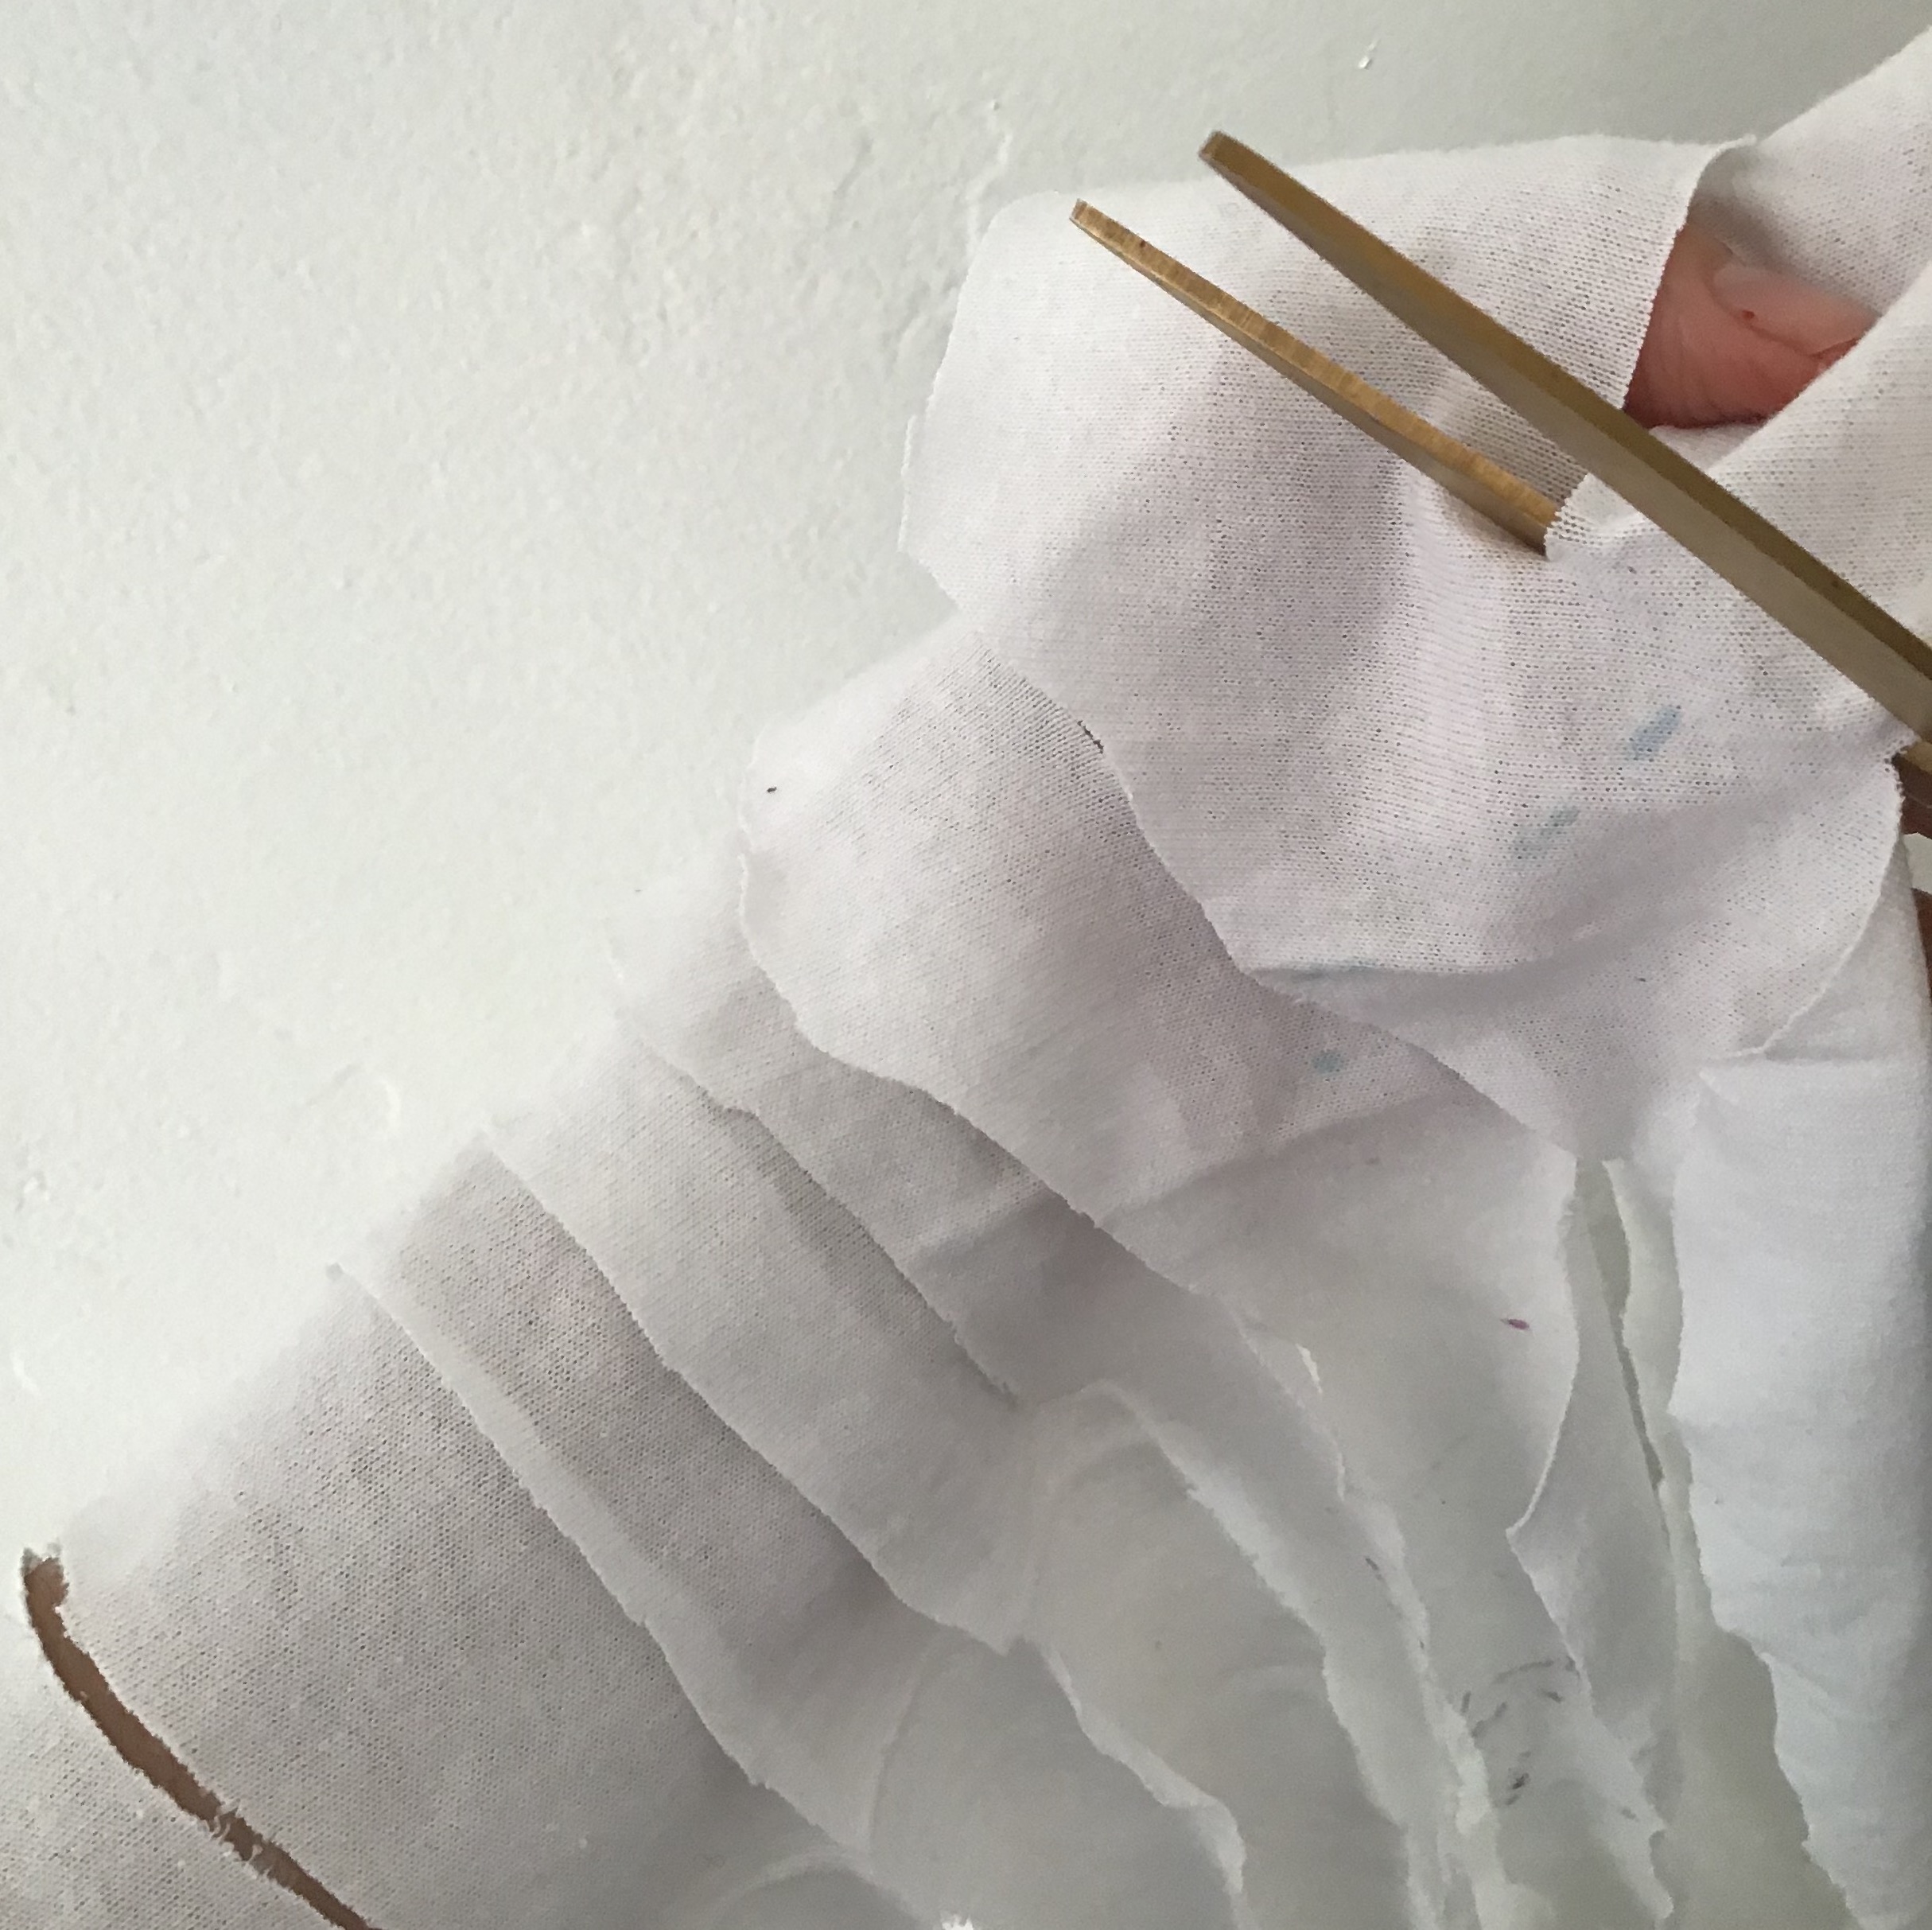
- Begin the yarn by cutting from the inside of your first strip to the outer edge of the tube – for a right-handed person, this will be on the far left, and this strip will be on the far right for a left-handed person. This will be one end of your yarn. Let it fall for now.
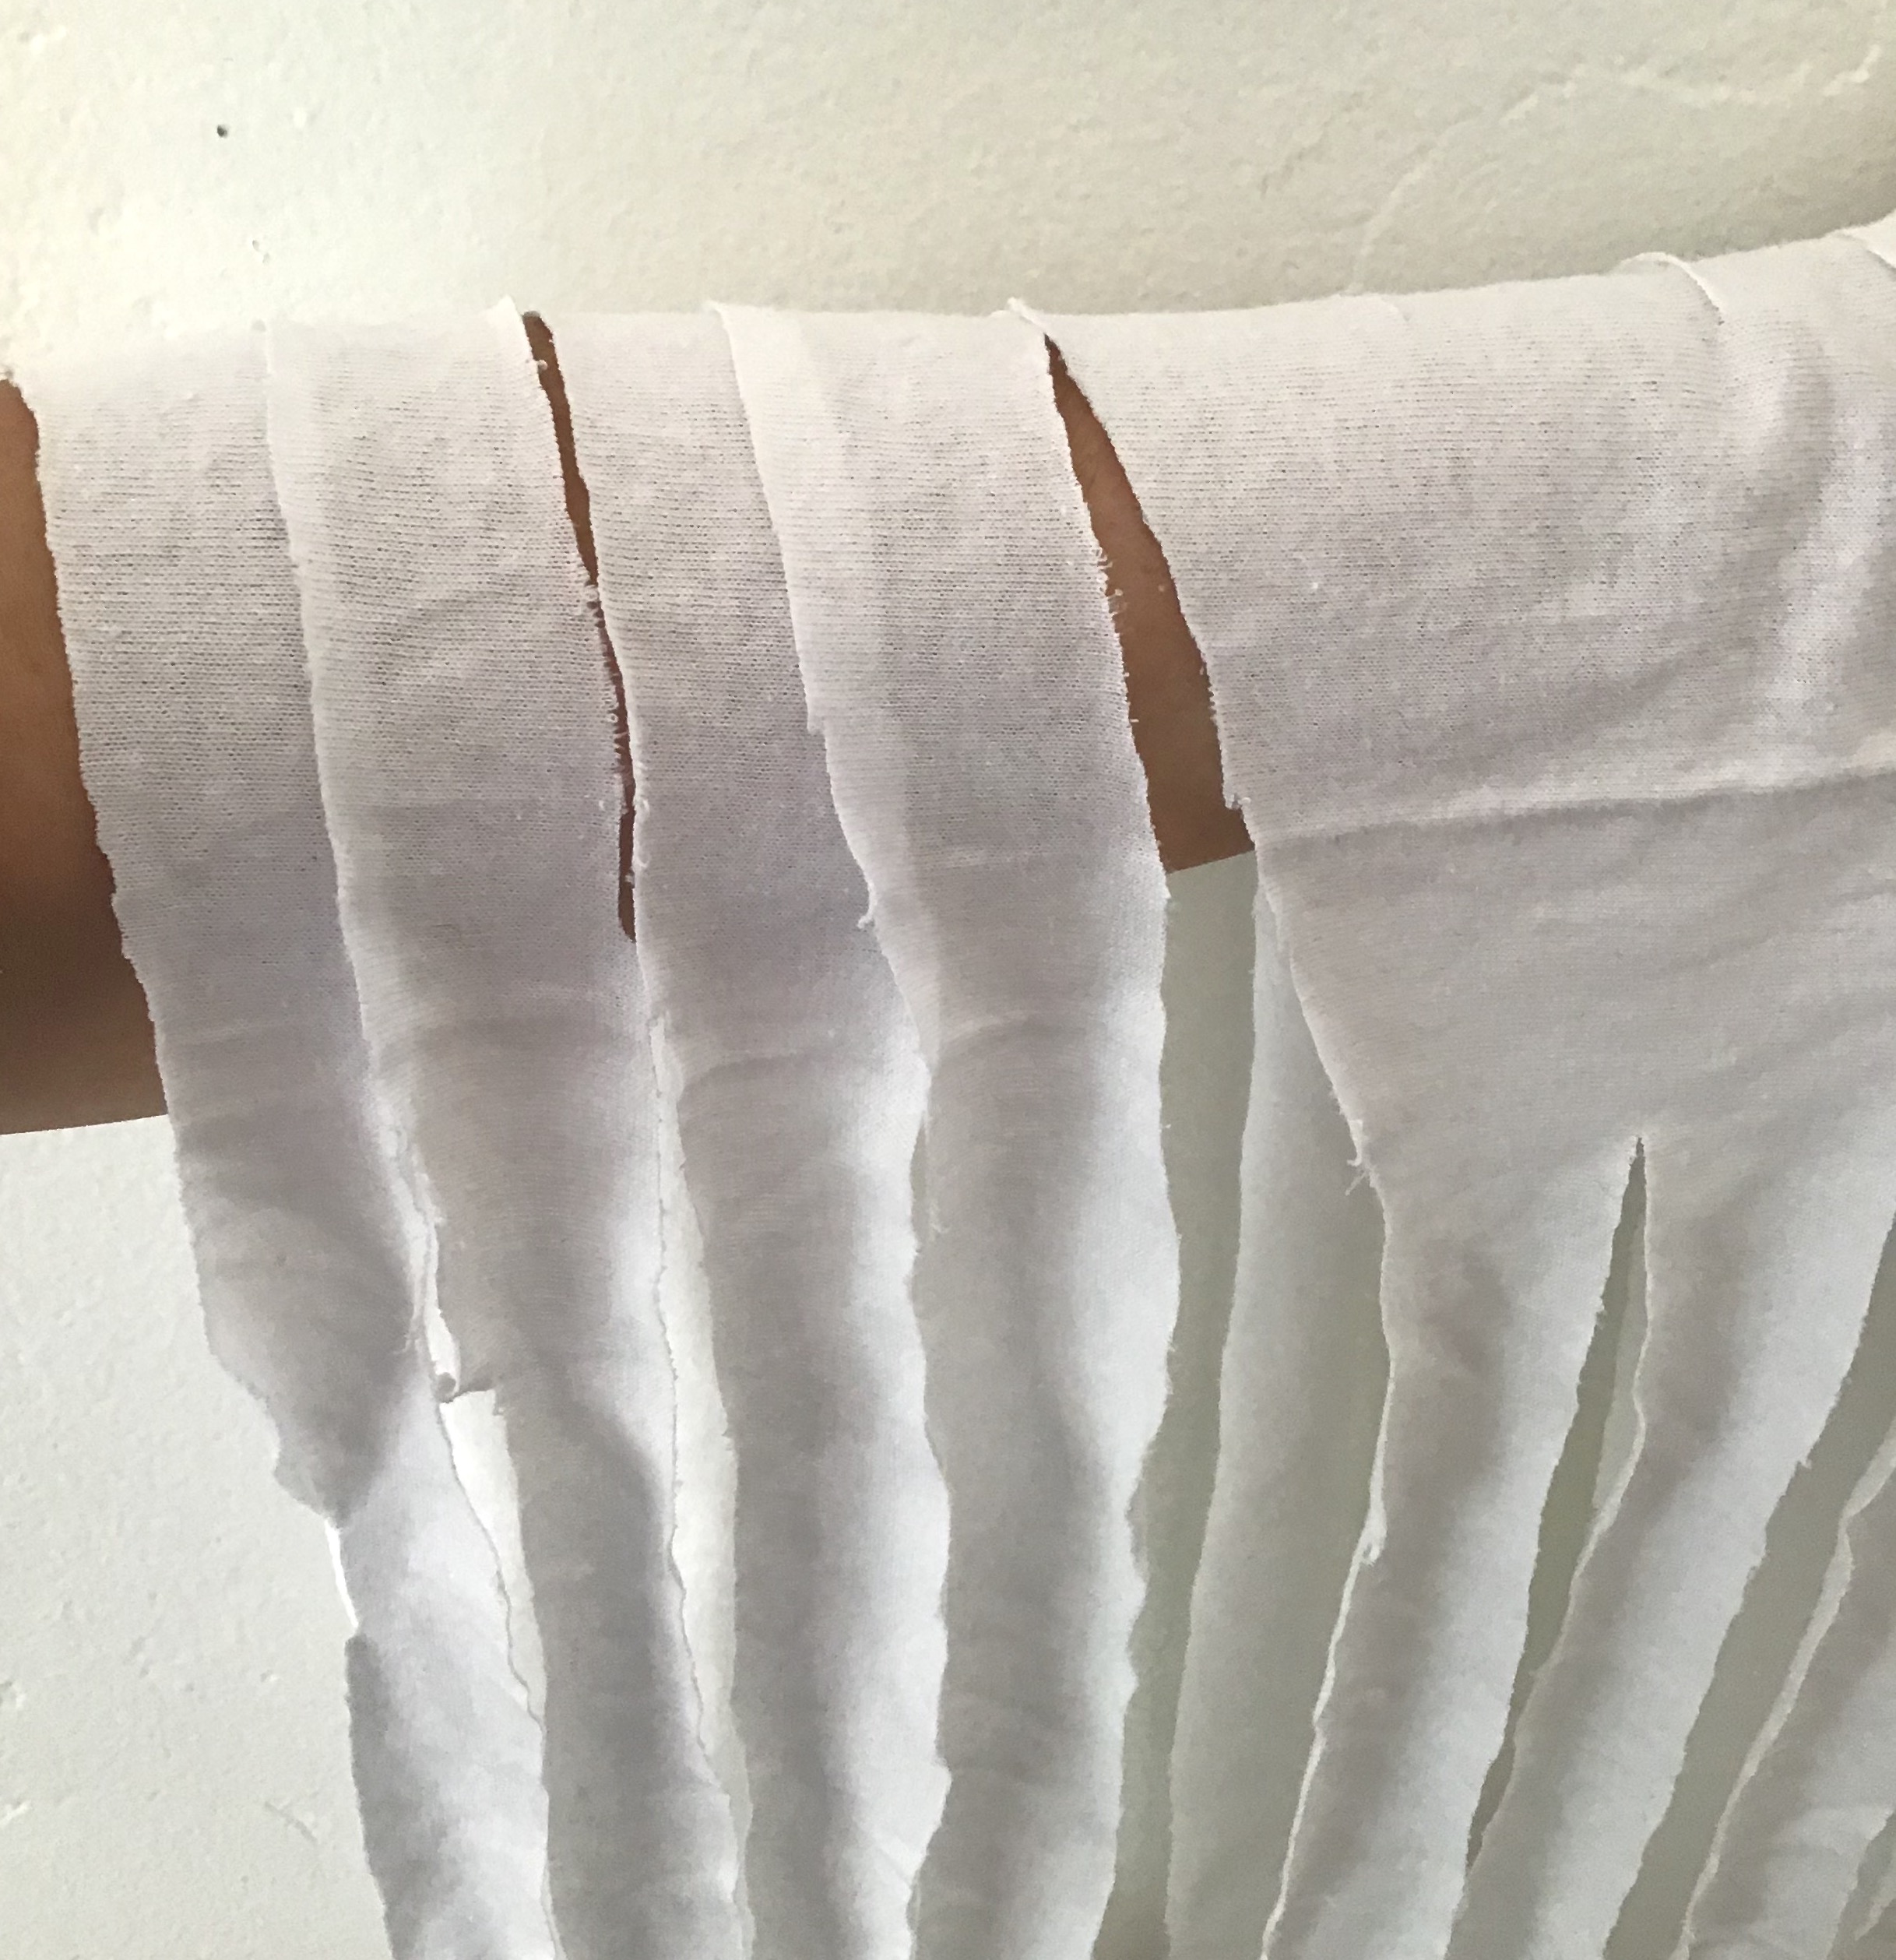
- Now carefully connect your cuts by cutting straight across(over) the tube to meet the cut you made on the other side. This will look like you are creating a series of loops.
- When you reach the end, cut from the final strip to the edge, just as you did to begin the process.
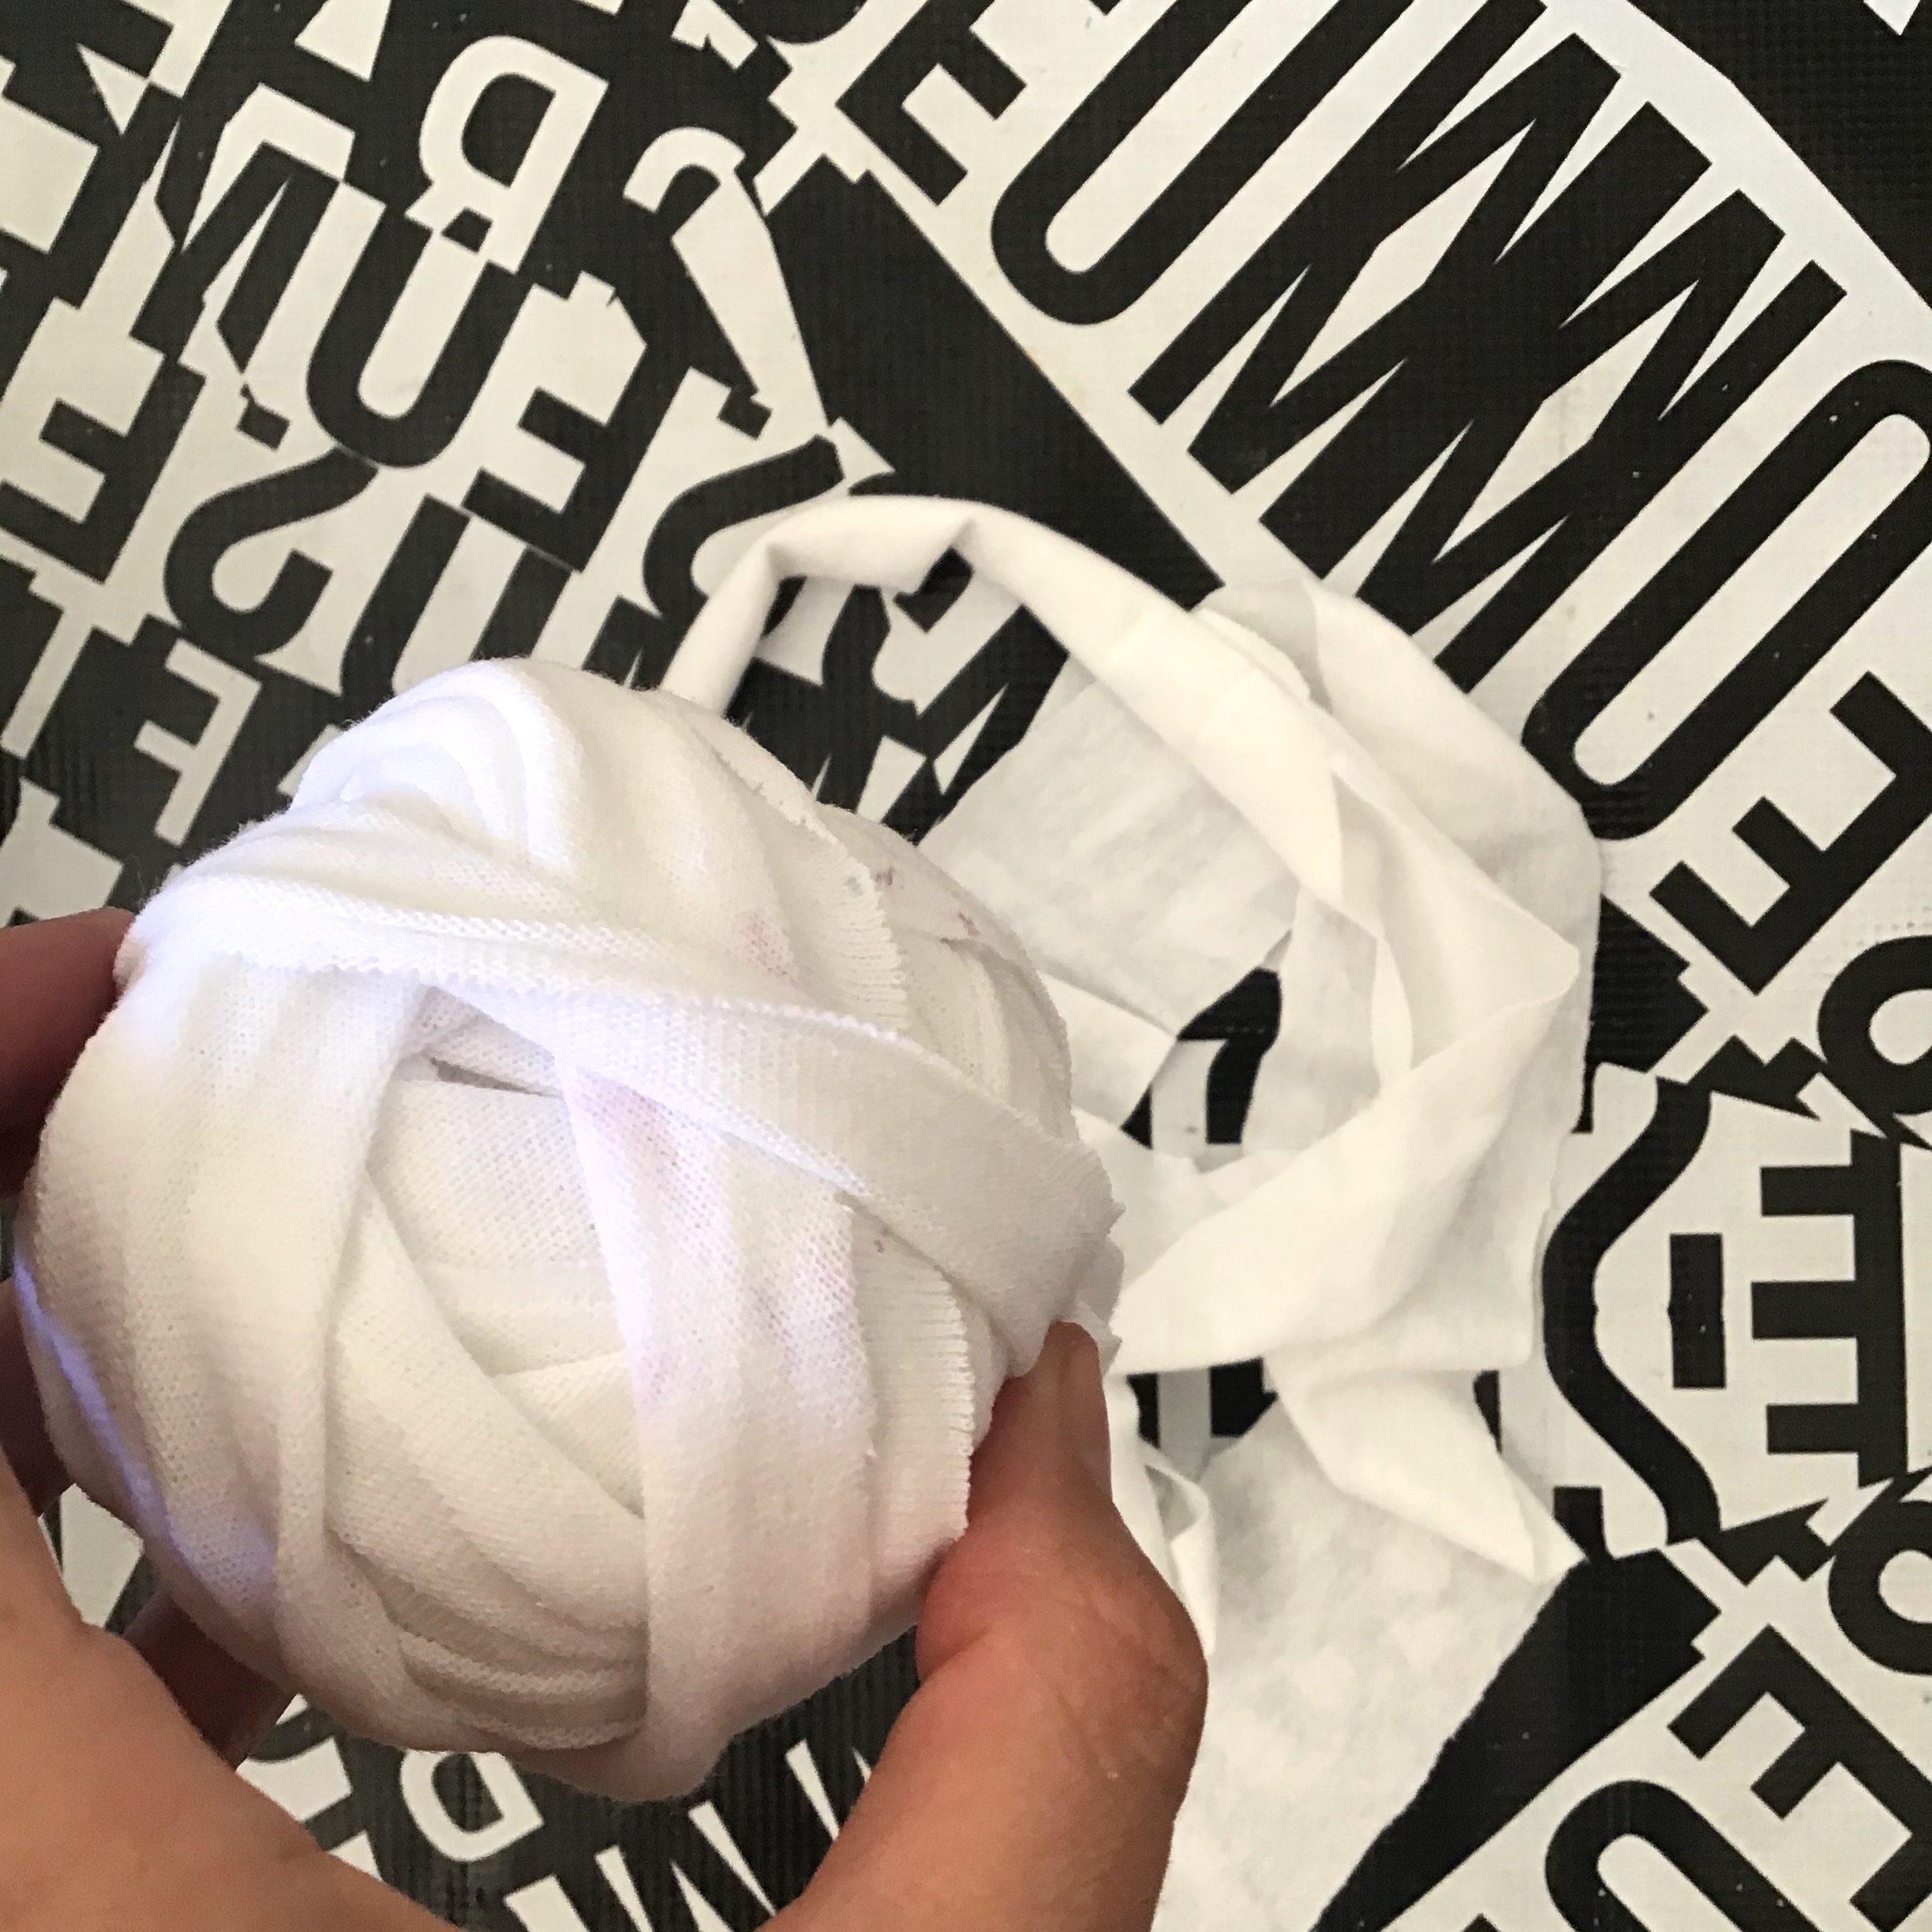
- Your yarn is ready! If desired, find an end and roll it up into a ball.
Natural dye
- Prepare your materials about an hour before you plan to dye fabric.
- Prepare one part white vinegar to 3-4 parts water (e.g. ½ cup vinegar to 4 cups water) and bring it to a boil on the stove.
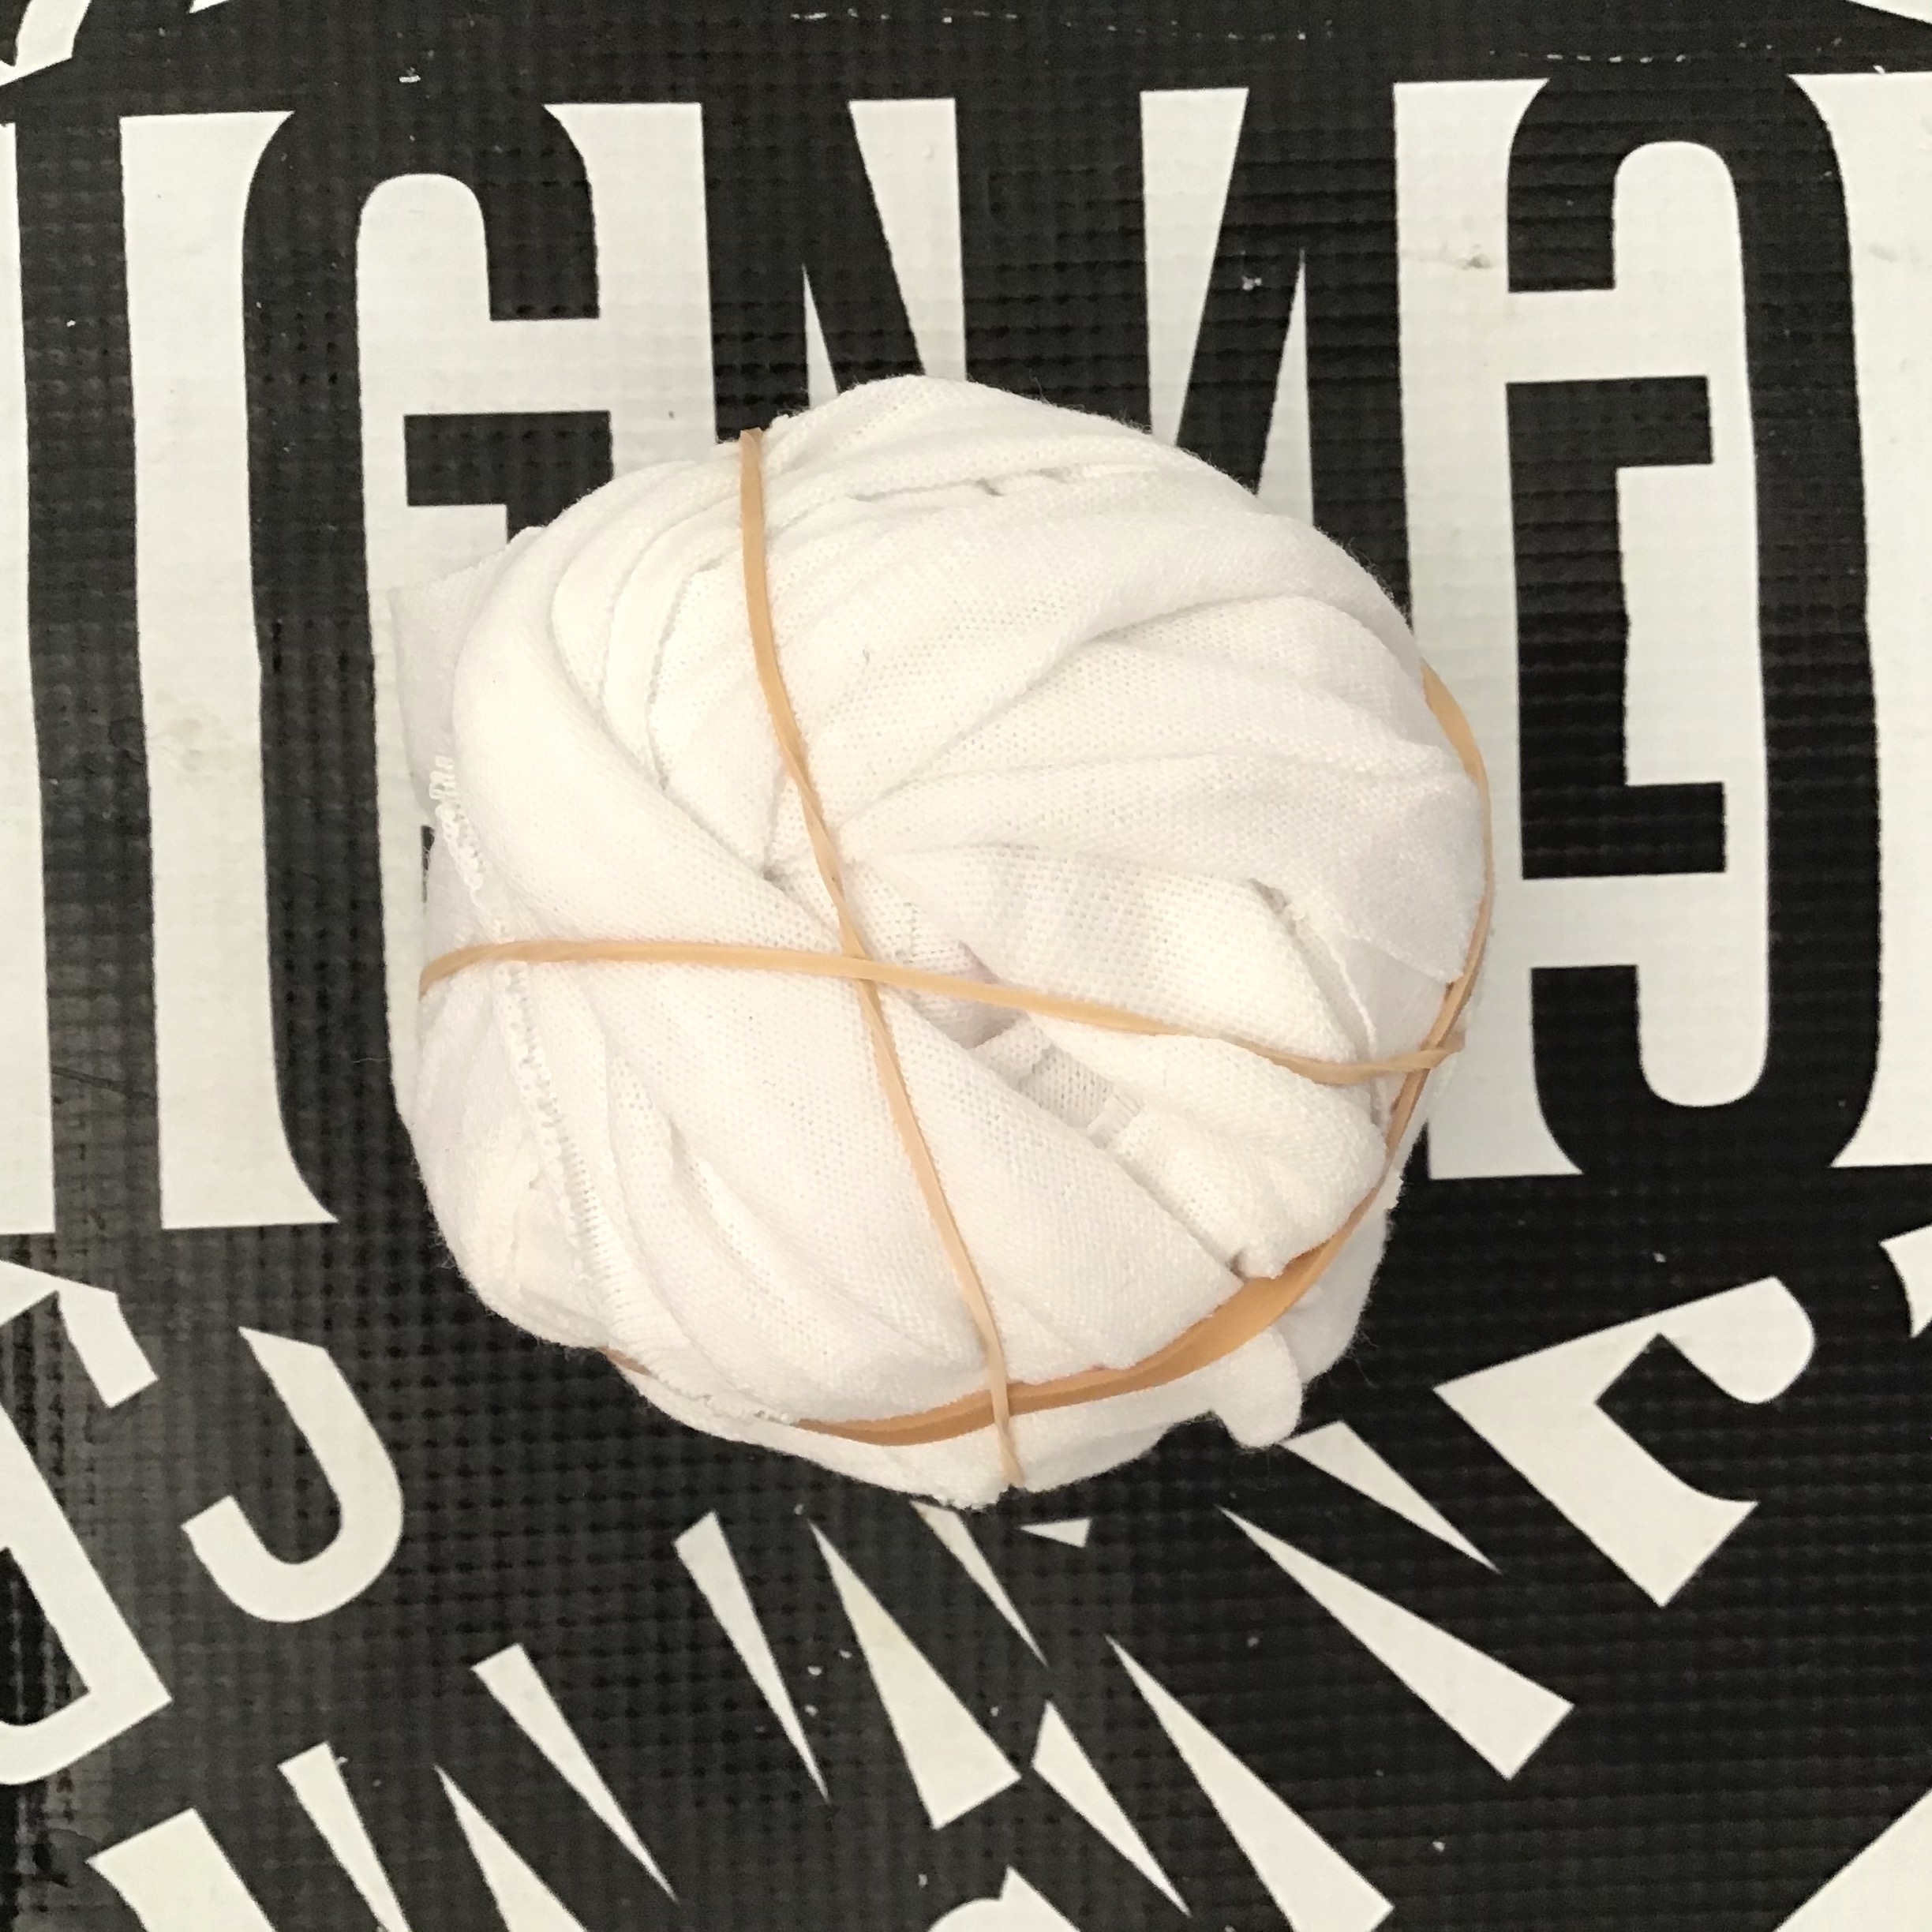
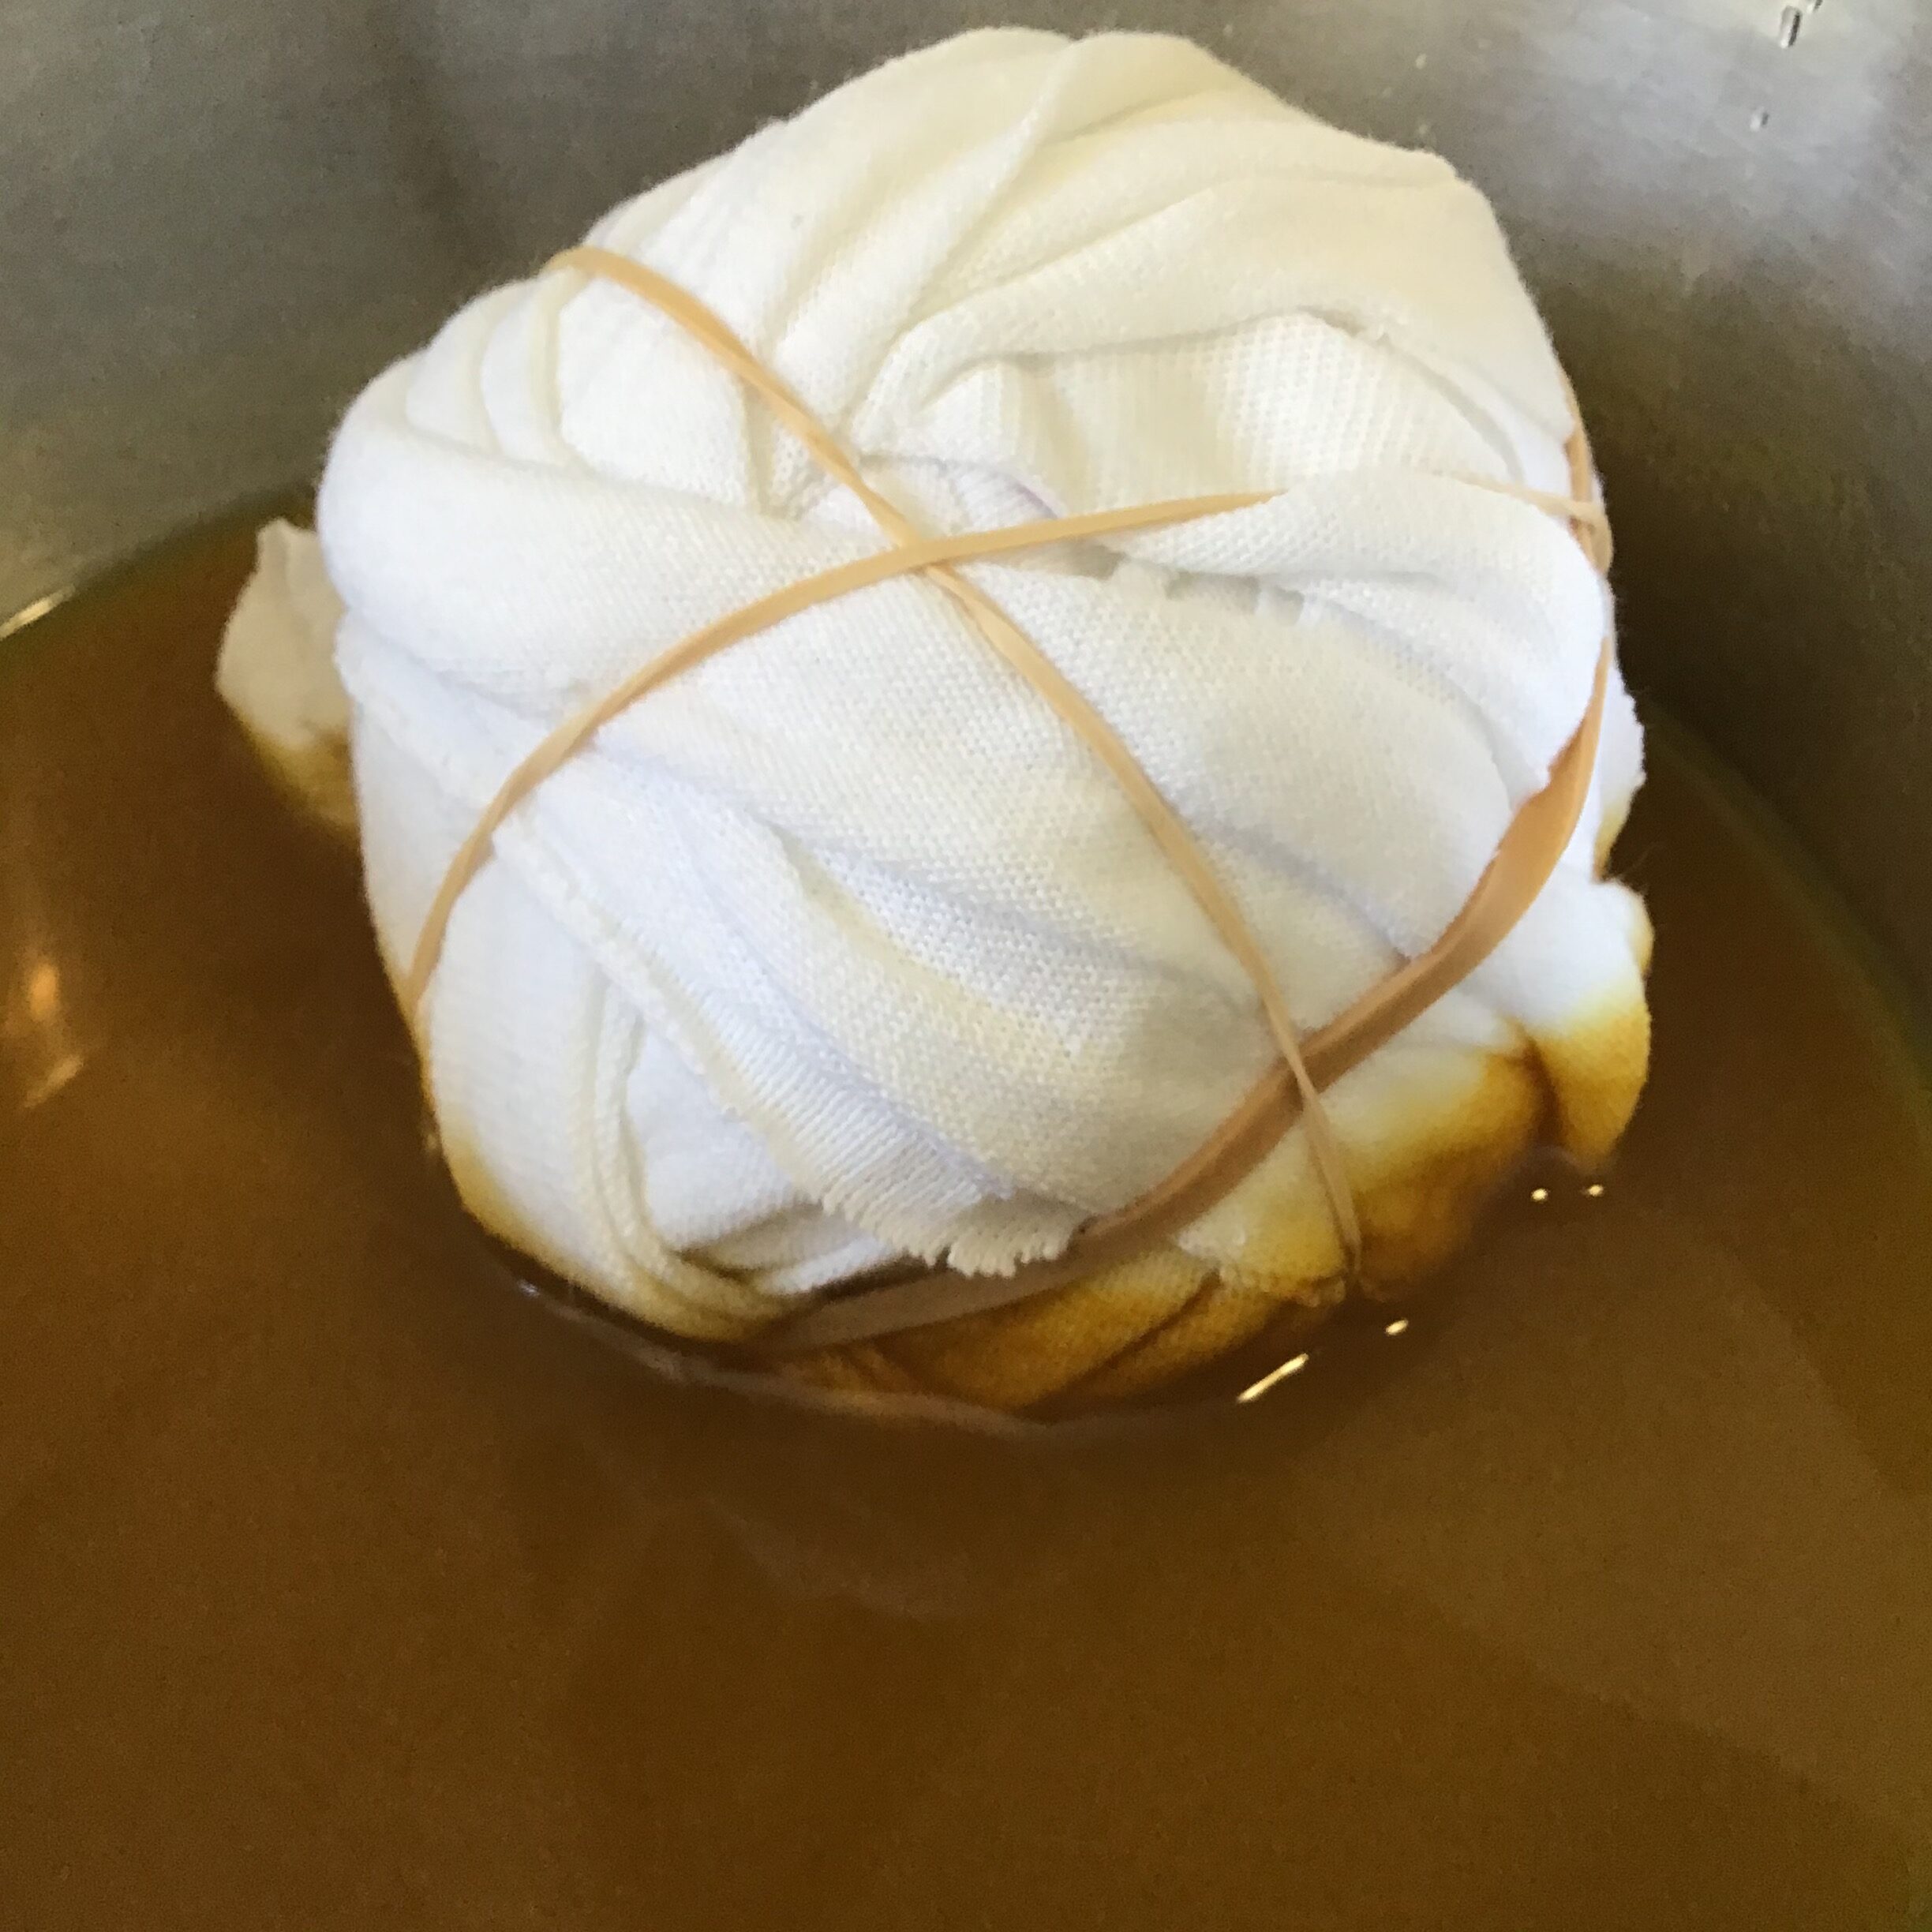
- Wrap your new shirt yarn into a single ball, or use rubber bands or twine to wrap, roll, and bunch the fabric. You can’t really go wrong here– just note that where you place the rubber bands, is a spot where dye will not touch the fabric. This technique is how you get the tie-dye effect. You can also wrap the single yarn ball, as shown below.
- Put the fabric in the pot, and let it simmer for one hour. This will fix your color.
- If your yarn is in a ball or irregular shape and can’t easily be submerged in the mixture, just turn it about every 10-15 minutes with tongs or a spoon. If your yarn is loose, it should be easy to submerge.
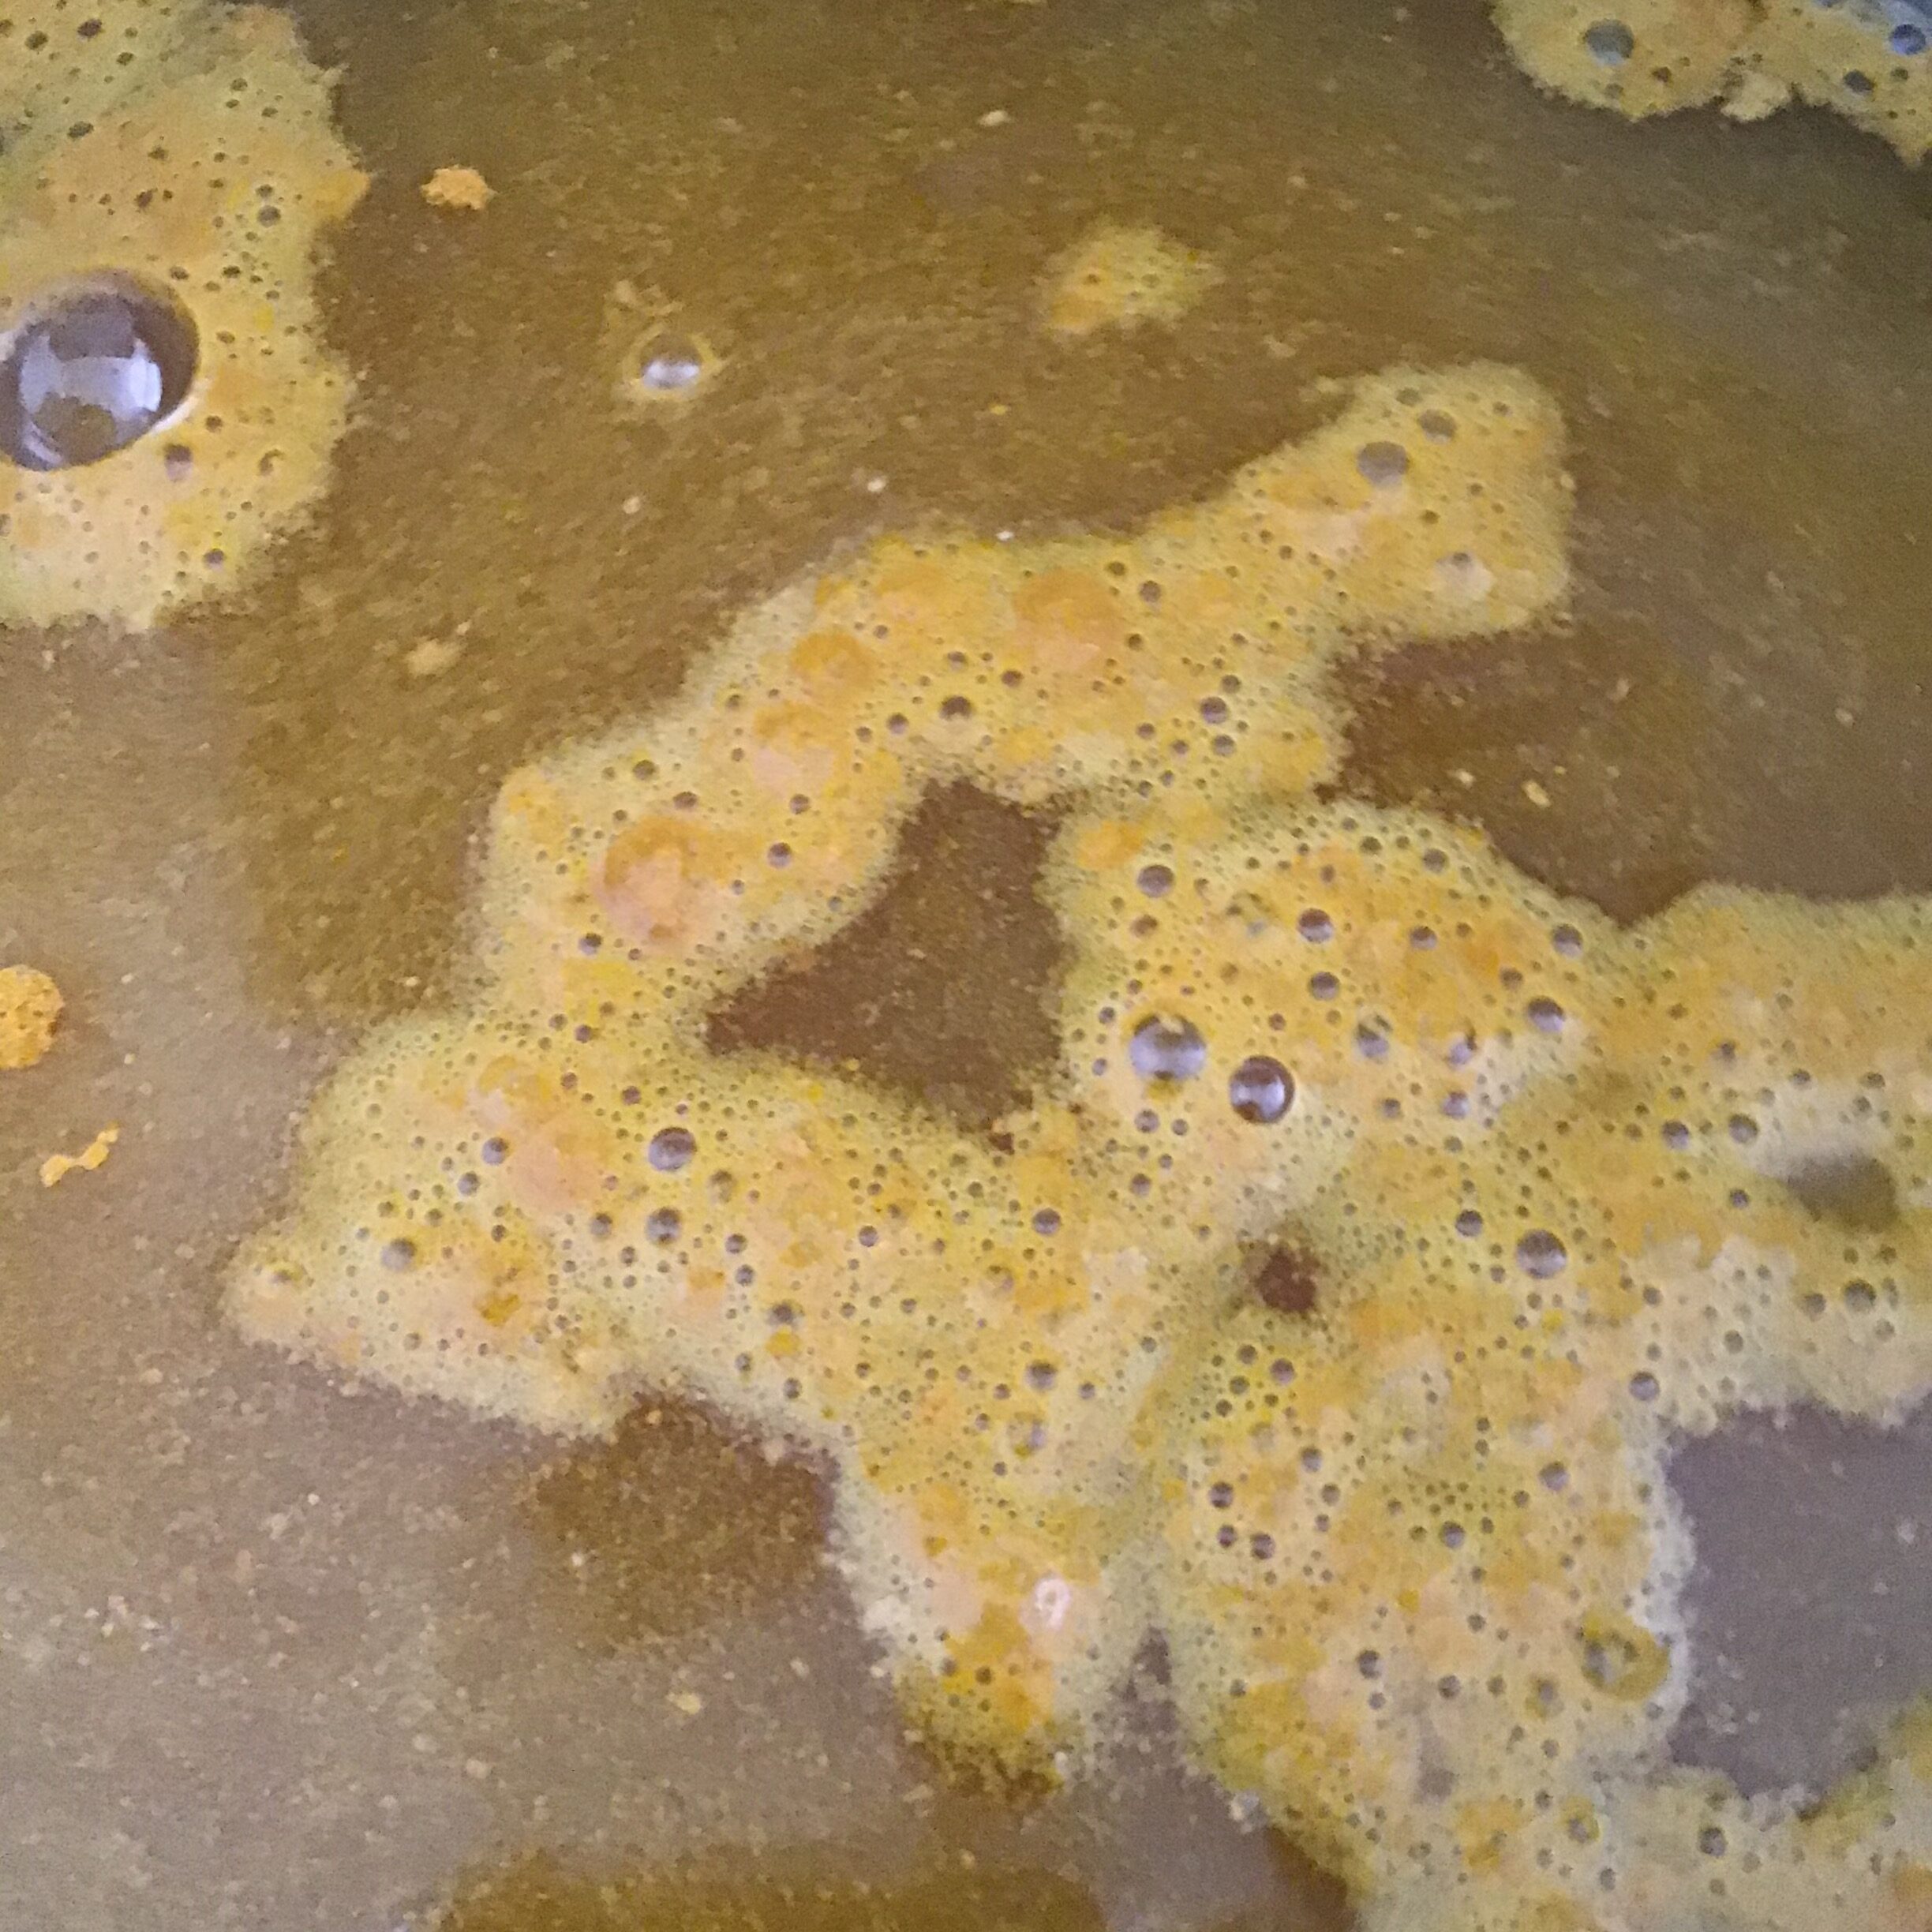
- In a second pot, mix 1-2 tablespoons of turmeric with 3-4 cups water. You can adjust this amount as needed if you need less dye. Bring this to a boil as well. Let it simmer for one hour.
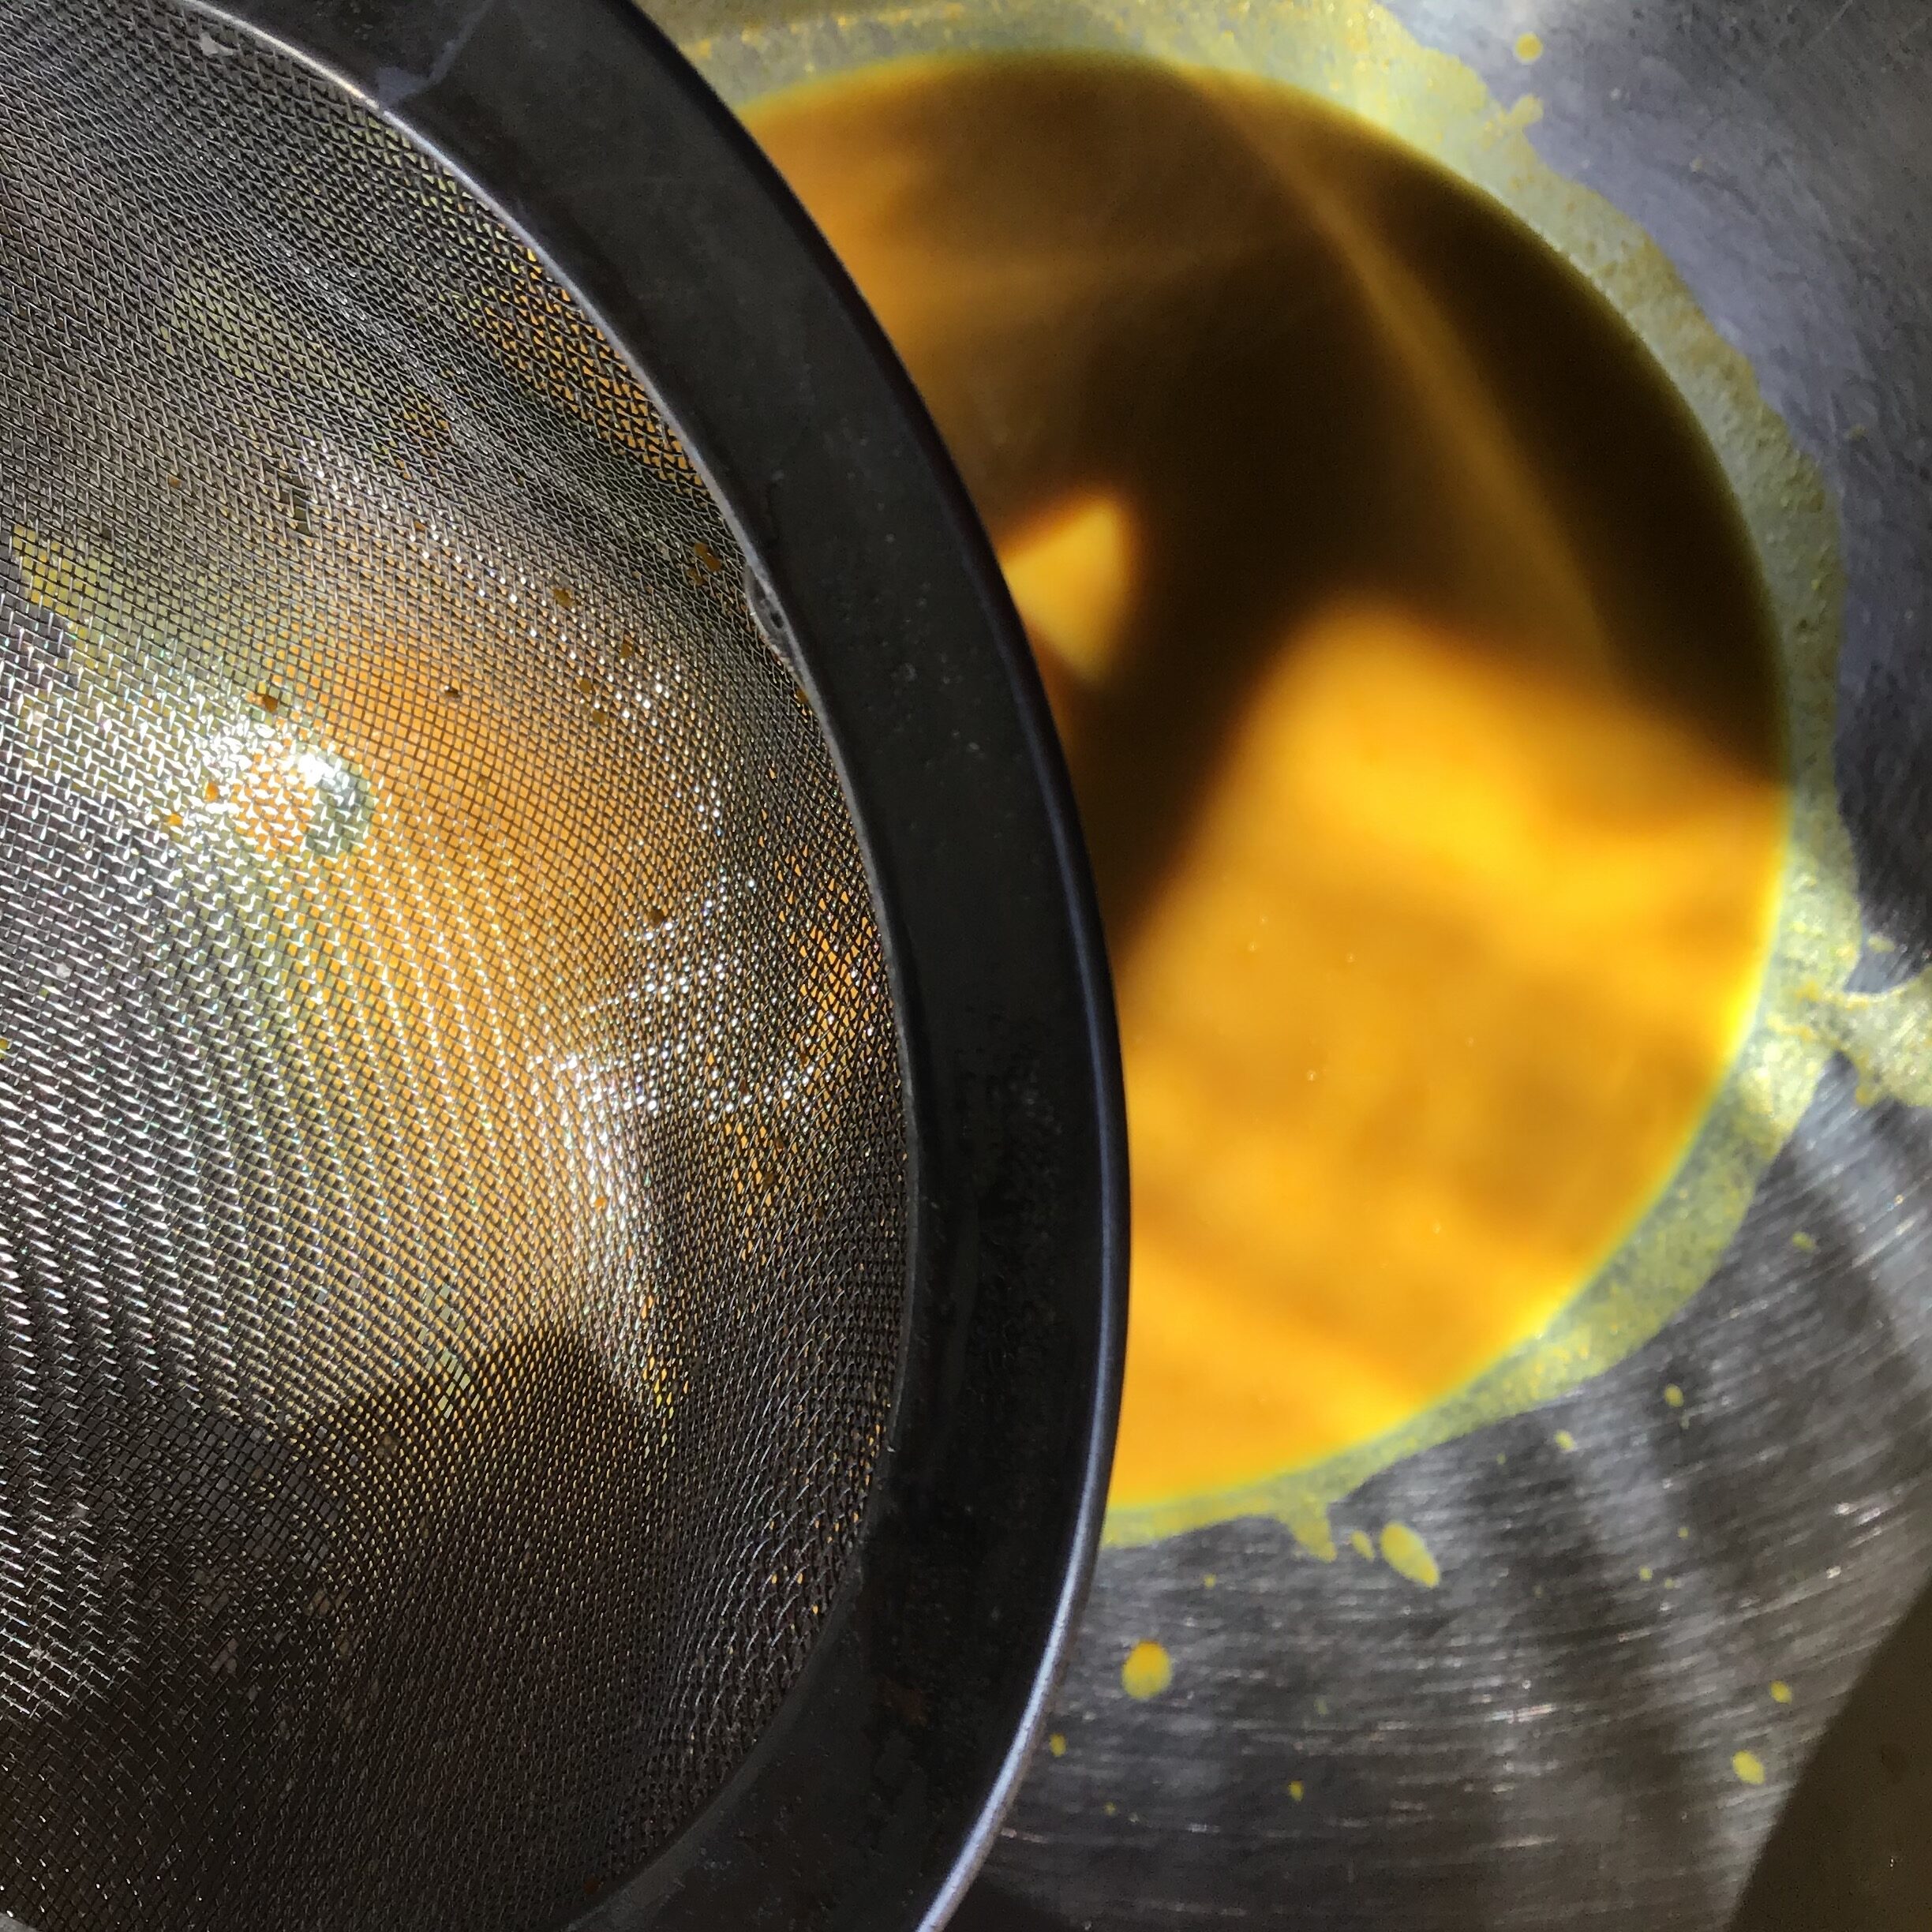
- Return to your mixtures. You may choose to wear gloves during the dyeing process. Strain the turmeric mixture into a bowl or jar large enough to hold your fabric.
- Set your fabric in the mixture for at least 15 minutes. In the below example, the fabric was half-submerged in the dye.
- Remove your yard.
NOTE: Colors will fade a bit after being removed from the dye. So, you will want to leave your yarn submerged until you see a substantial color change or it is slightly darker than desired.
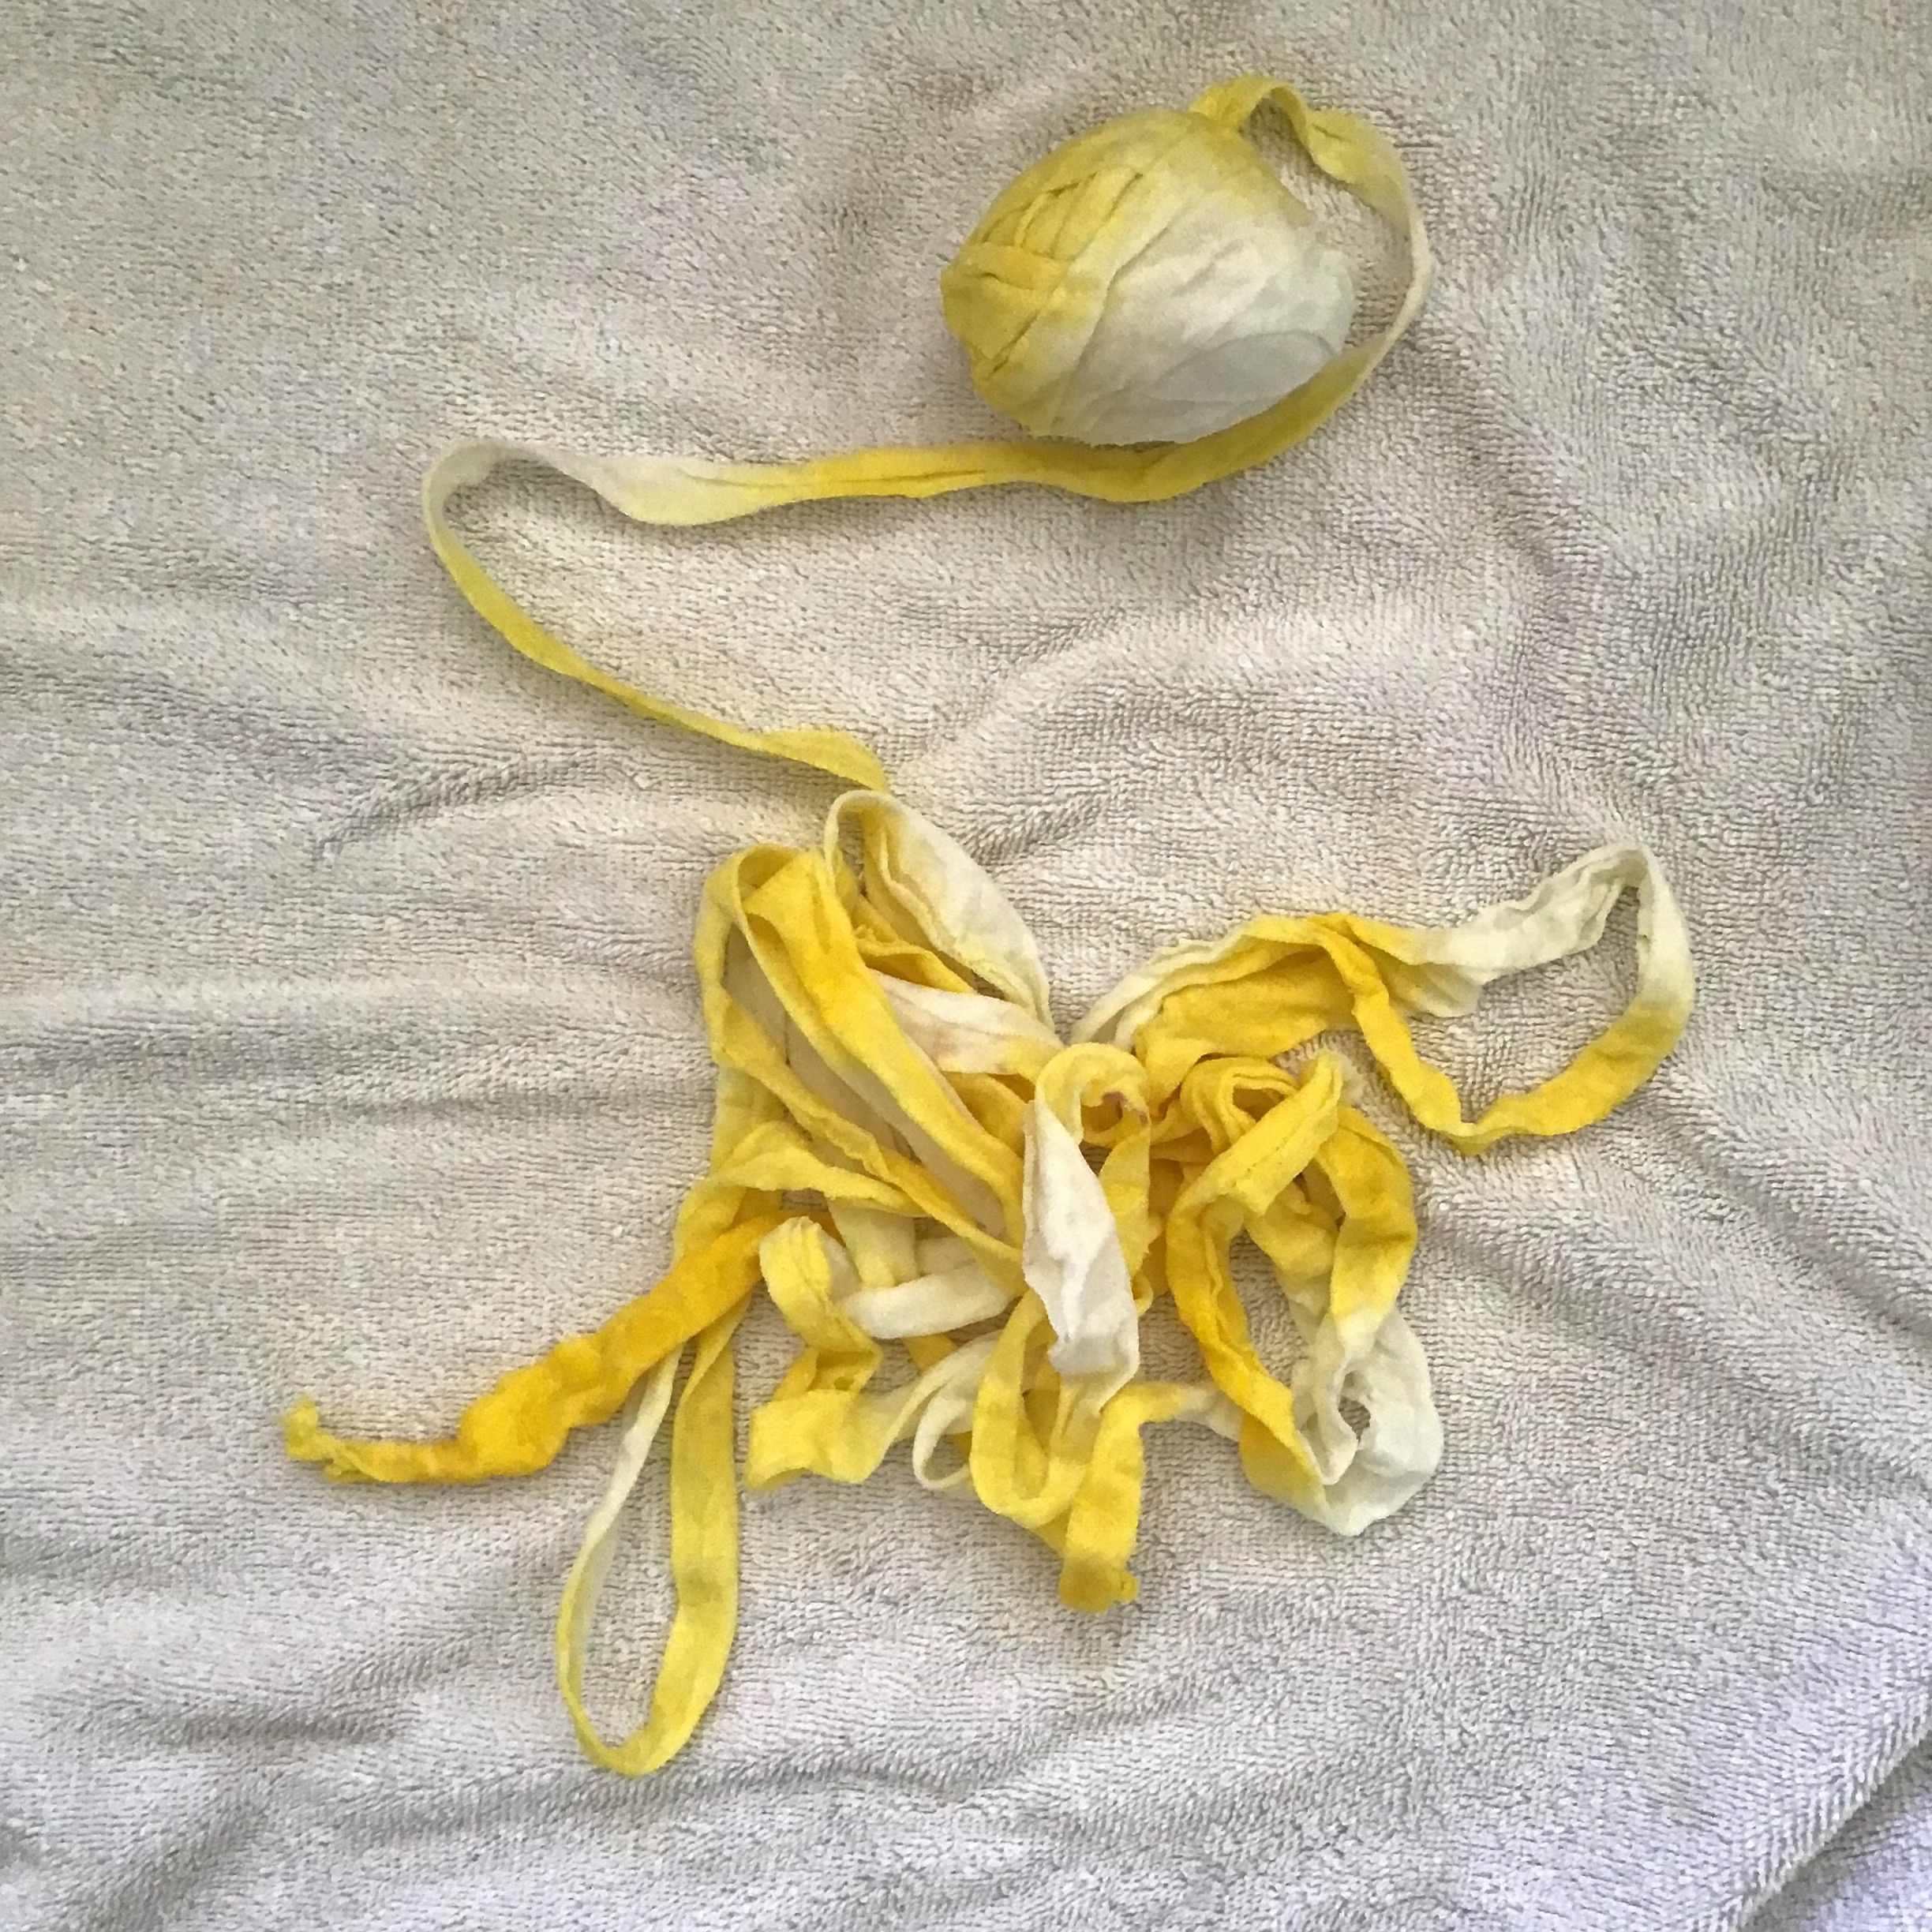
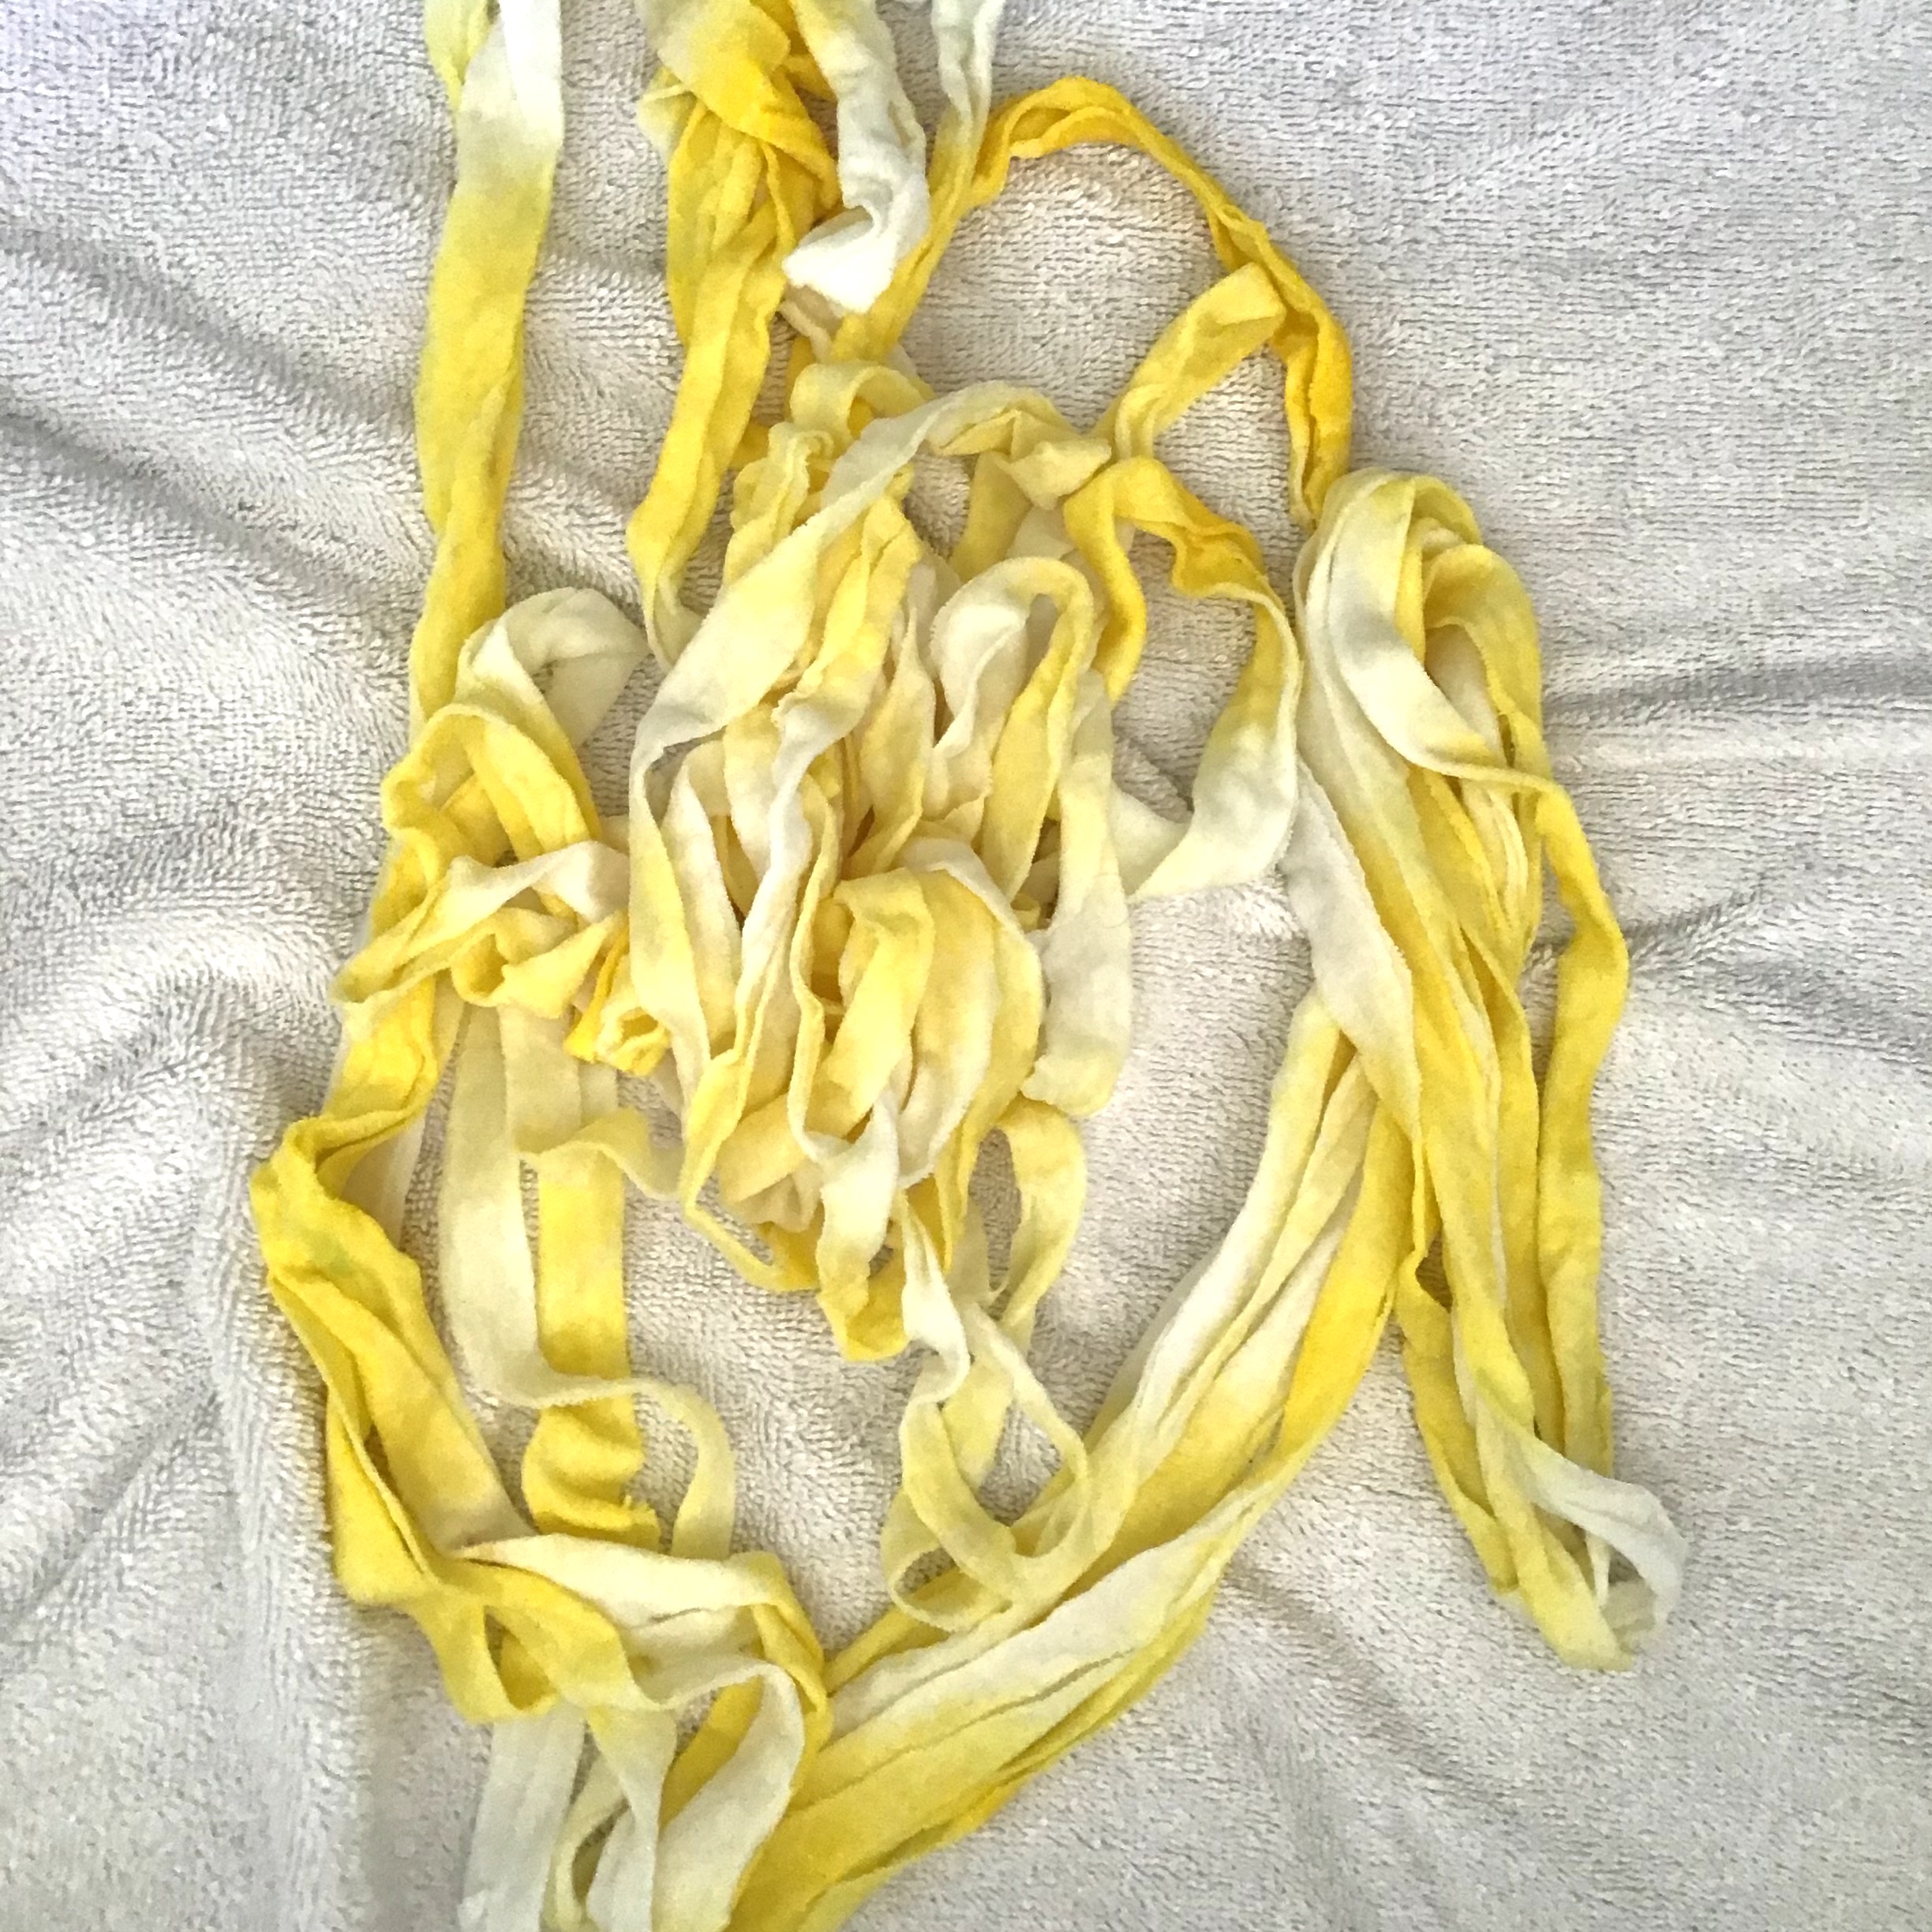
- Rinse in cool water until the water runs clear, and remove rubber bands if present, unrolling yarn ball if applicable.
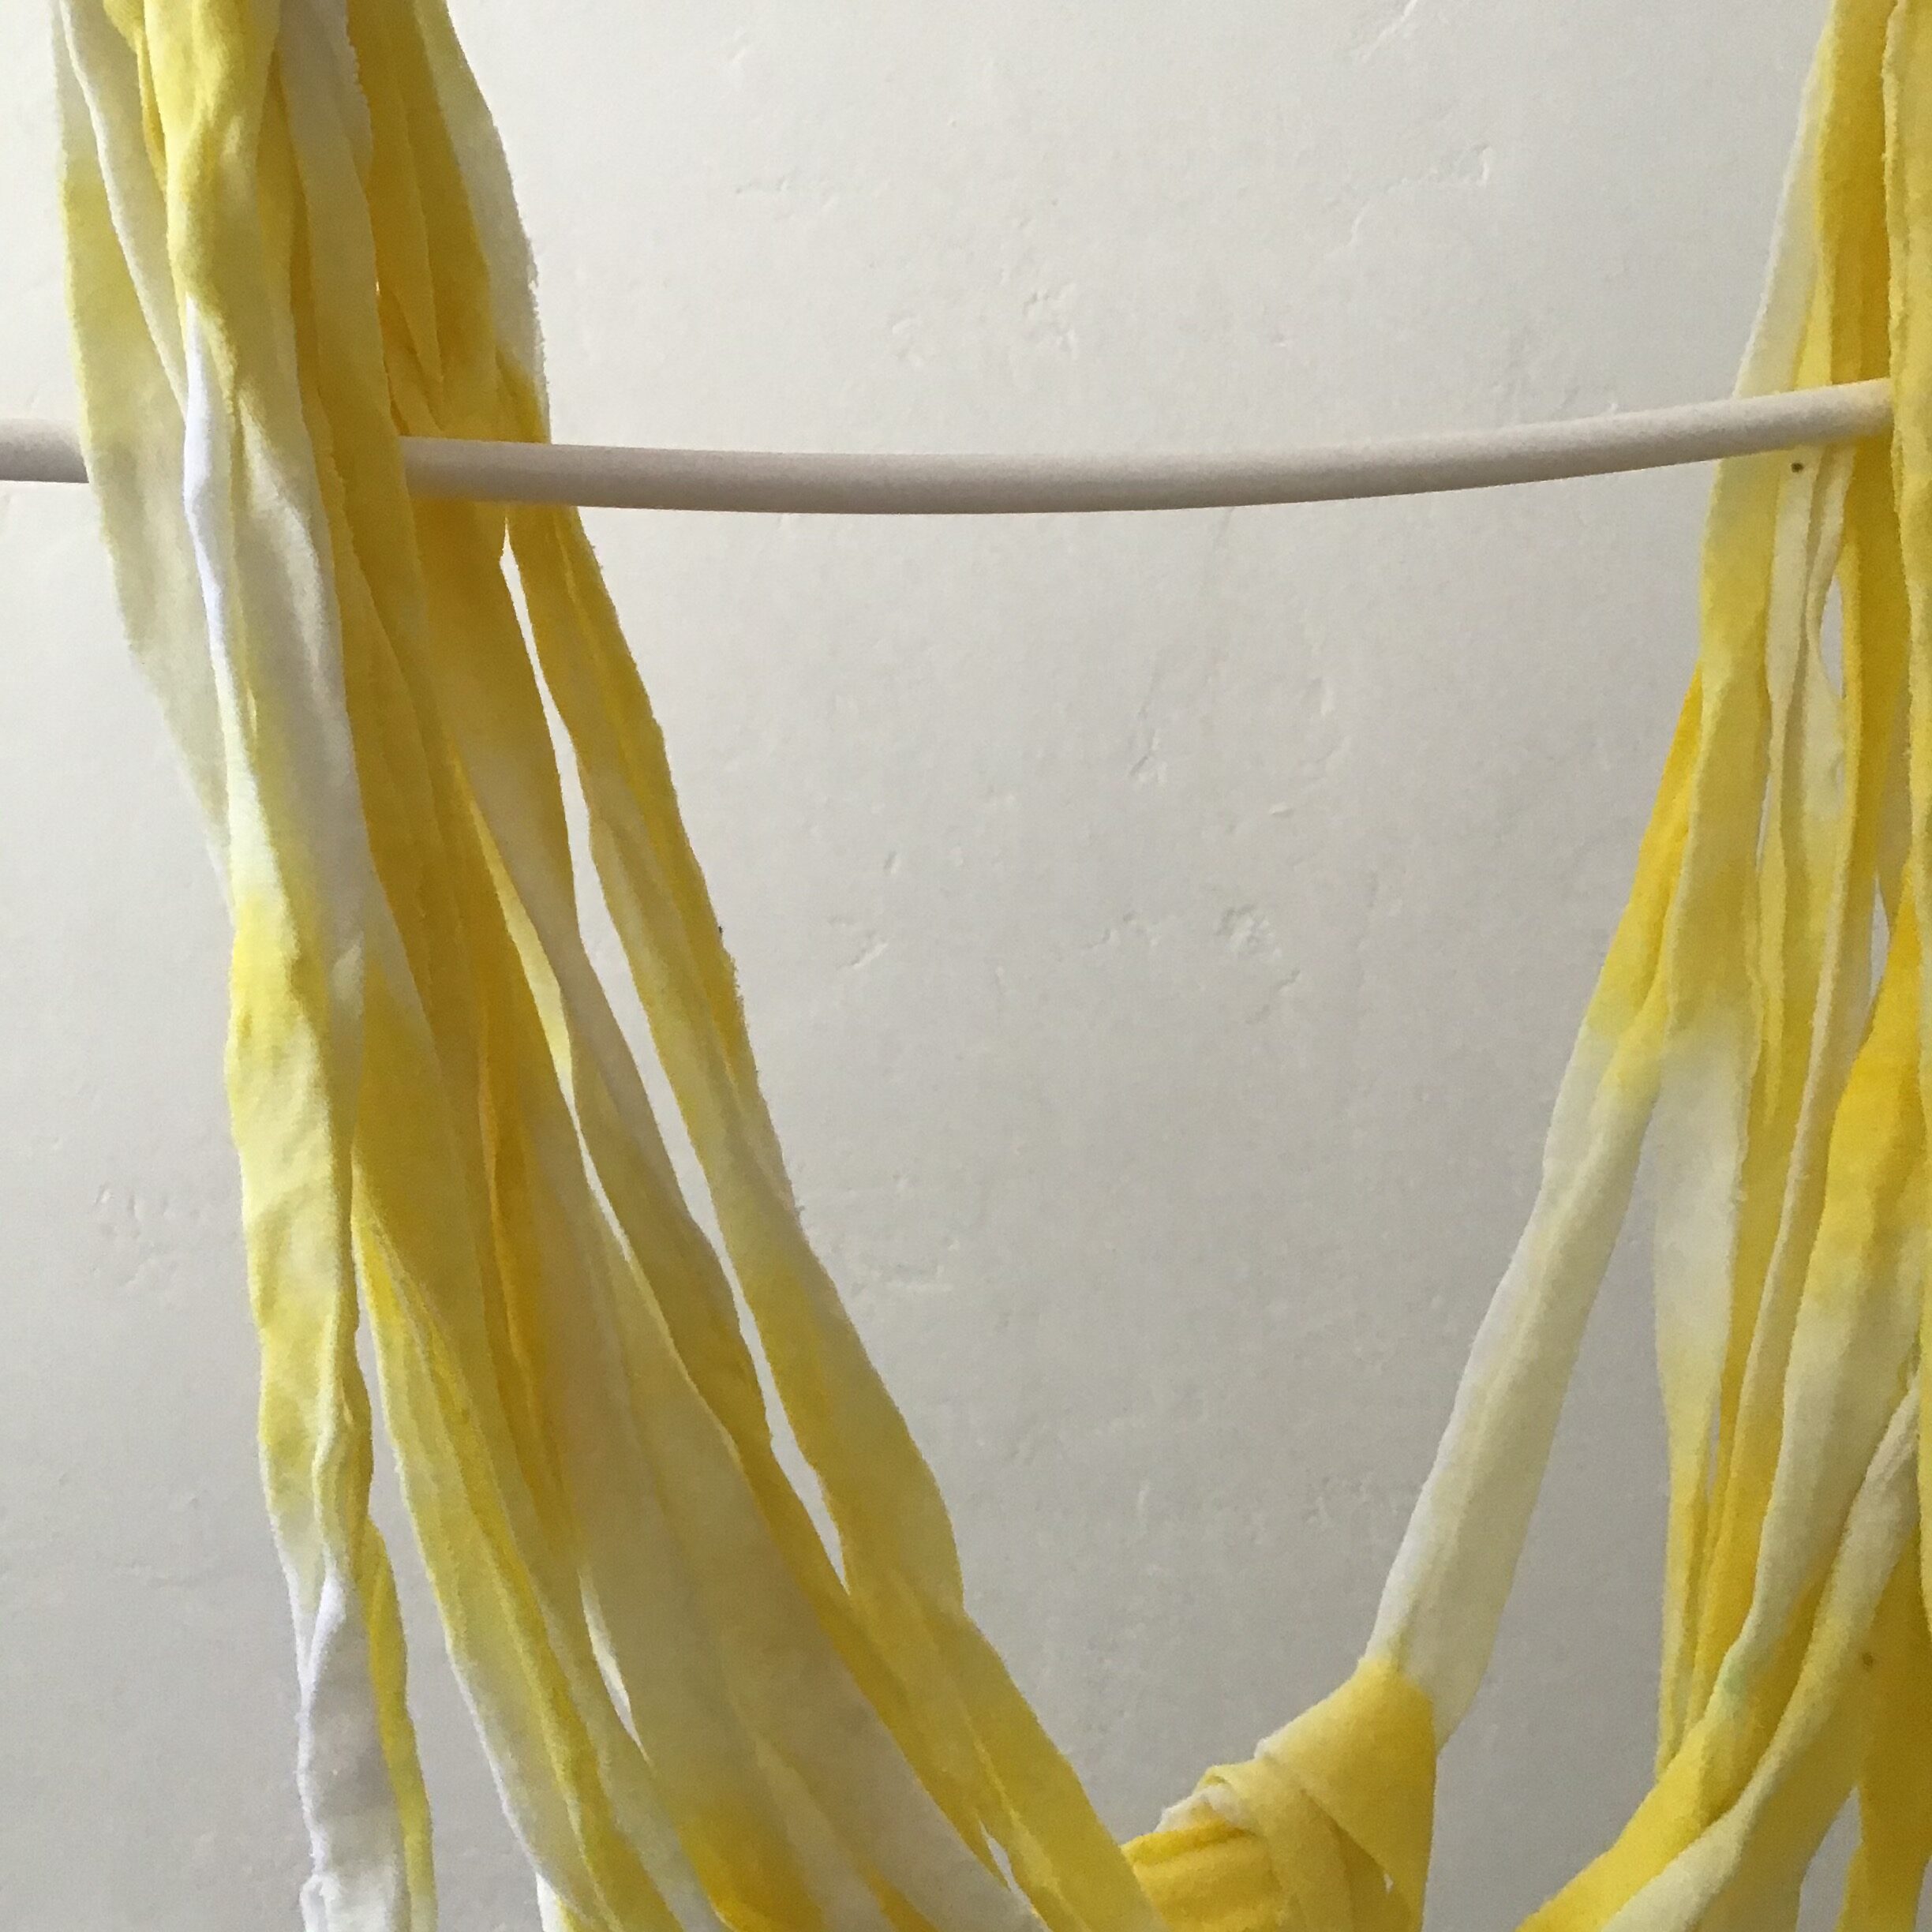
- Hang your yarn to dry.
Simple bracelet:
- If you’d like to braid your yarn into a simple friendship bracelet, follow the steps below, or research more complicated braids.
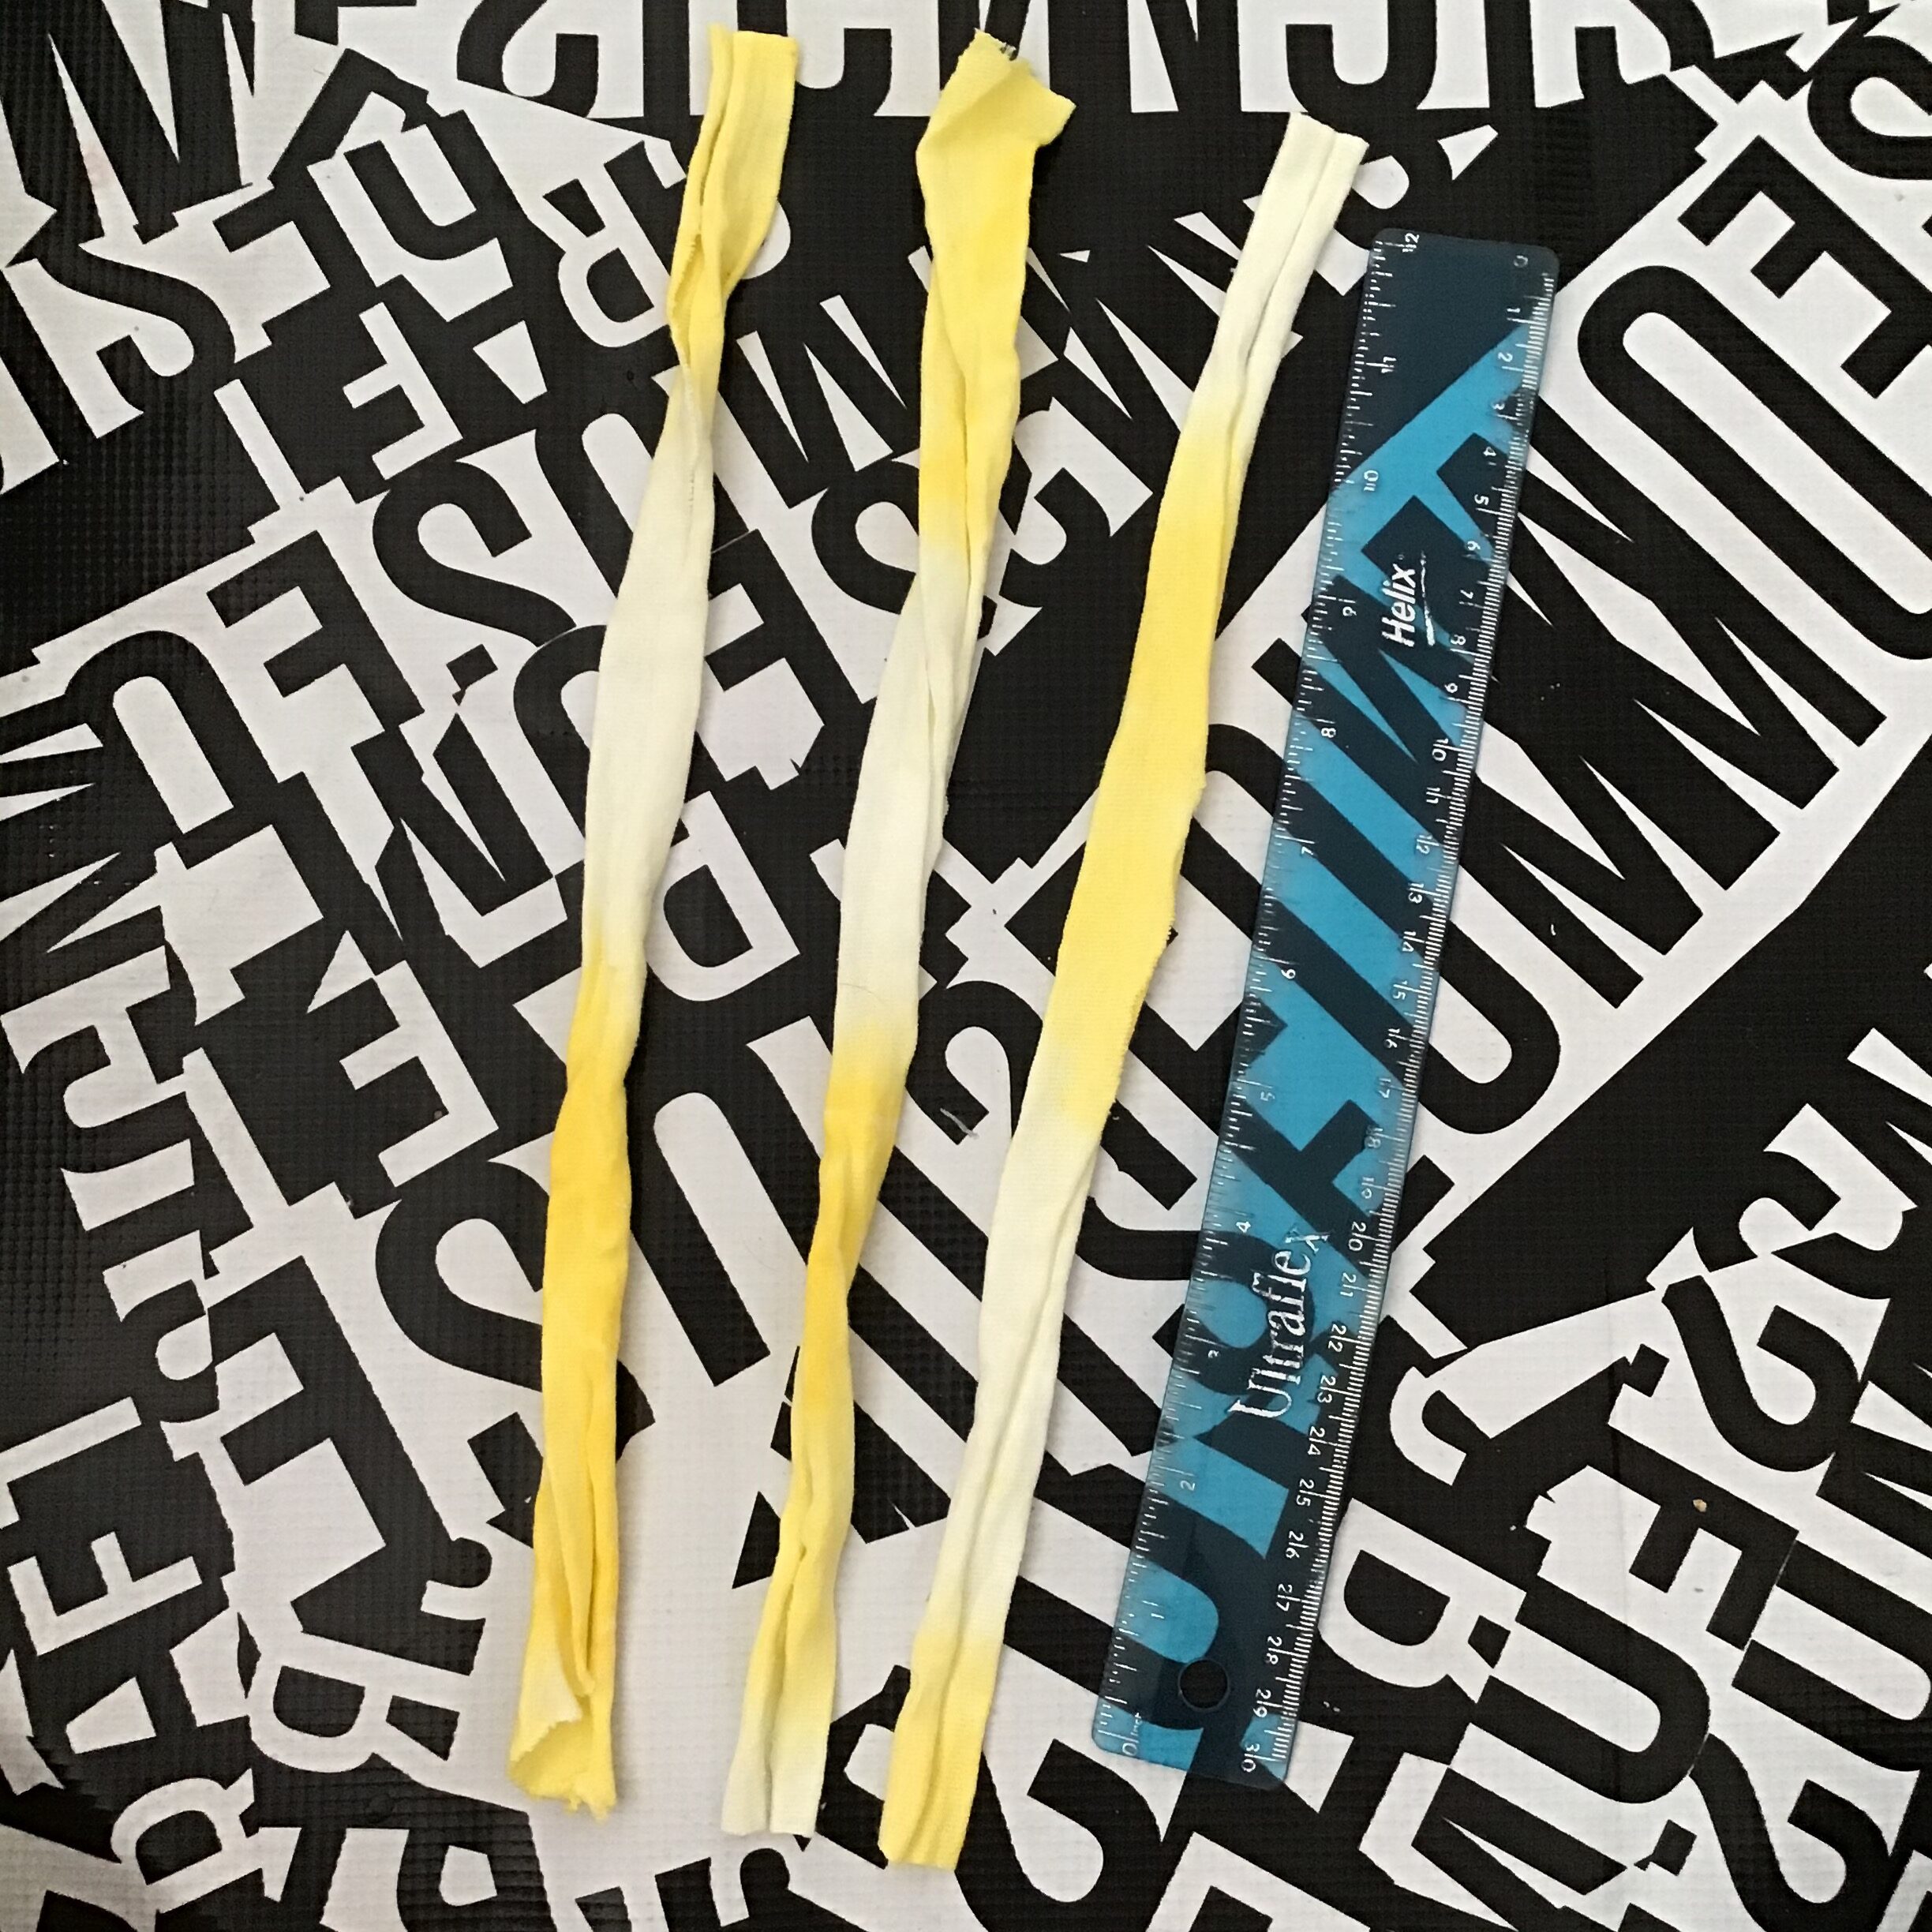
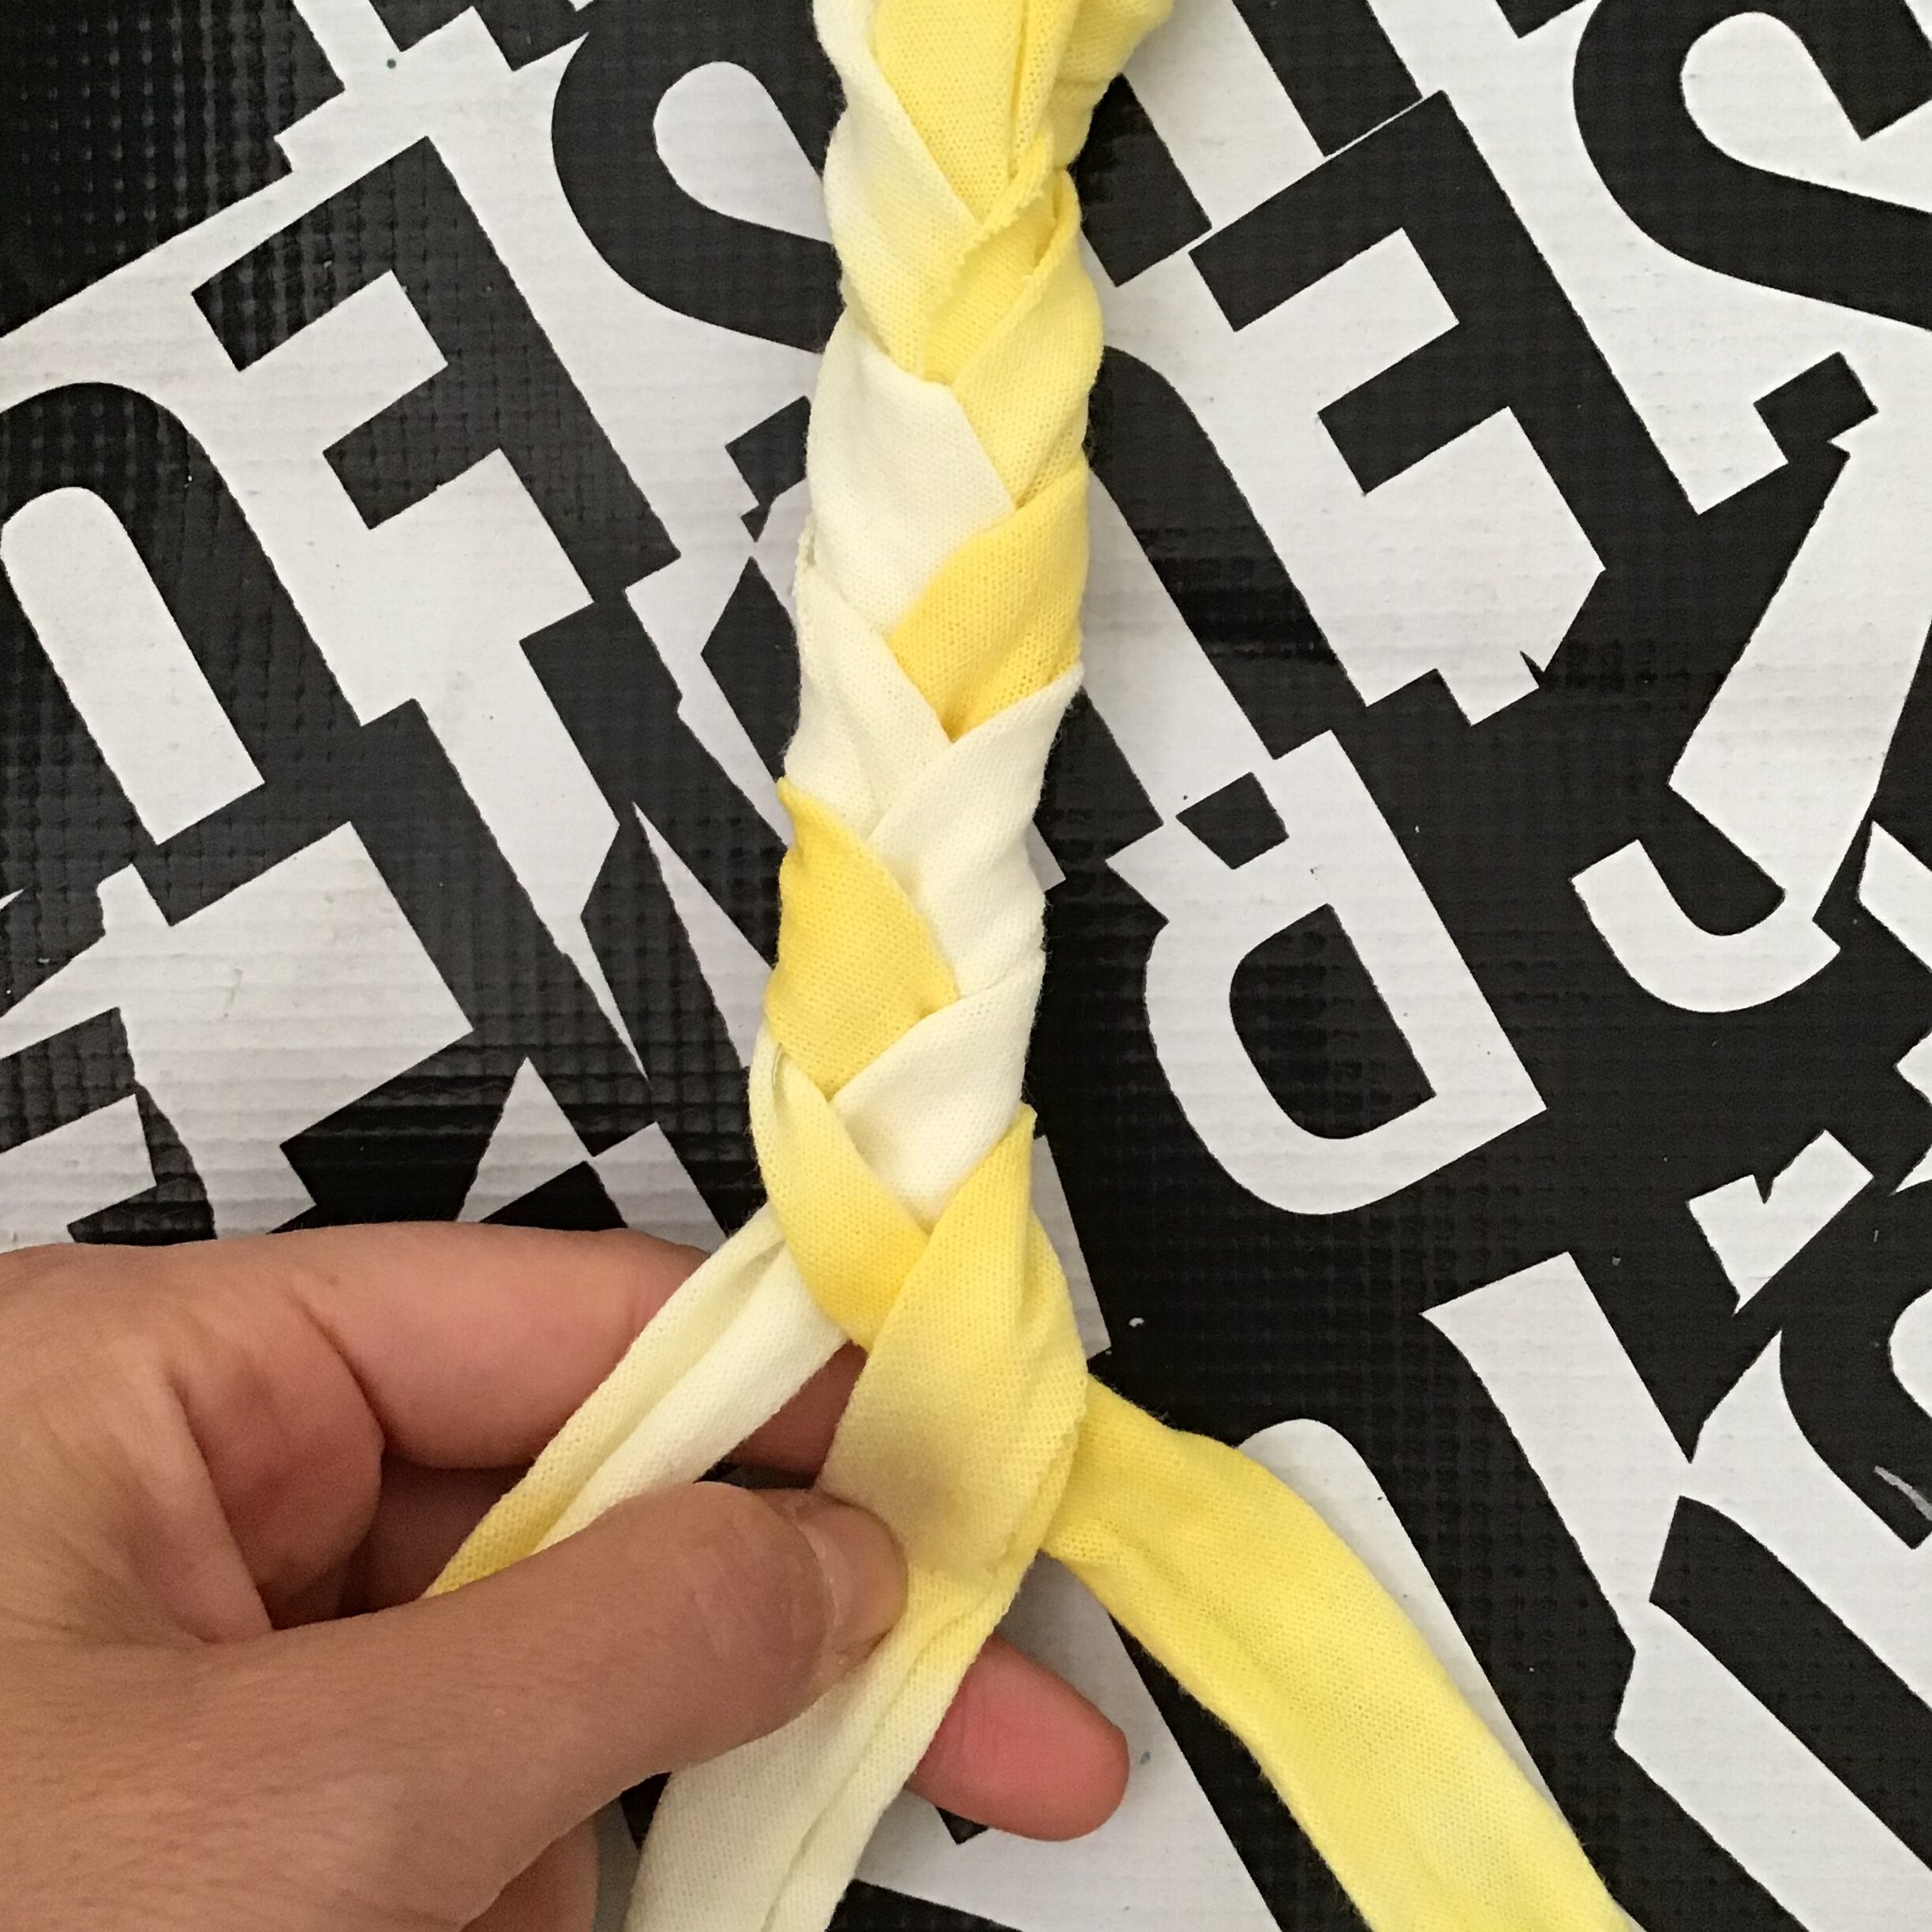
- Cut yarn into three pieces, approximately 14-15 inches long.
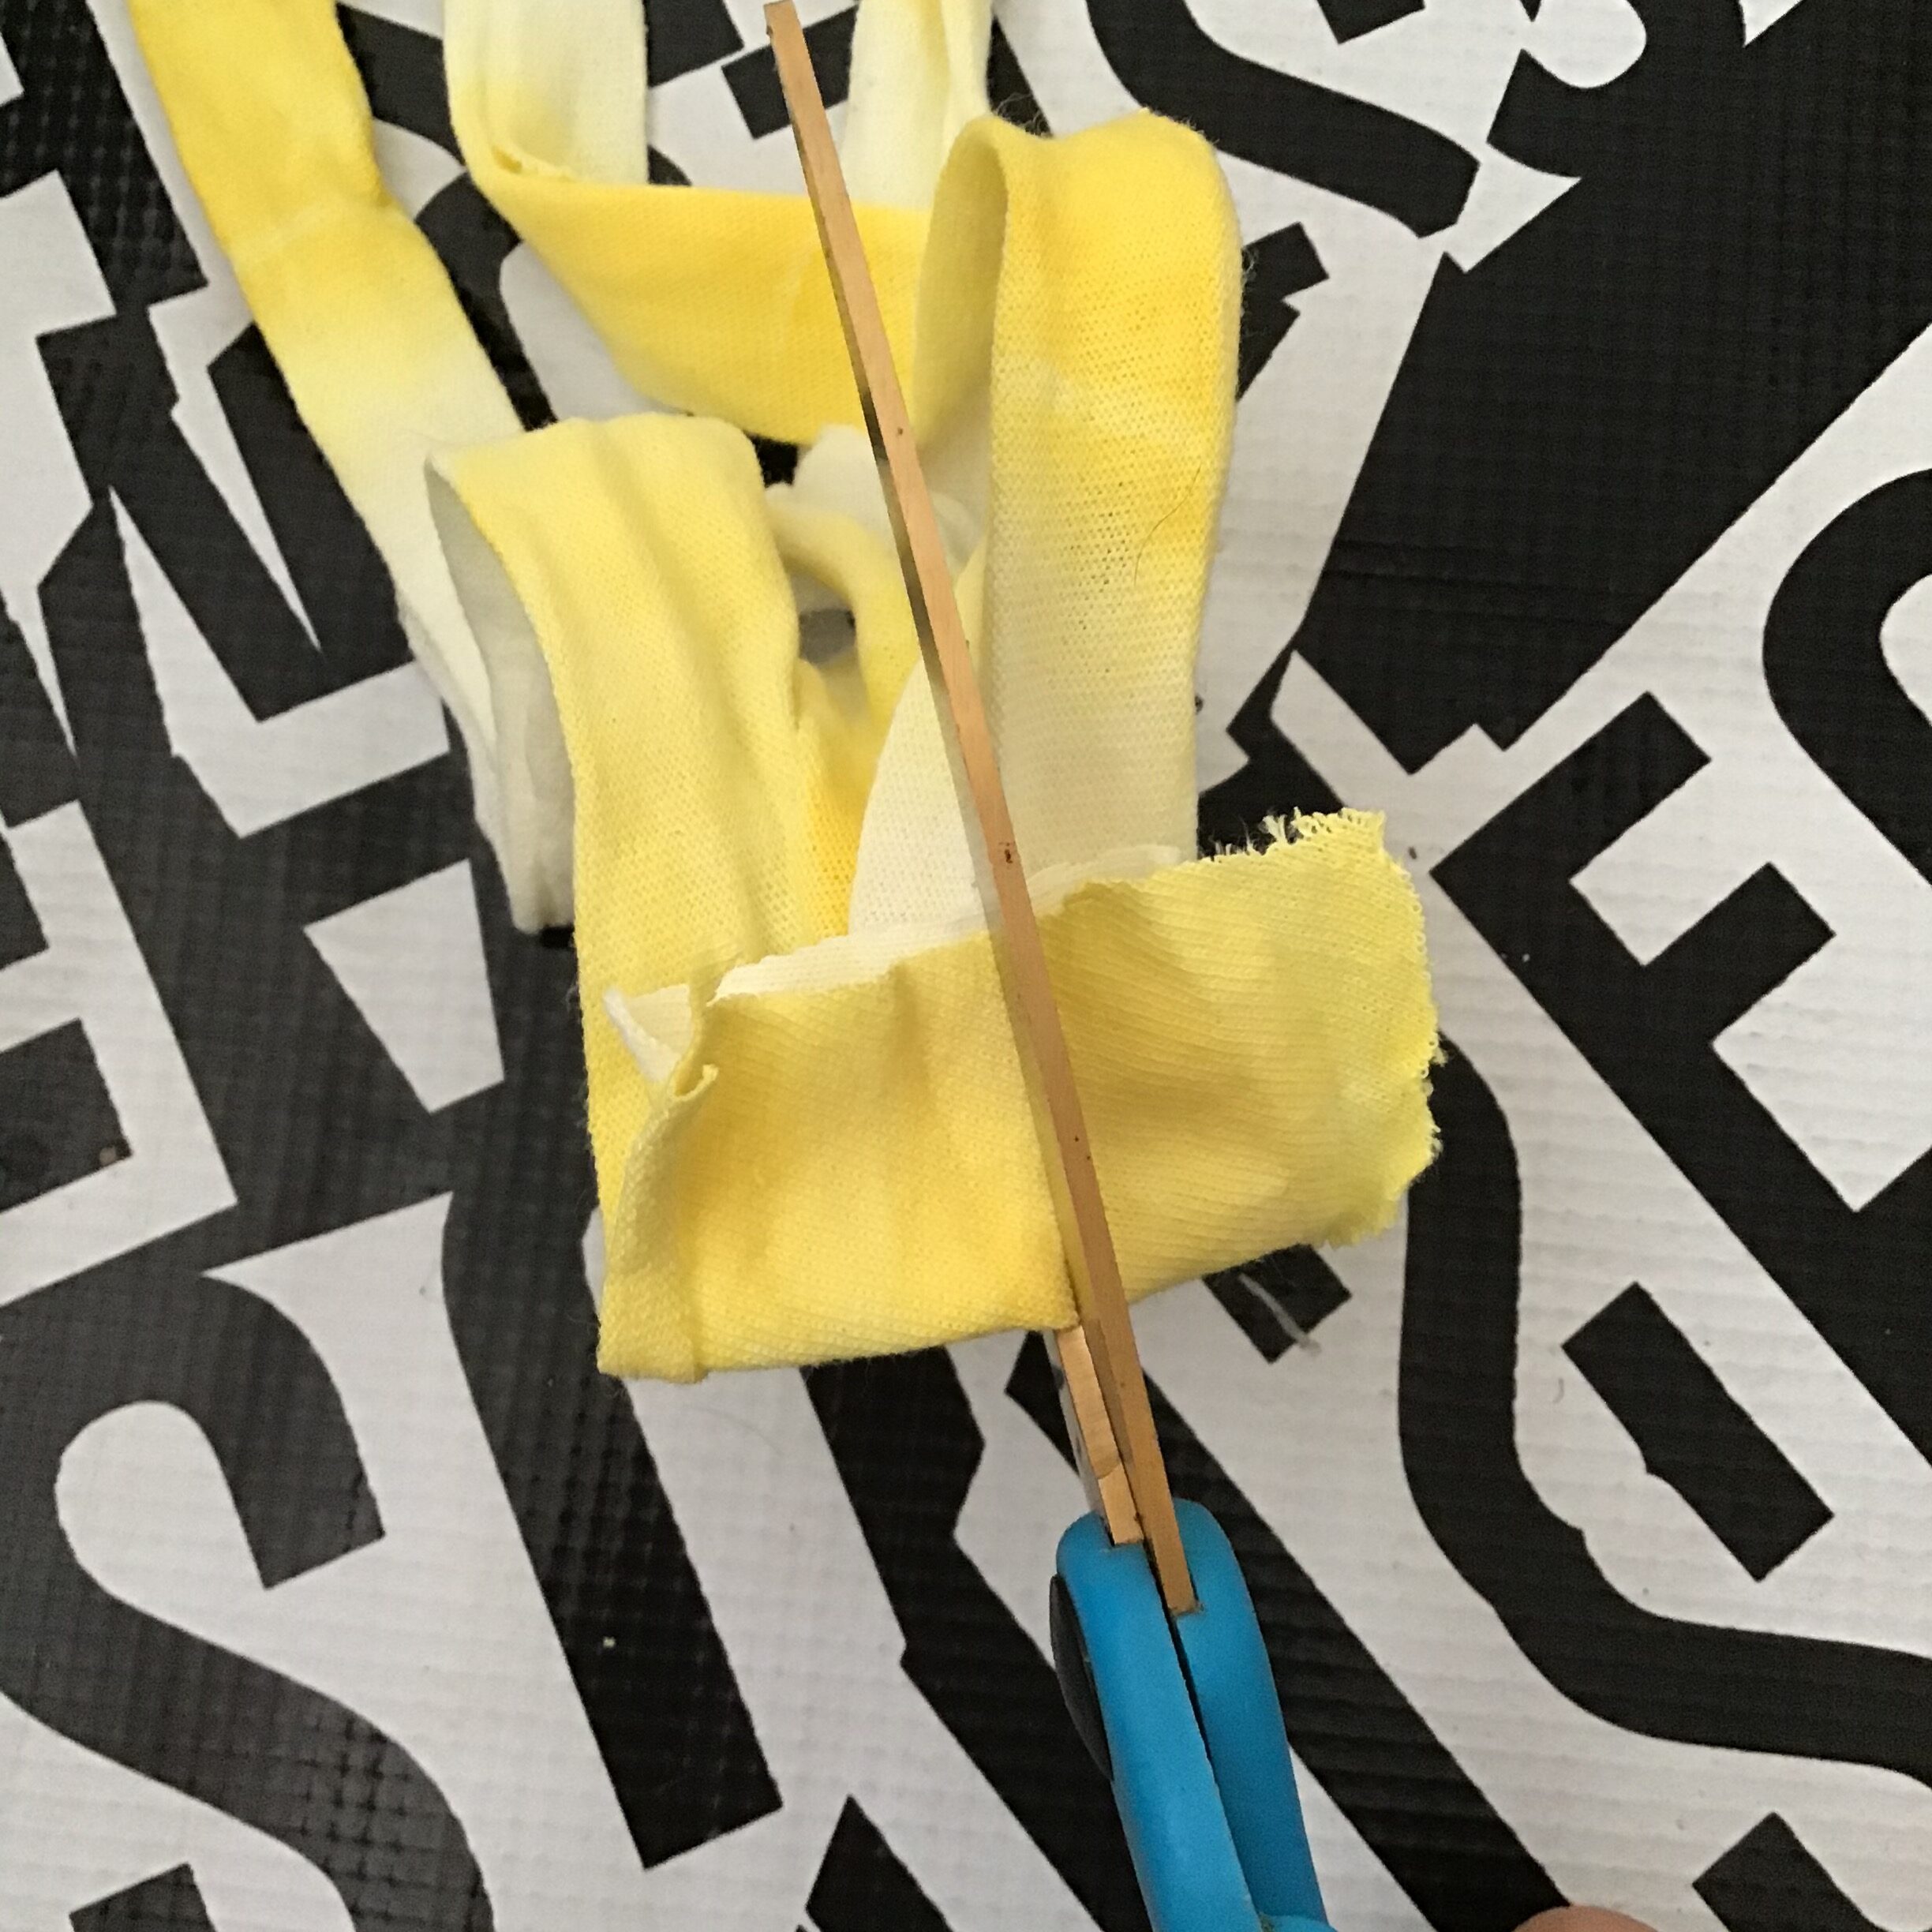
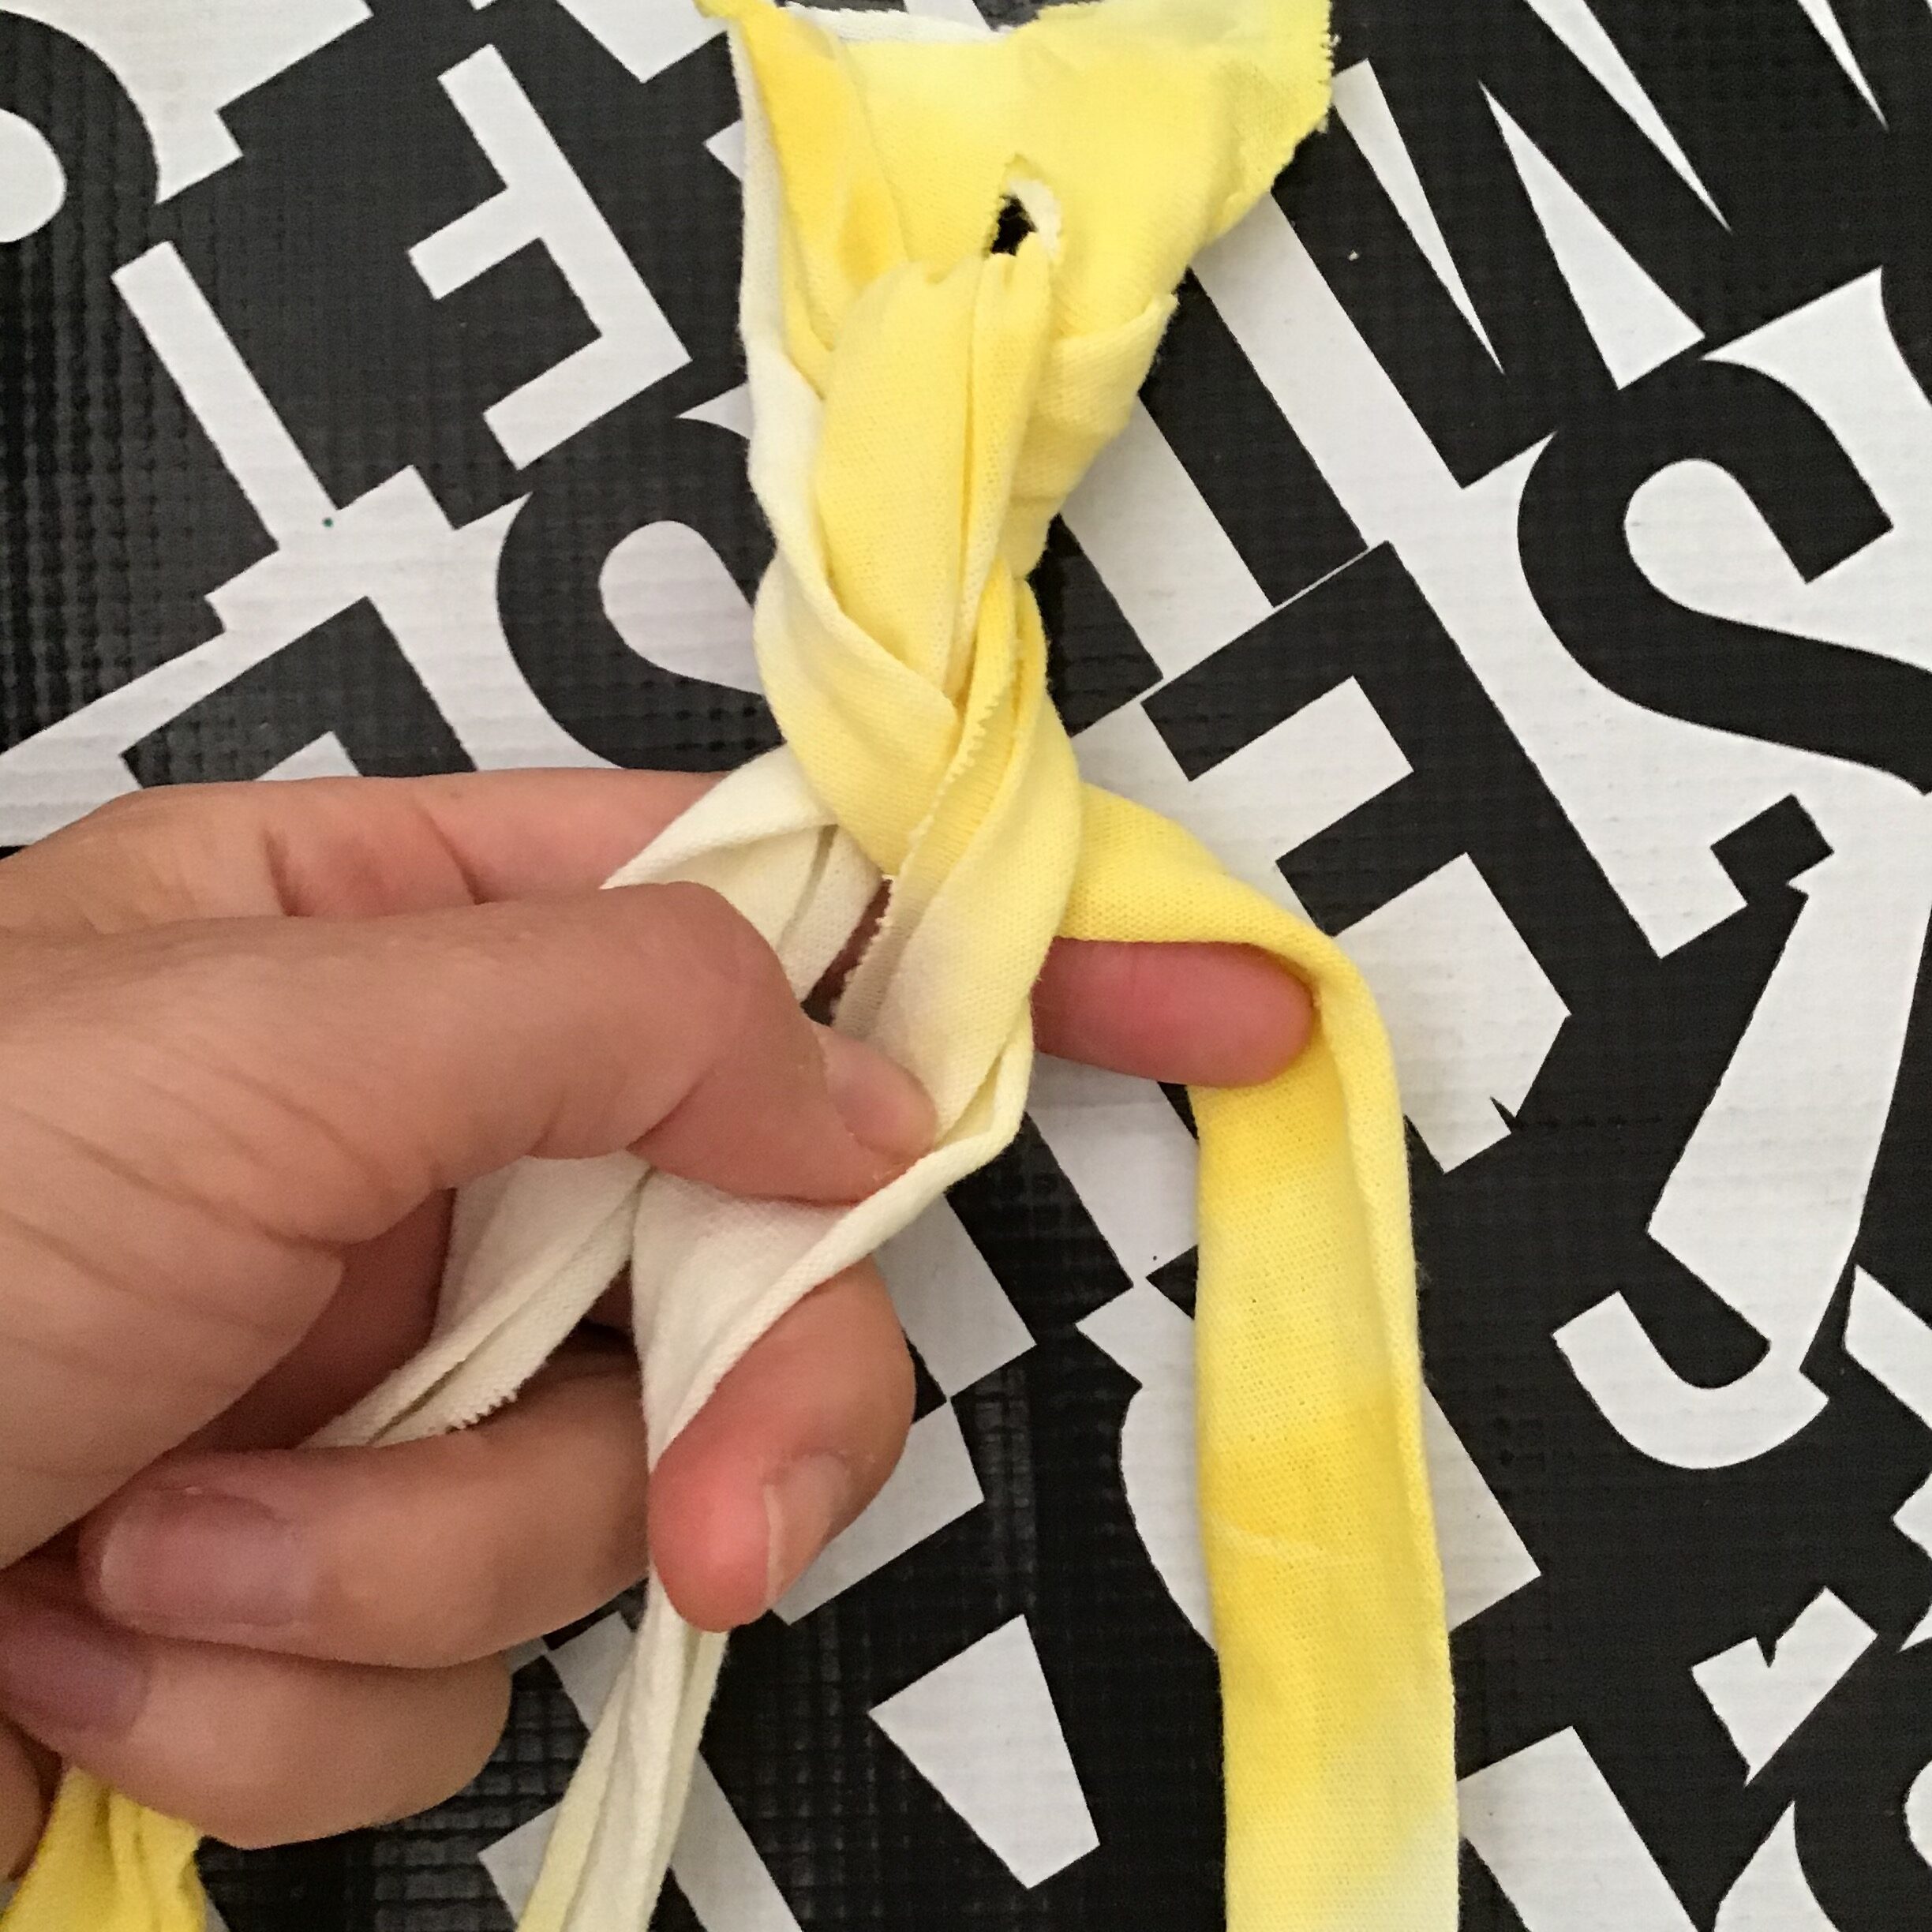
- Flatten and layer the ends at one side. Fold them over to cut into the middle and make a hole through all three layers. Then pull one piece through the hole to lock the three together.
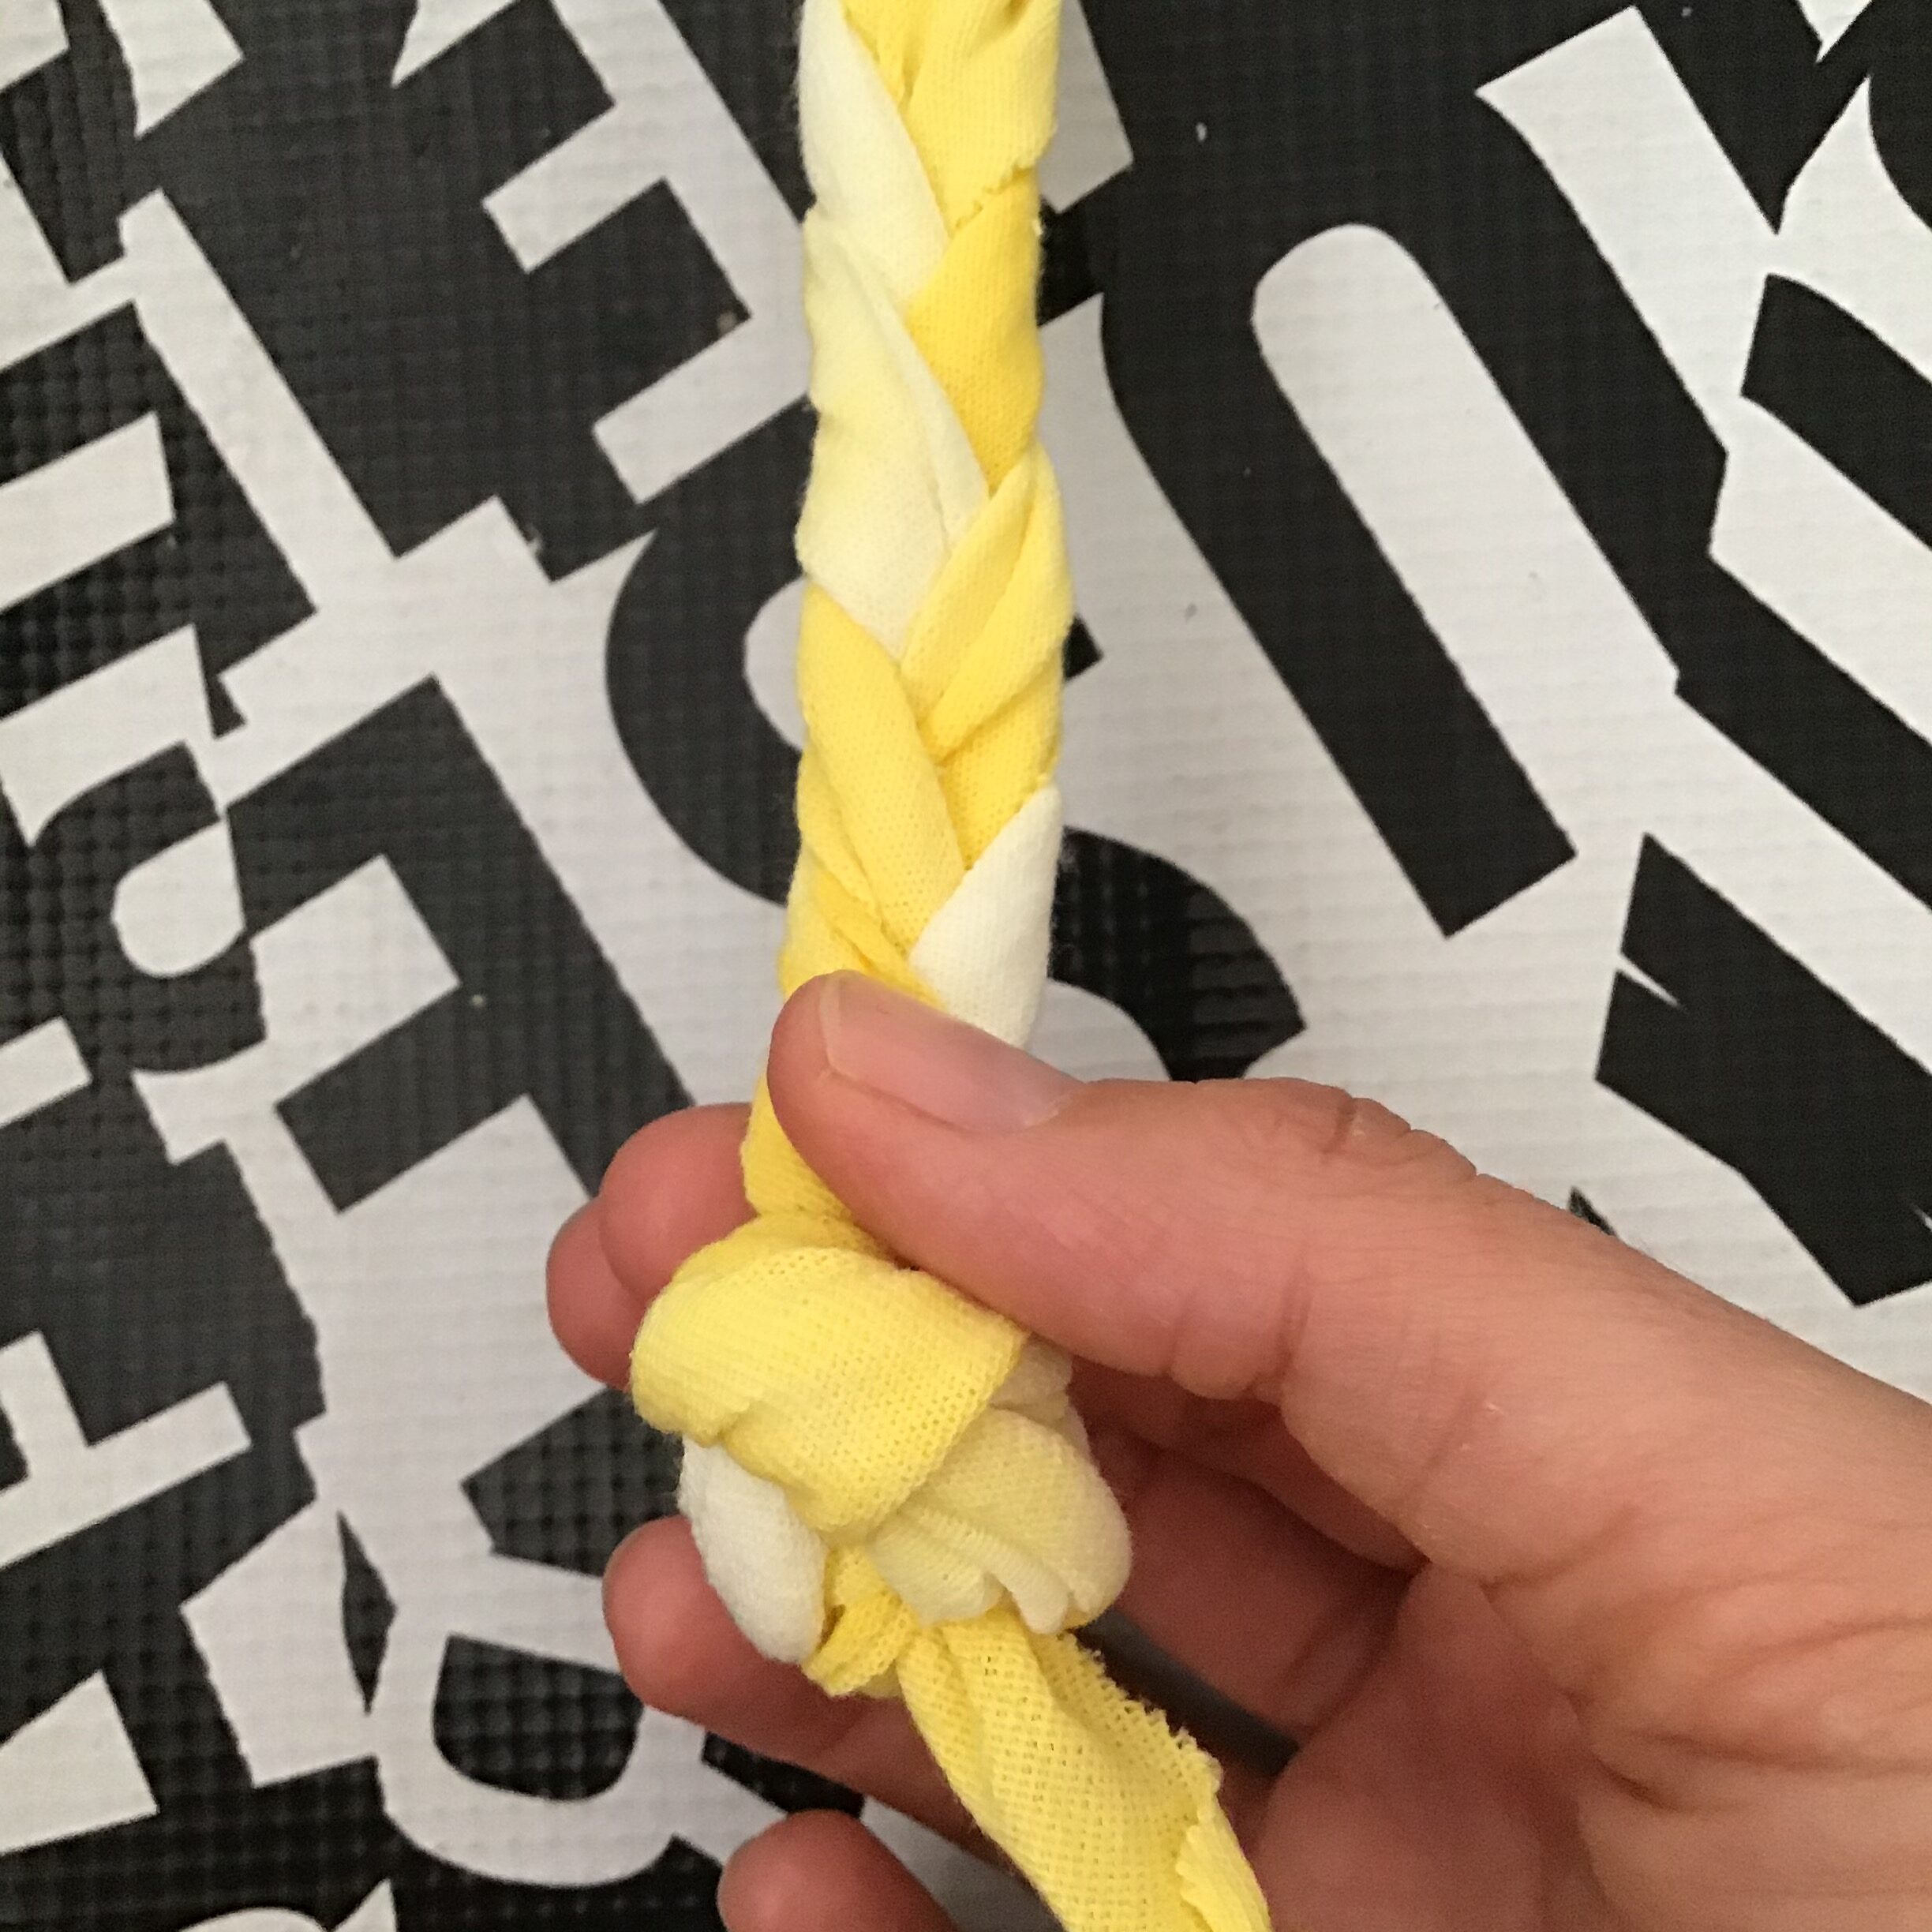
- Tape down the strands at that end and begin braiding. To braid, keep placing the outer strands in the middle: first the right, then the left, and so on.
- Once you reach the end of the yarn, tie a knot and slide it down the braid to tighten it as much as possible. Feed the knot through the hole that you started with, and trim ends as necessary. Pull the braid over your wrist or ankle!
CONNECT SOCIALLY AND LEARN MORE
![]()
![]()

Share your project! Post and tag #MCDatHome
UPCOMING EVENTS

Free Summer Weekend!
The Fabric of Celluloid: A Conversation with Dr. Alla Gadassik


