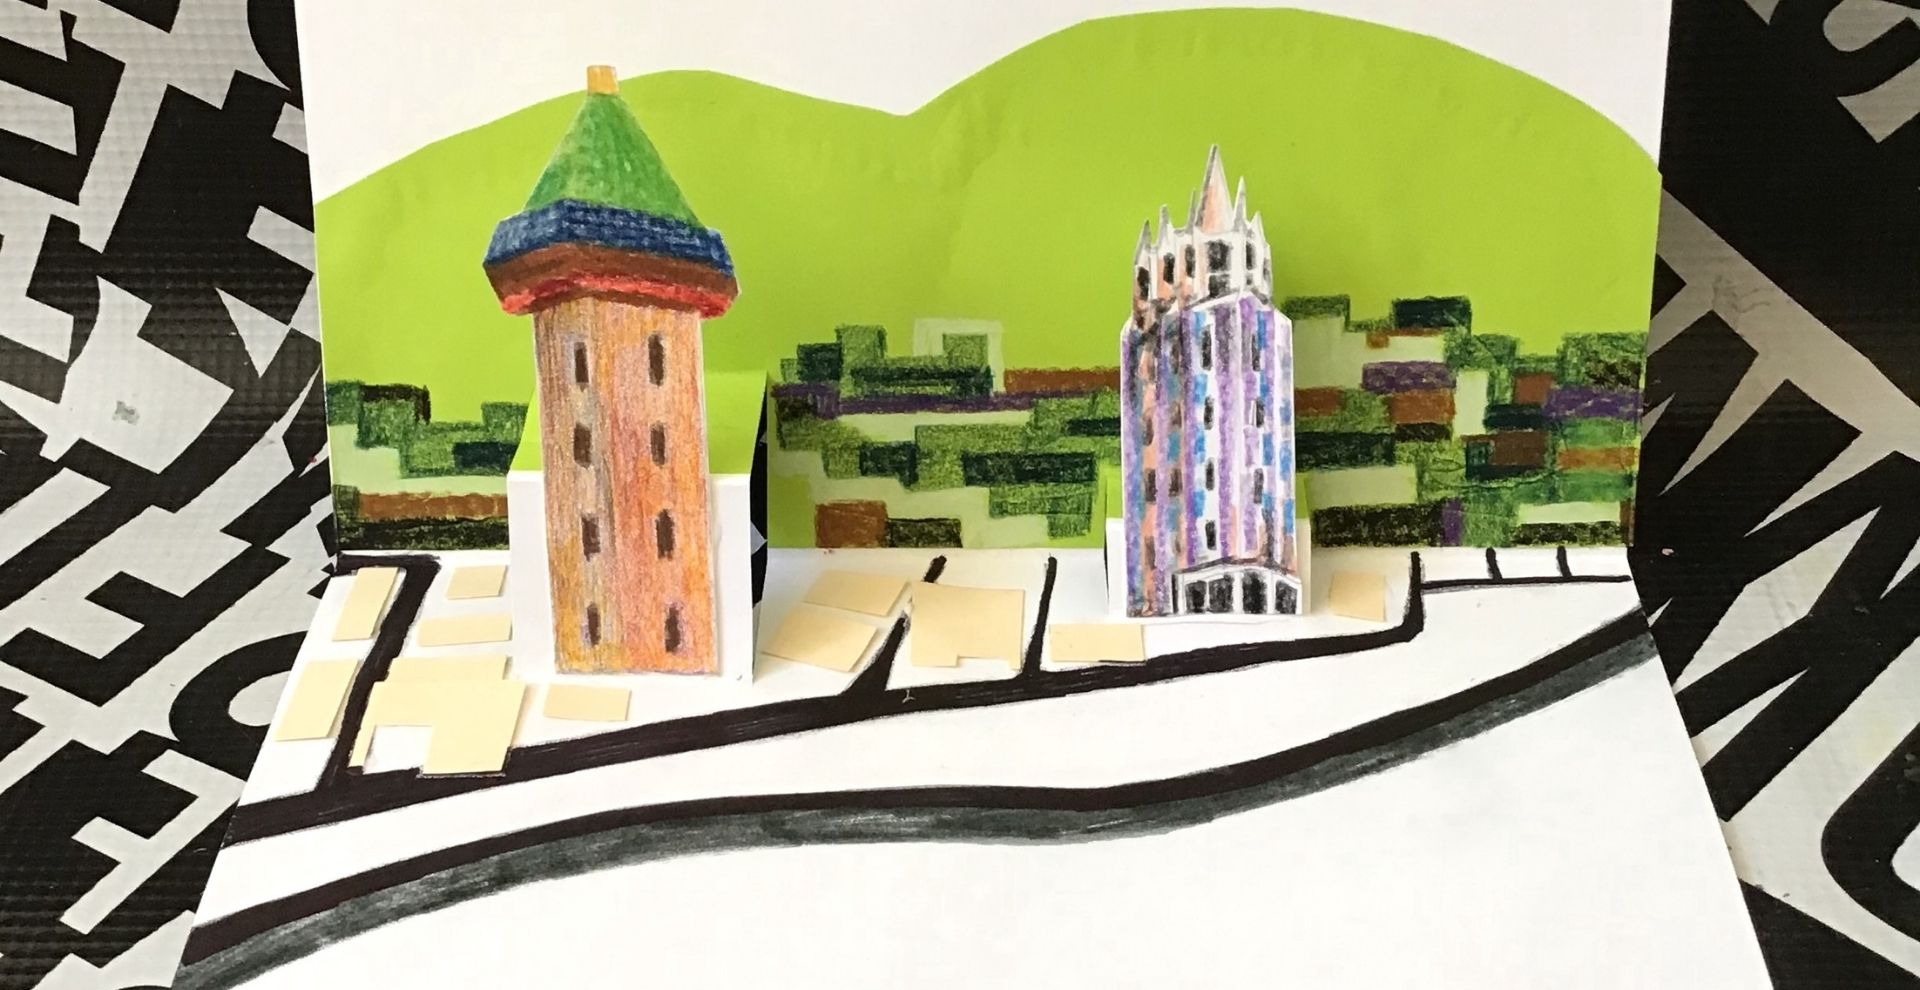
Pop Up Background Card

Sponsored by


RECOMMENDED AGE LEVEL
Recommended for ages 6 and up with adult supervision.
PROJECT DESCRIPTION
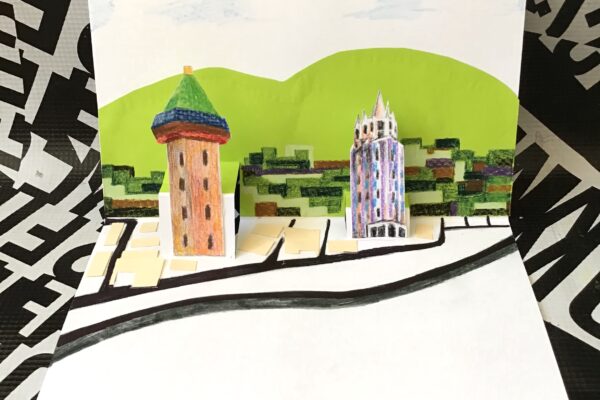
Create a simple, pop-up backdrop for your motorcycle model, or add details from a favorite realistic or imaginary scene! If you want to learn more complex pop-up cards and book-making techniques, check out San Francisco Center for the Book.
MATERIALS
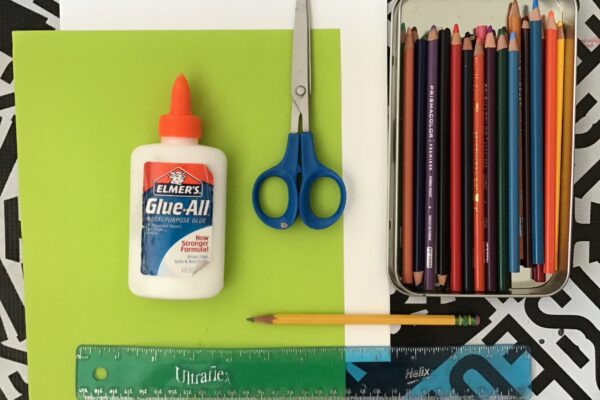
Cardstock
Glue or glue stick
Markers, colored pencils, crayons, stickers, stamps, or additional collage materials
Pencil and eraser
Scissors
Ruler or measuring device
INSTRUCTIONS
- Plan or sketch your backdrop. Will your card feature a country or city scene? Single trees, large buildings, or people? Consider the scale for your background.
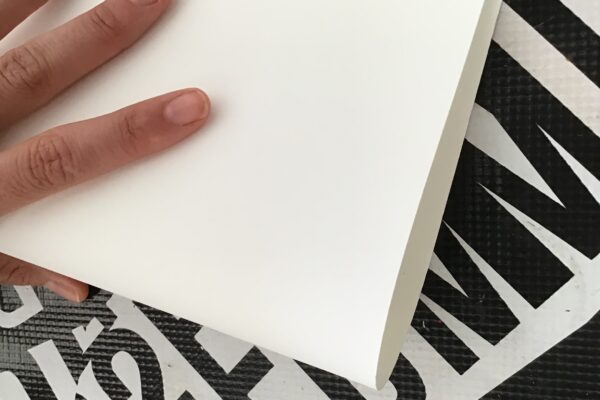
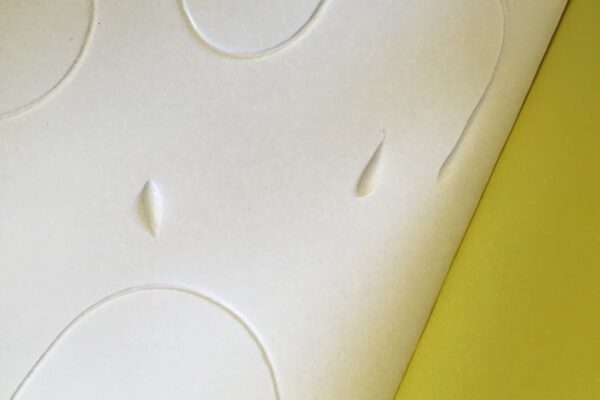
- Fold a piece of cardstock in half to create the card base. The sample is 8 ½ x 11 inches, but smaller cards will also work.
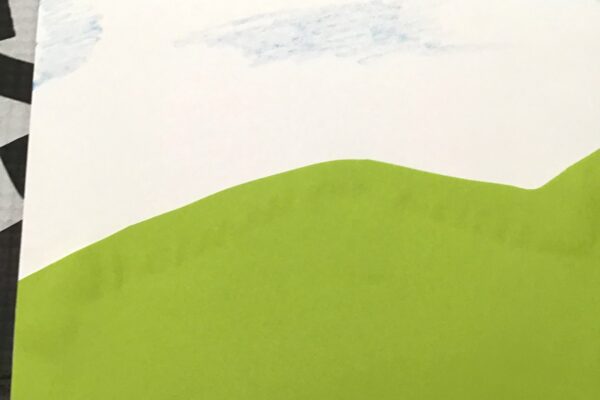
- Simply decorate the top half of your card above the fold, using paper, collage, marker, stickers, or other material. Let it dry as needed.
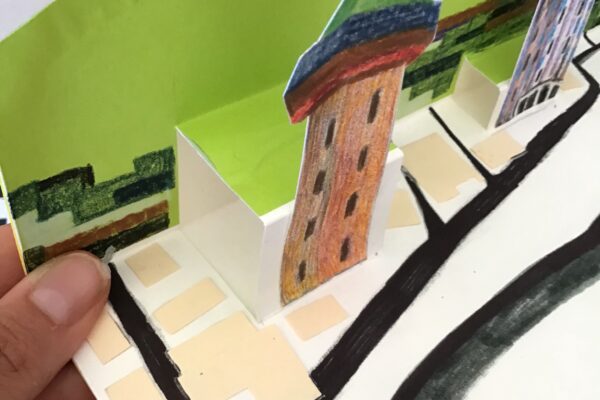
- Decide how many pop-up elements you’d like. This sample card uses two.
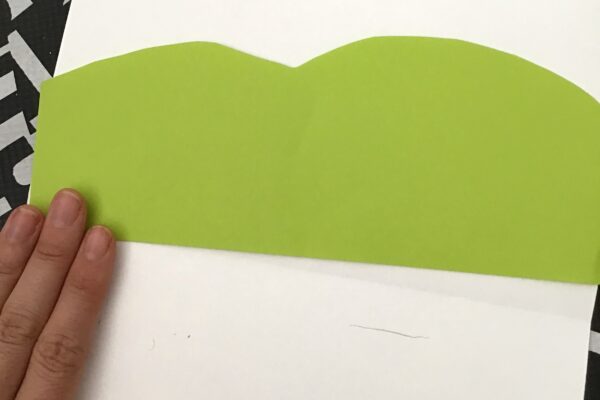
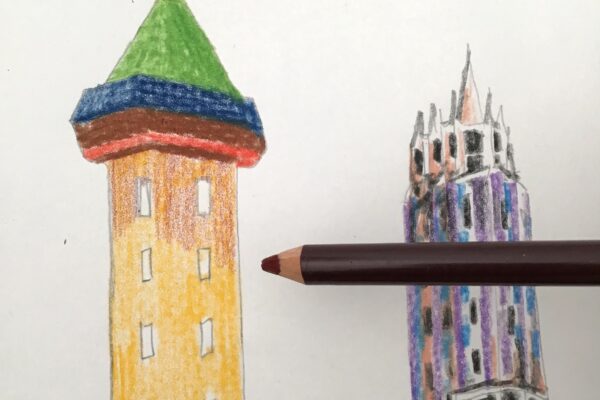
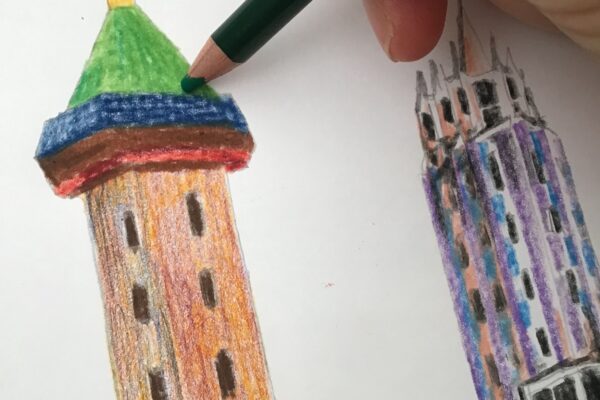
- Create and decorate the pop-up elements that will be glued on the pop-ups.
- You may draw, print from the computer, or use magazine images.
NOTE: These may cover the entire “step” of the pop up, go beyond it, or only cover part of it. Make sure these are not too tall, and can still fit within the card.
- You may draw, print from the computer, or use magazine images.
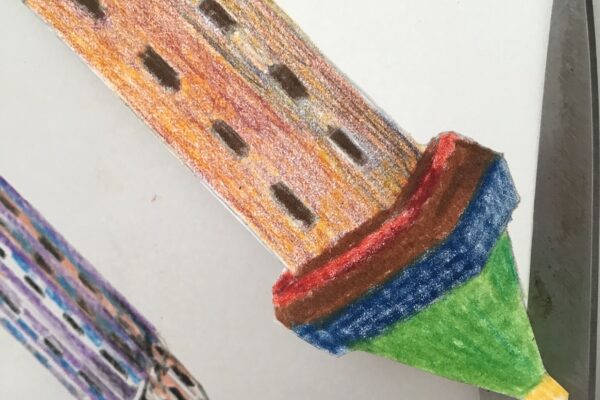
- Cut out the pop up designs.
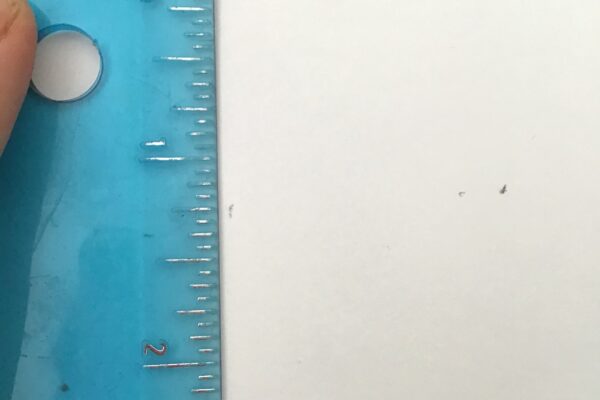
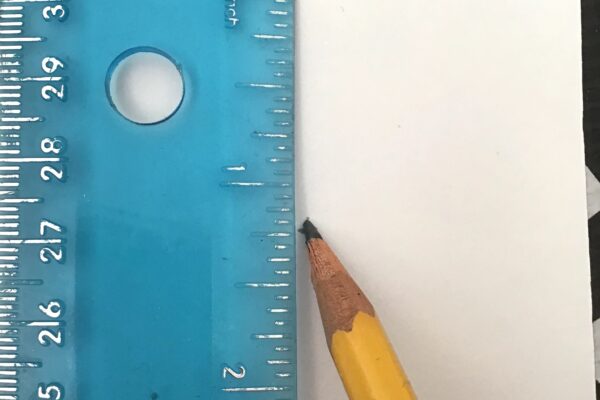
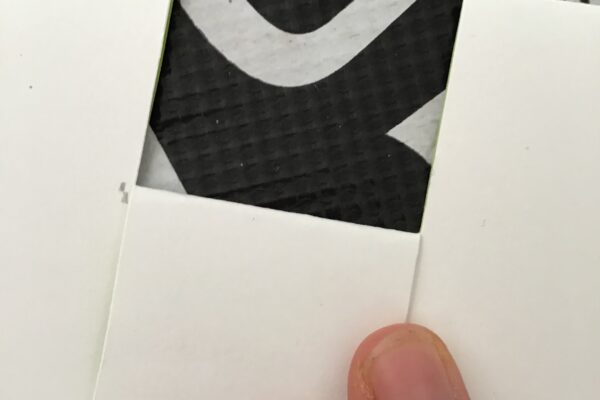
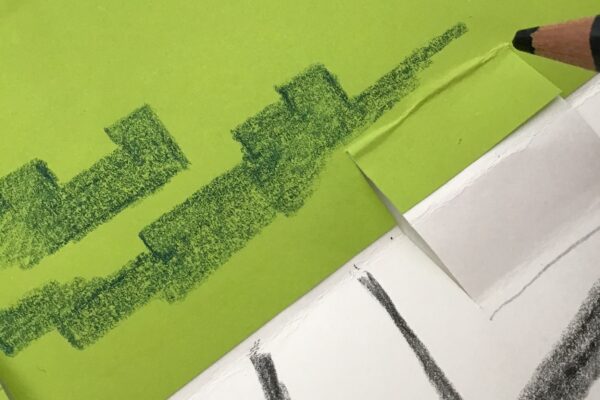
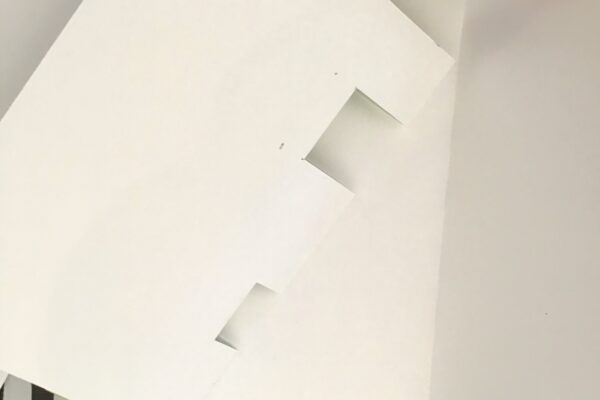
- Measure the size and placement of your pop ups. These will look like steps, each created by two parallel cuts across the fold of the card.
- The longer and wider the cuts, the larger the pop-up – 1 inch is a good standard length for cuts.
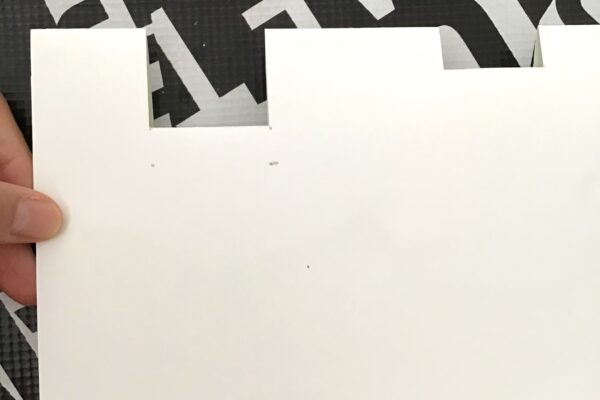
- Check placement on the inside, then recreate the measurements by closing the card and replicating the measurements on the outside.
- Make your parallel cuts one set at a time, with the card closed. Fold the new pop up to crease it, then open the card and bend the pop up backwards to make a stair shape.
- When you’ve made all your pop ups, close the card and press gently to firm up the creases.
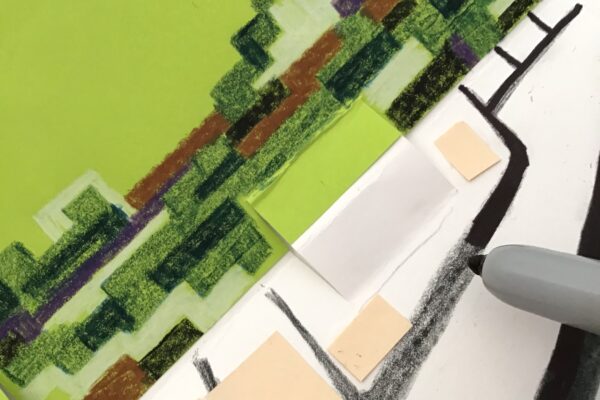
- Add detail to the background and foreground of the card. Let it dry as needed.
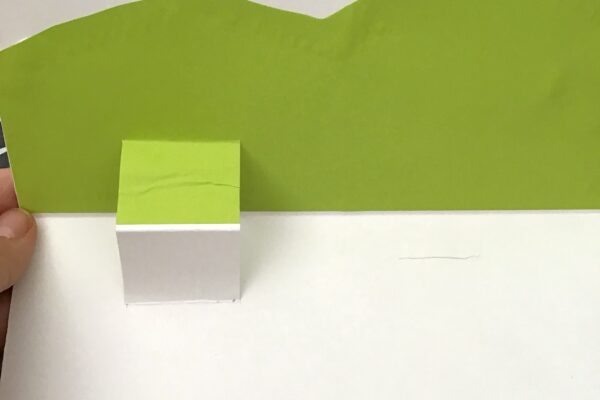
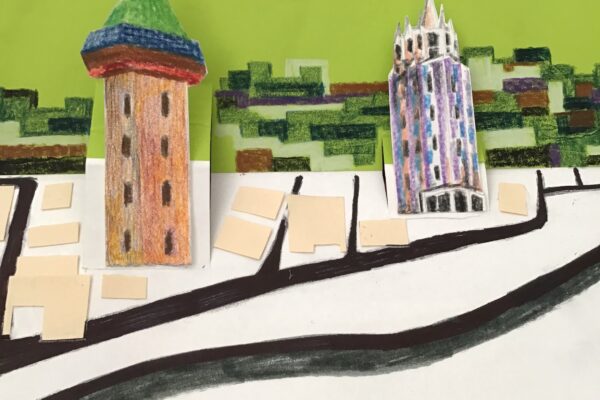
- Glue the pop up elements into the card and allow to dry.
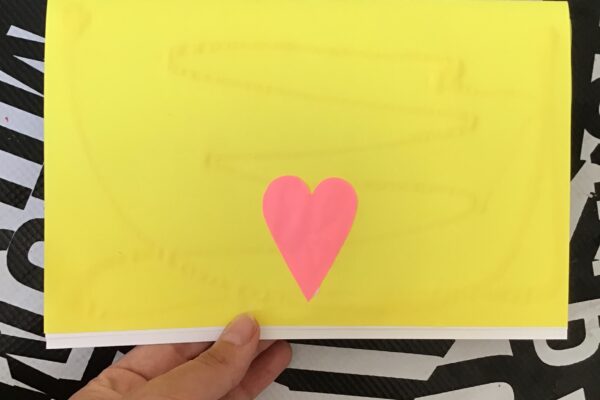
- Decorate the exterior of the card, using materials of your choice. To cover the spaces behind the pop ups, you can fold another piece of cardstock, collage or decorate it, and attach.
RELATED RESOURCES
- Explore more inspiration at the San Francisco Center for the Book.
CONNECT SOCIALLY AND LEARN MORE
UPCOMING EVENTS
Mobile MakeArt: Beau McCall Identity Buttons at NightLife PRIDE
June 26 @ 6:00 PM - 10:00 PM
Mobile MakeArt – Stern Grove Music Festival
June 29 @ 12:00 PM - 4:00 PM
Mobile MakeArt: Creative Youth Celebration
July 19 @ 12:00 PM - 3:00 PM
Mobile MakeArt – Stern Grove Music Festival
August 10 @ 12:00 PM - 4:00 PM


