Quick Pressed Flowers
Sponsored by

RECOMMENDED AGE LEVEL
Recommended for ages 5 and up with adult supervision.
PROJECT DESCRIPTION
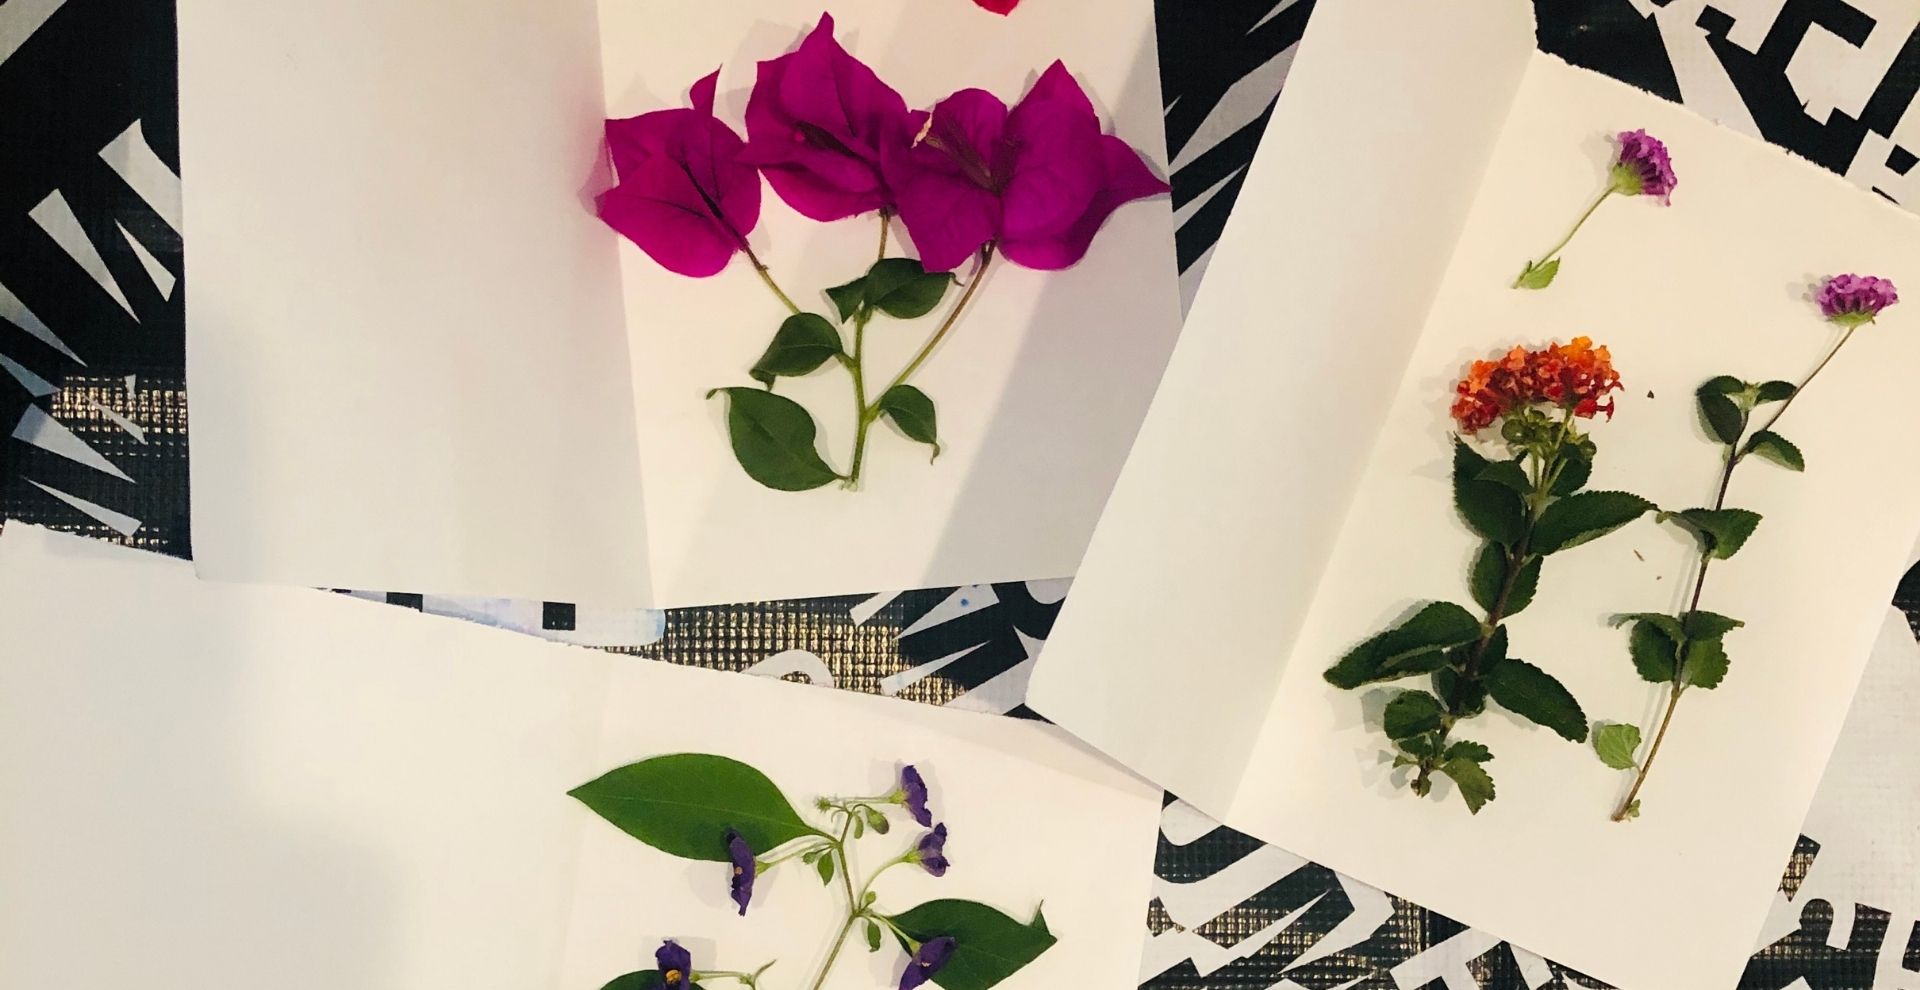
Immortalize scenes of summer with this quick method to produce beautiful pressed flowers.
MATERIALS
Microwave
3-6 pieces of white construction or sketchbook paper
Scrap corrugated cardboard
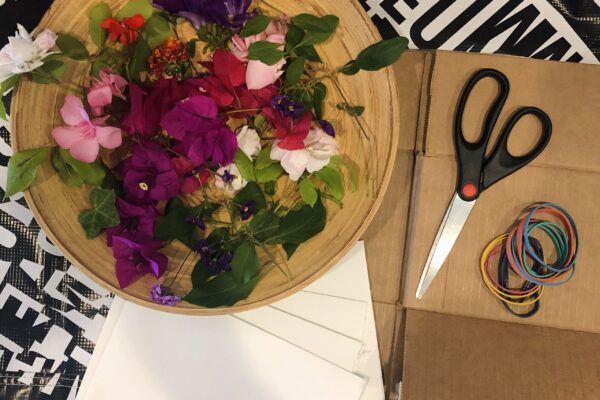
Fresh flowers
4-15 rubber bands
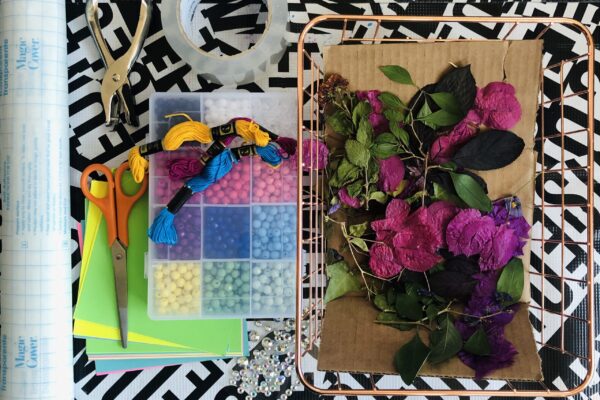
For the suggested project:
Clear contact paper or clear packing tape
Scissors
Hole punch
Embroidery thread
OPTIONAL: Beads, rhinestone embellishments, scrap paper, glitter


INSTRUCTIONS
- Collect a variety of fresh flowers and leaves, keeping colors and shapes in mind.
- Try to avoid large, bulky flowers such as roses.
- Make sure you are collecting flowers from places where you have permission to do so.
- A pair of scissors or snips can help during the collection process.
- Fold sheets of paper in half, widthwise.
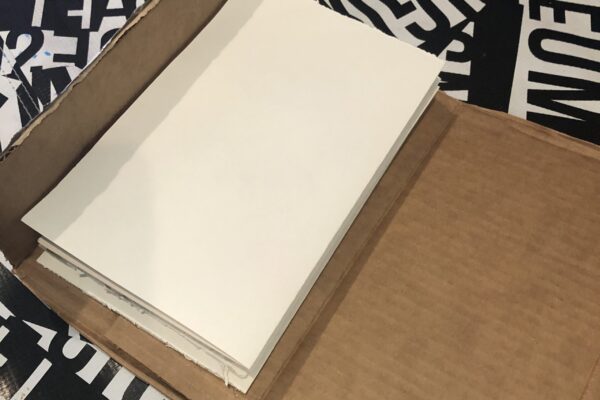
- Cut 2 pieces of corrugated cardboard to same size as folded paper or in a single piece large enough to hold the papers like a folder.
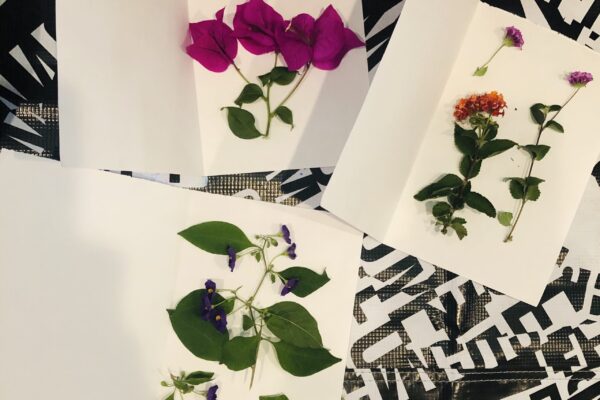
- Place fresh flowers and leaves in a single layer within each piece of folded paper. Use more or less paper as needed.
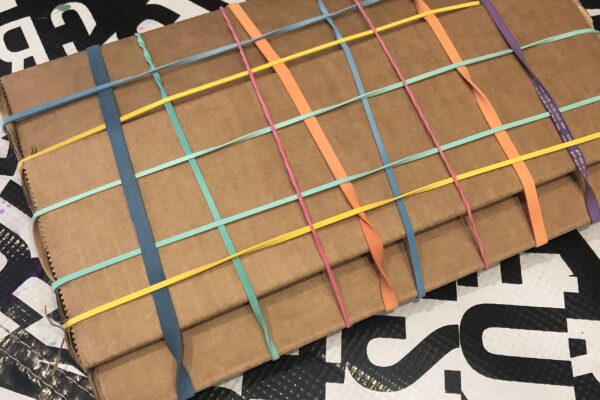
- Sandwich folded papers between the corrugated cardboard pieces.
- Secure the whole package together with rubber bands.
- Place package in the microwave for 1 minute.
- Let package cool for a few minutes before removing from the microwave.
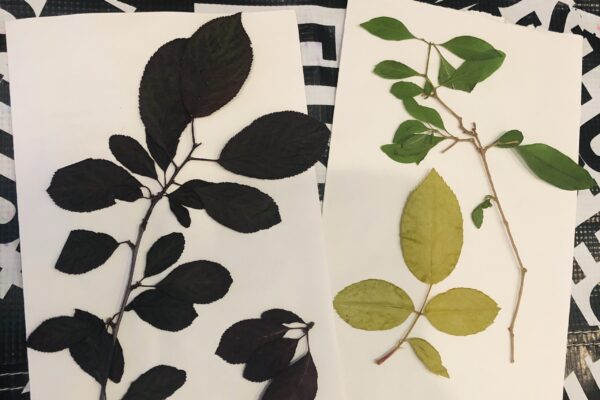
- Remove rubber bands and open package.
- Carefully open each folded paper, checking on the status of your flowers and leaves.
- Gently remove the items and set them aside.
Summer Reading Bookmarks:
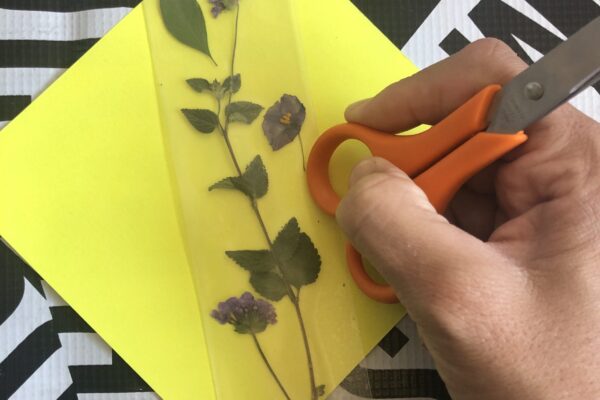
- Cut contact paper at approximately 7″ x 4.”
- Fold contact paper down the middle, lengthwise, with the backing paper on the inside of the fold.
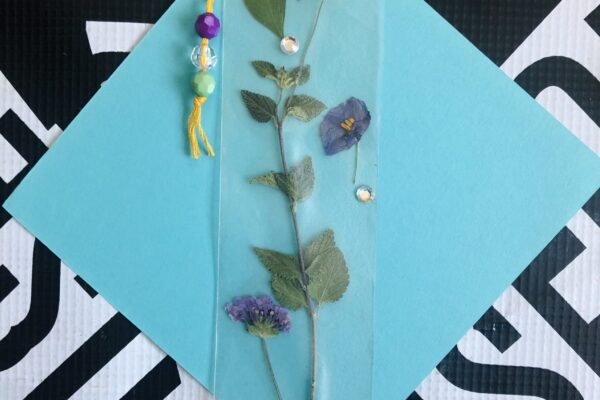
- Experiment with flower placement and try different design layouts.
- When ready, set flowers aside, then remove the backing paper from the adhesive.
- Place flowers where desired.
- Refold contact paper so both halves line up, securing flowers in place.
- Use the handle of scissors to press contact paper around the flowers.
- Cut any excess edges.
- Use a hole punch to make the hole near the top/center of the bookmark.
- Loop a length of embroidery thread through the hole.
- Thread beads onto embroidery thread and knot in place.
- Add extra adhesive embellishments as desired.
Multi-Use Decorations:
- Cut a length of clear packing tape and place sticky-side up, by folding about ½ inch of each end under and securing to a hard surface.
- Place leaves and flowers along the strip of tape, as desired. • Stretch out more packing tape at a length slightly longer than the first piece.
- Place the second piece of tape, sticky side down, over the flowers on the first piece.
- Press tape together securely.
- Pull or cut the tape away from your surface and trim any excess or uneven edges.
- Use your new, clear flower banner as a votive embellishment (just tape the ends together), sun catcher or cut up into pieces for a mobile (use hole punch for hanging points)!
RELATED RESOURCES
- Many more dried flower crafts can be found here!
CONNECT SOCIALLY AND LEARN MORE
![]()
![]()

Share your project! Post and tag #MCDatHome
UPCOMING EVENTS

Free Summer Weekend!
July 25 - July 26
The Fabric of Celluloid: A Conversation with Dr. Alla Gadassik
August 1 @ 1:00 PM - 3:00 PM

Craft + Chat Workshop with Greg Climer
August 15 @ 1:00 PM - 3:00 PM