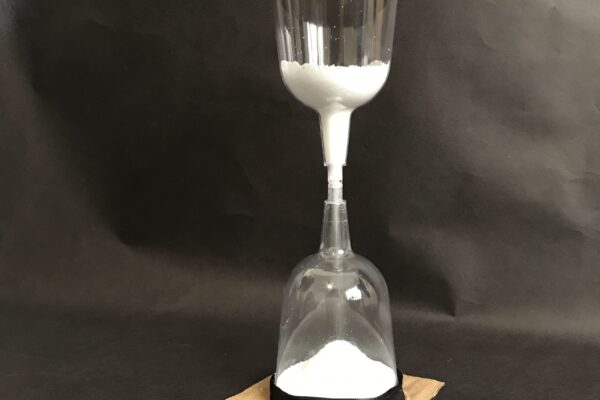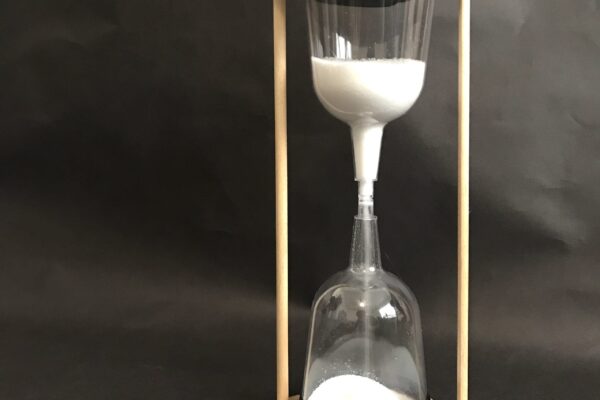
Sands of Time

Sponsored by


RECOMMENDED AGE LEVEL
Recommended for ages 12 and up with adult supervision.
PROJECT DESCRIPTION
Watch the sands of time rotate over and over with this project! Our upcoming exhibition, Design by Time, is all about how time moves and manifests. What better way to dive in than by holding a piece of time yourself? Race against the clock and see how quickly you can build a majestic hourglass of your own. Plus, your new device will be able to be used for future exhibition-related projects throughout the run of the show!
MATERIALS
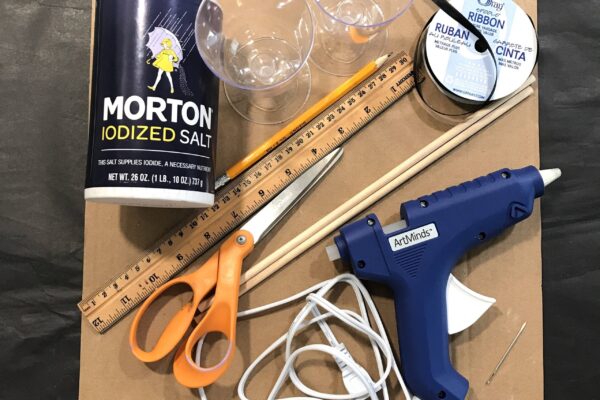
2 small cardboard squares (3.5” x 3.5”)
2 plastic wine glasses
Salt, sand, or sugar
Hot glue gun
Scissors
Pencil
Sewing needle, large safety pin or other sharp metal point
Ruler
Optional Materials:
Wooden dowels or sticks
Drill
Mini hand saw
Decorative elements (ribbon, rhinestones, paint, etc.)
INSTRUCTIONS
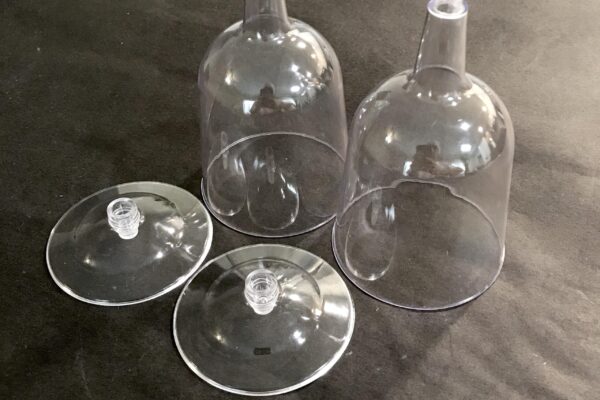
- Remove the bases of the plastic wine glasses.
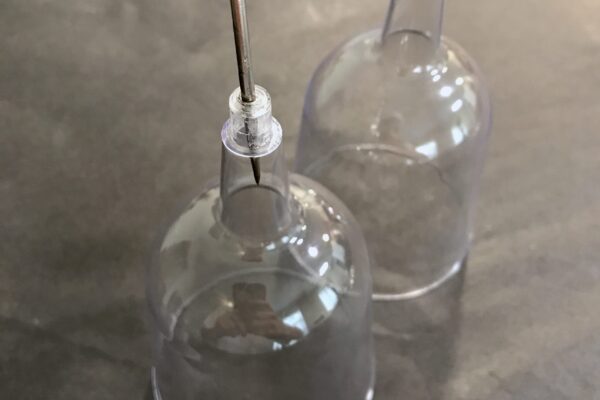
- Use a heated sewing needle, drill with a small bit, or some other kind of sharp metal pointed object to puncture a hole through the stem of the wine glasses.
- Make sure the holes are large enough for contents to flow, but not so big that the timer runs too fast.
- Practice running sand/salt/sugar through the hole and adjust the size of the opening as necessary.
TIP: Start with a small hole and then make it larger as needed.- Repeat the process with the second glass.
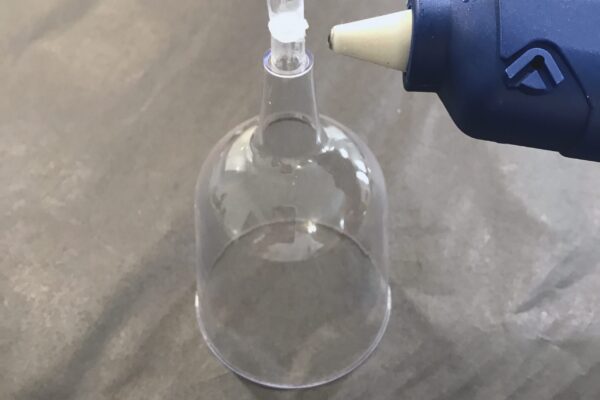
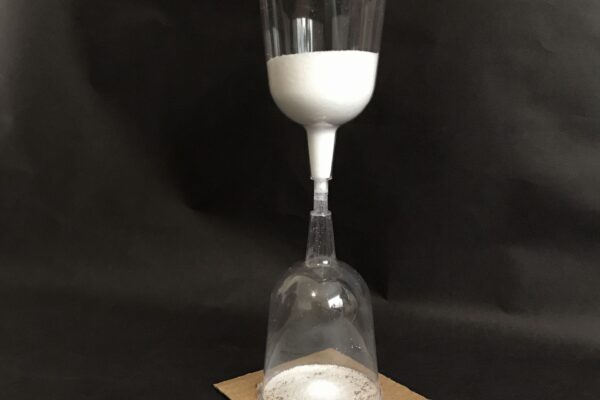
- Use the hot glue to attach the two plastic glasses together by their stems.
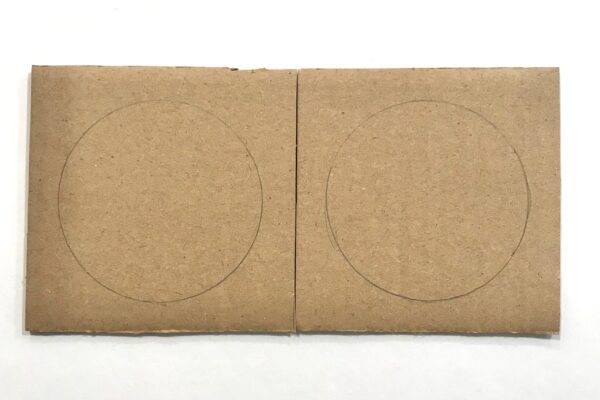
- Cut two cardboard squares with surfaces slightly larger than the rim of the plastic wine glasses.
- This example uses pieces which measure 3.5” by 3.5”
- Trace the rim of a glass in the center of each cardboard piece.
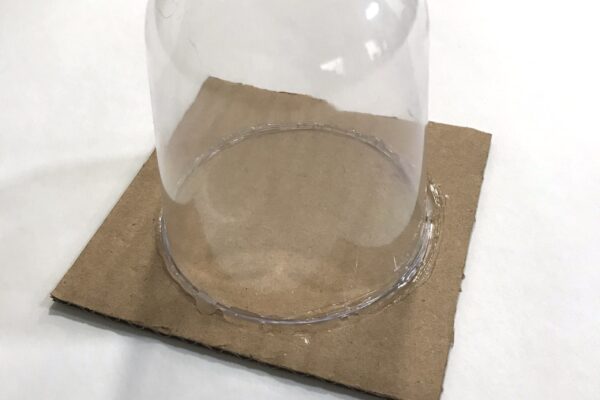
- Apply hot glue along the circle line on one cardboard and attach to the bottom rim of the glass tower.
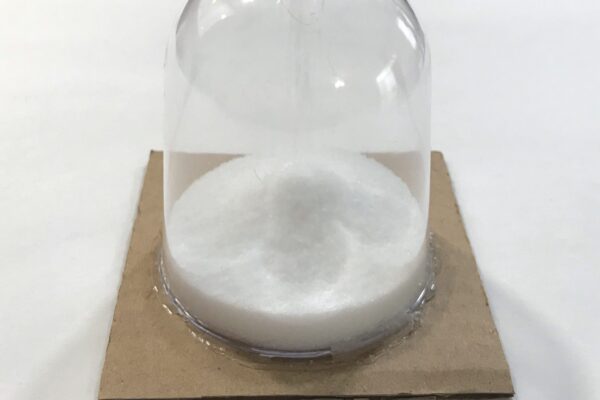
- When the attached base has dried, pour sand/salt/sugar into the top glass. The selected contents should fill up approximately half of the bottom glass.
- When all contents have been poured in, glue the remaining cardboard to the top glass rim.
OPTIONAL: Use your hot glue gun to wrap ribbon or twine around the perimeter of each glass. Add other embellishments as desired.
OPTIONAL: Use a mini-hand saw to cut two wooden dowels or create densely rolled tubes of paper that are equal in height to the stacked glasses.- Glue them to the top and bottom bases.
- These will provide extra stability, as well as a more comfortable way to hold your hourglass.
- Glue them to the top and bottom bases.
- When all glued parts have dried, flip your hourglass and face off against Father Time!
OPTIONAL: You can use a stopwatch to time your timer and make note of just how long the sands of time are.
RELATED RESOURCES
- Find out how this little timekeeping device has carved its place in human history!


